Visual Response | Directive Step
Introduction
In this article we will go over the use of the Directive step and the new Alexa Response Builder available on the Alexa Developer Console.
Context
The Alexa Developer Console provide two ways of generating visual responses with APL (Alexa Presentation Language).
- The Multimodal Response Builder
- The APL Authoring Tool (for advanced users)
For this project, we are going to use the Multimodal Response Builder with a template to build a video player.
What we need?
We will need a new Alexa project to upload to the Alexa Developer Console, a Code step and a Conditions step to check that the device support APL and a Directive step to display our APL document on the device.
Step 1 | Create and link the APL document to your project
In Voiceflow, you will have to upload your Alexa project at least once to access it on the Alexa Developer Console.
After the upload go to the Alexa Developer Console (<<https://developer.amazon.com/alexa/console/ask>>), open your skill and go to the Build tab.
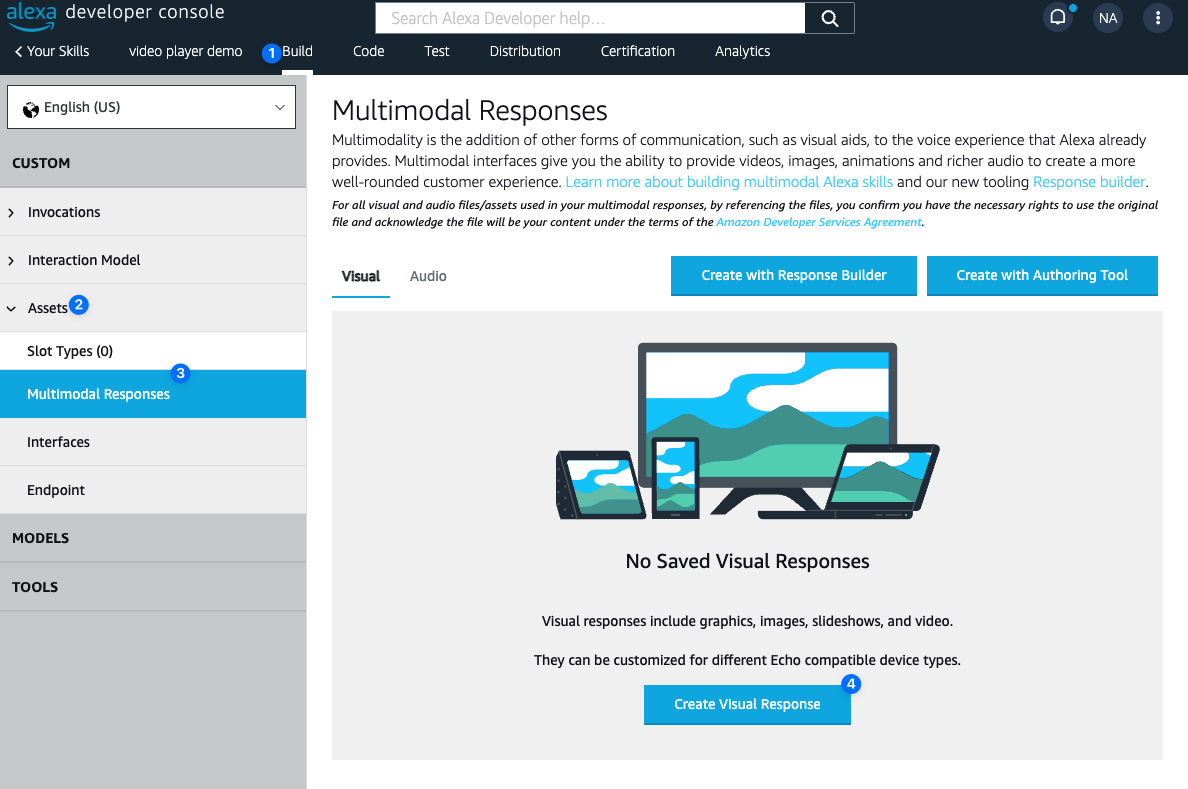
From the Build tab, expand the Assets section, click on Multimodal Responses and in the Multimodal Responses page, click the Create Visual Response button.
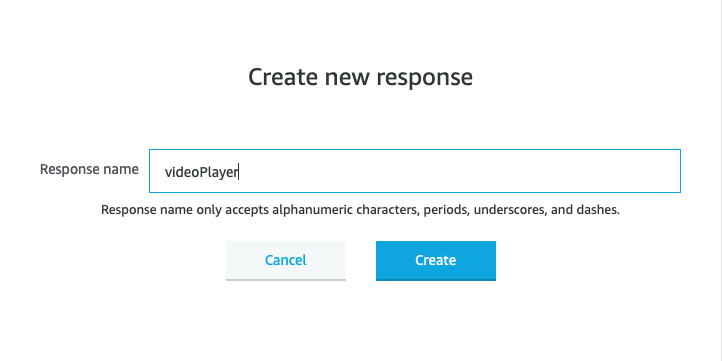
Choose the name you want on the modal window and click Create:
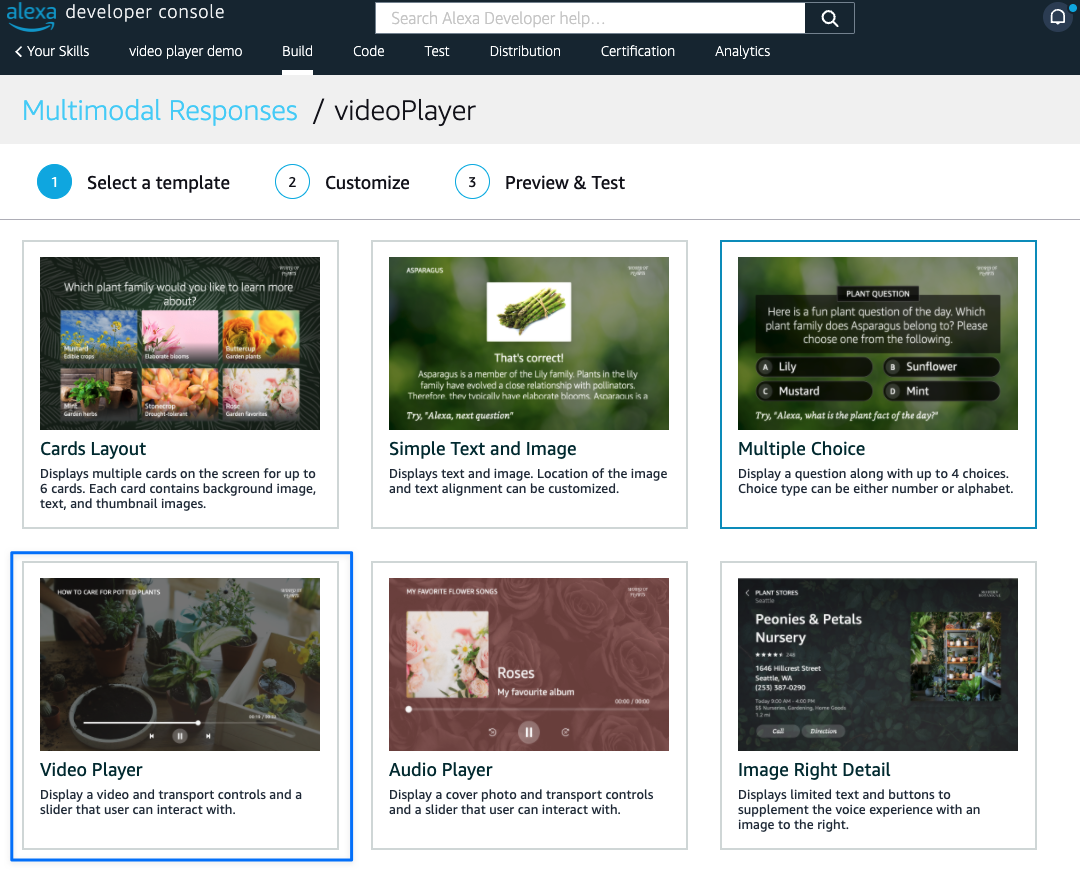
We want to create a video player so on the next screen, select the Video Player template:
On the next screen you will be able to customize the template as you like, for this project we will use the defaults settings as we will be able to changes them within Voiceflow.
Click the Next: Preview & Test button to continue.
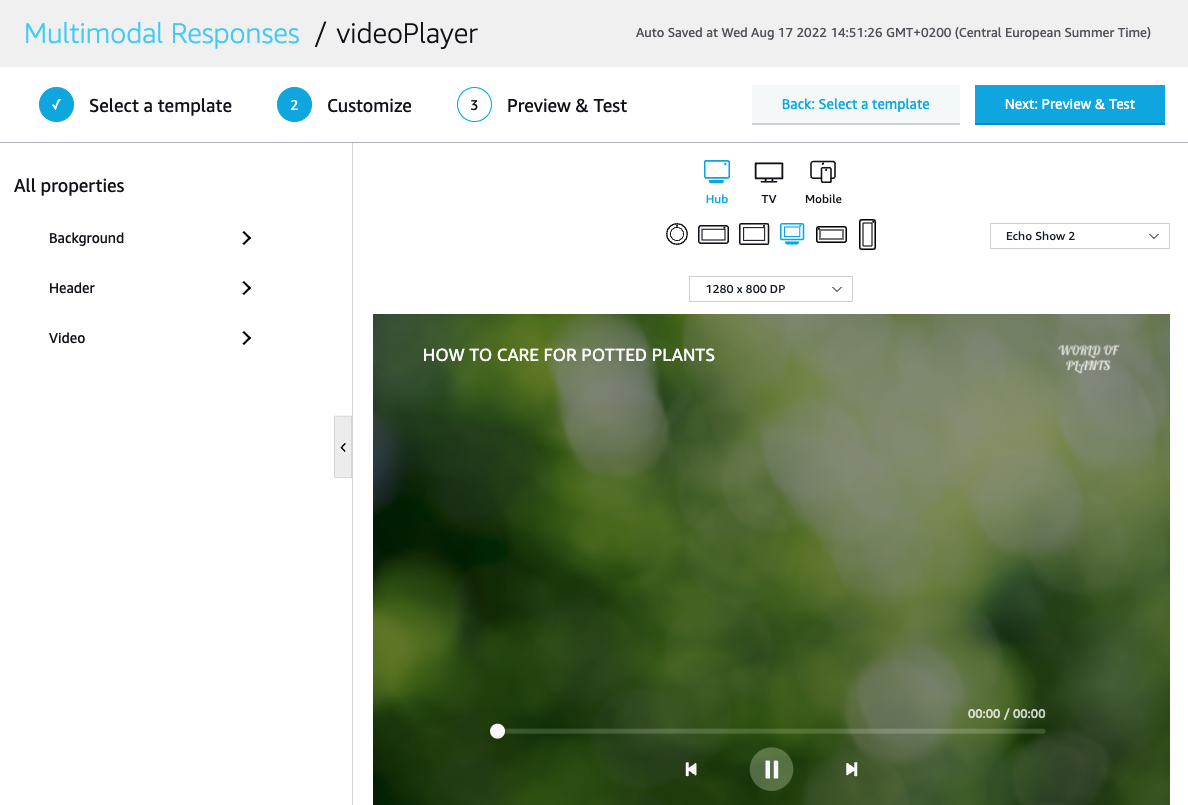
On the last screen, you will be able to preview the template and even test it on any devices supporting APL and registered to your developer account.
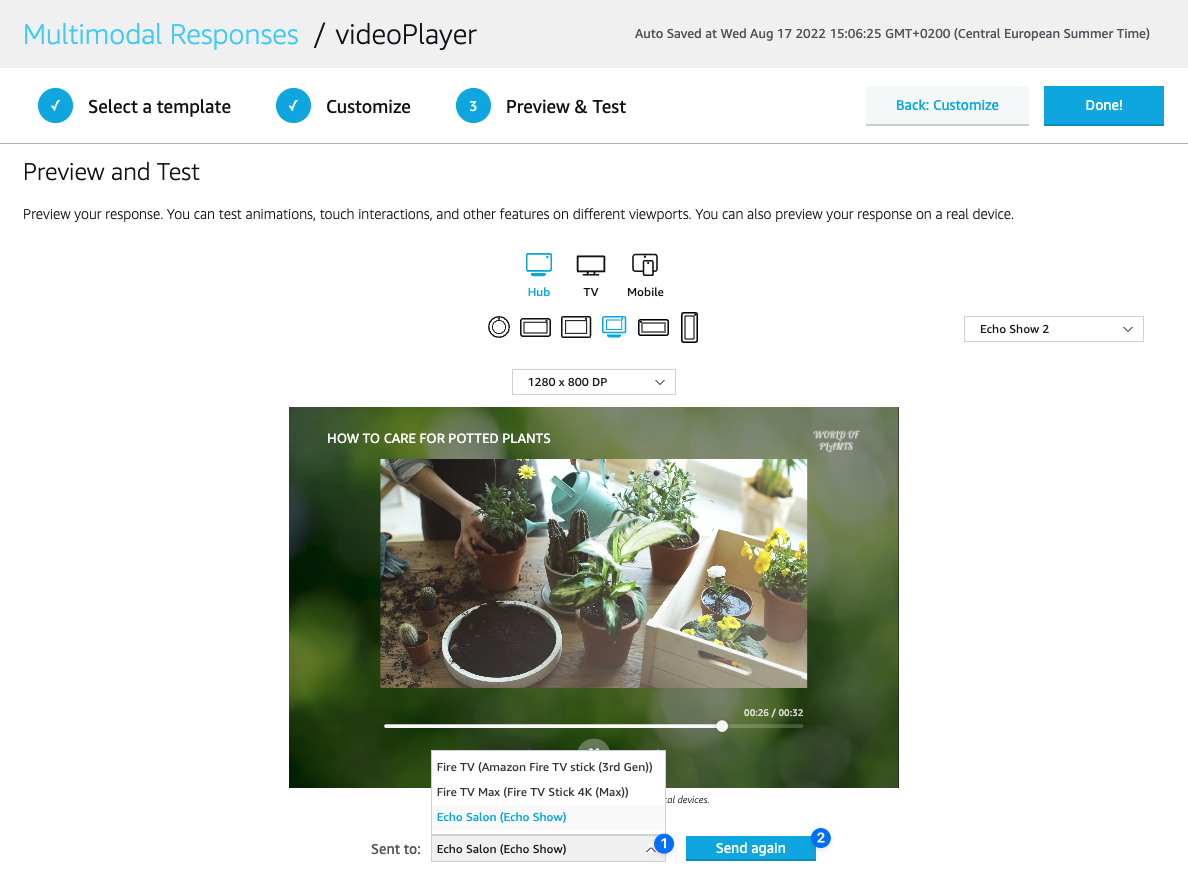
When you’re good, click on the Done! button.

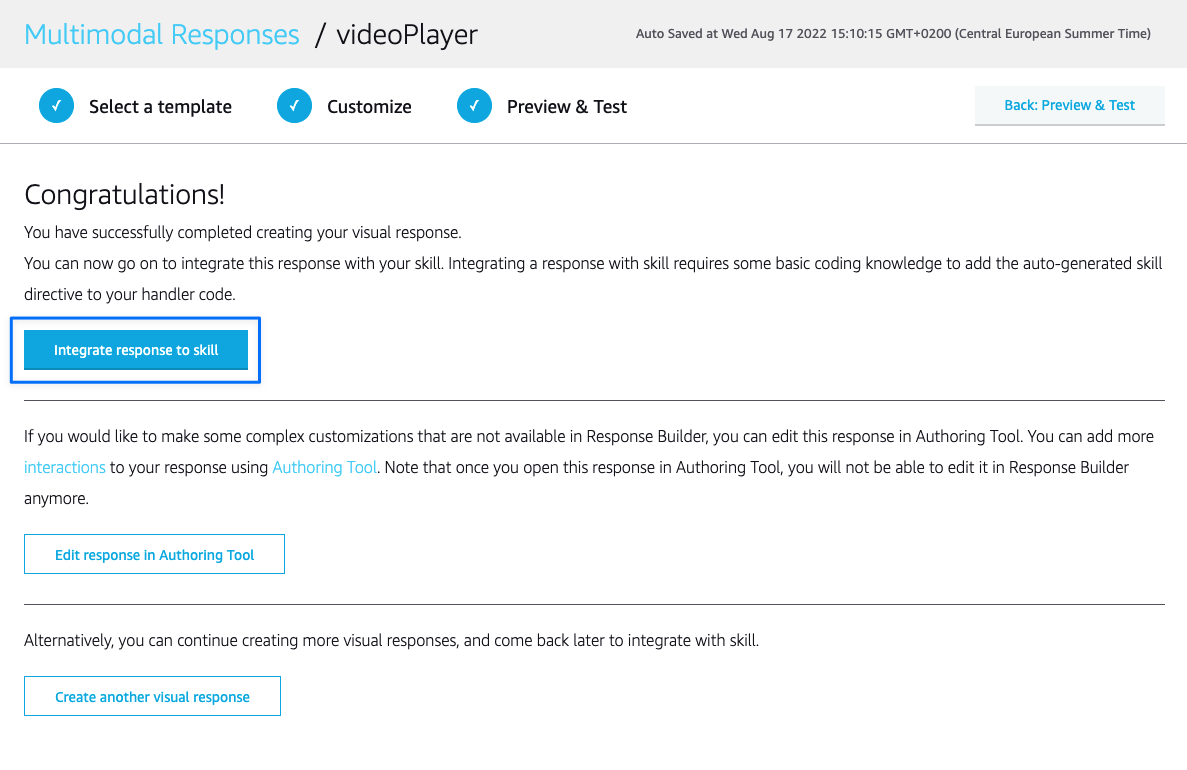
A summary screen will let you choose how you want to handle this APL document, for this project we will use the simplest way and click on Integrate response to skill.
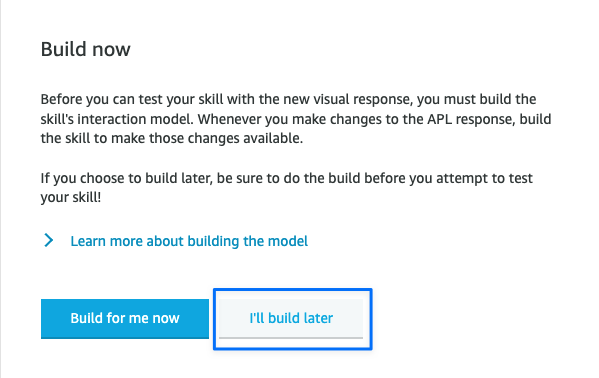
Back on the Build page, choose I’ll build later on the modal view.
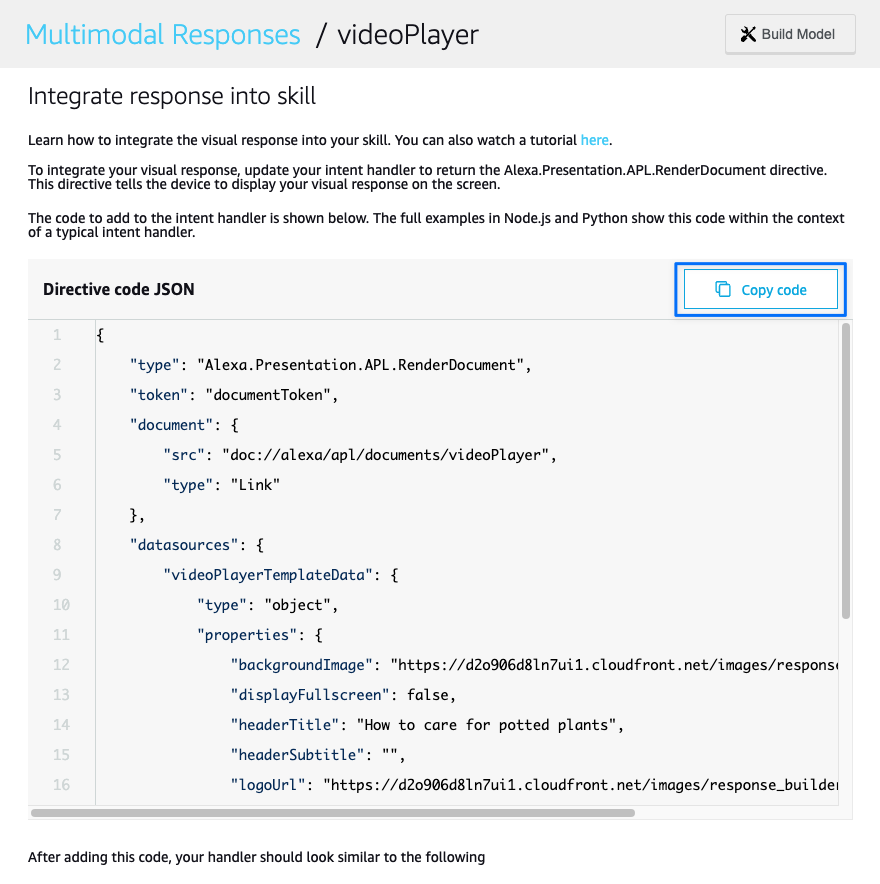
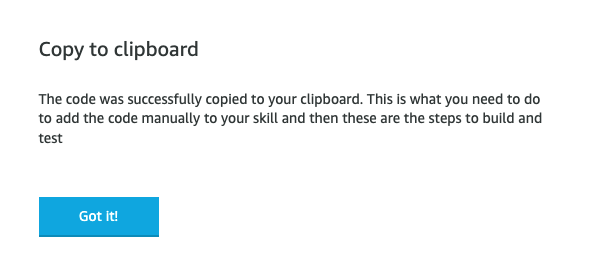
Last step before going back to the Voiceflow project, click on Copy code button to copy the Directive code will will use in the next step.
Step 2 | Setup the Directive step
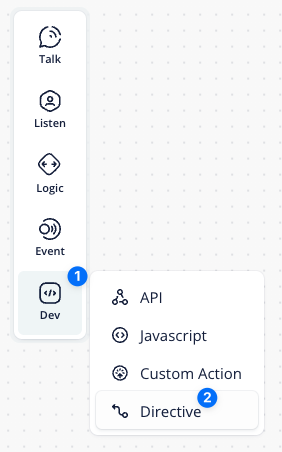
On your Voiceflow Alexa project, drag a Directive step and link it to your Start step:
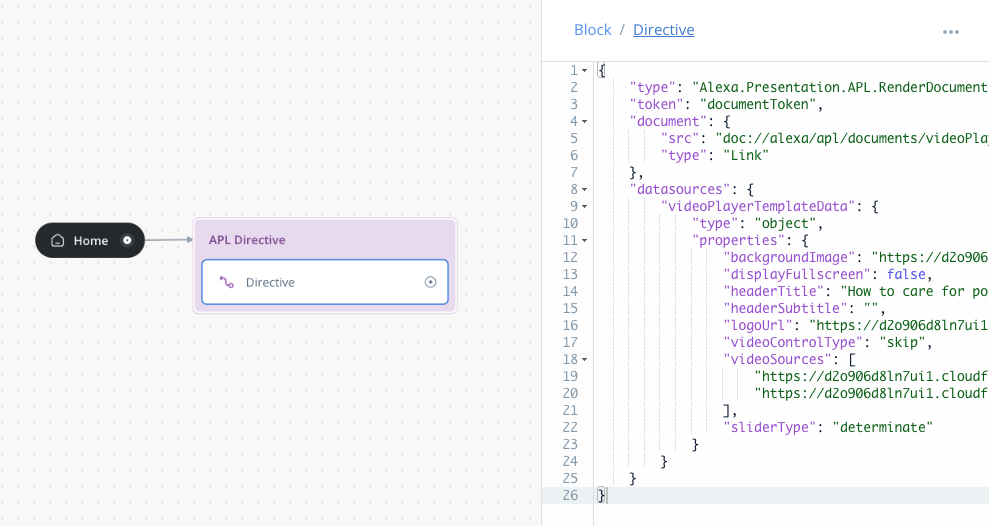
Paste the code from the Alexa Developer Console in the Directive step:
To avoid the skill to end right after the Directive, we want to add:
shouldEndSession: null
To do so, we will use a Javascript step and put the following code:
_response = {
  shouldEndSession: null
}

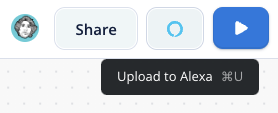
Now you can upload your project to Alexa so we can test it in the Alexa Developer Console
Step 3 | Activate APL interface and test on the Alexa Developer Console
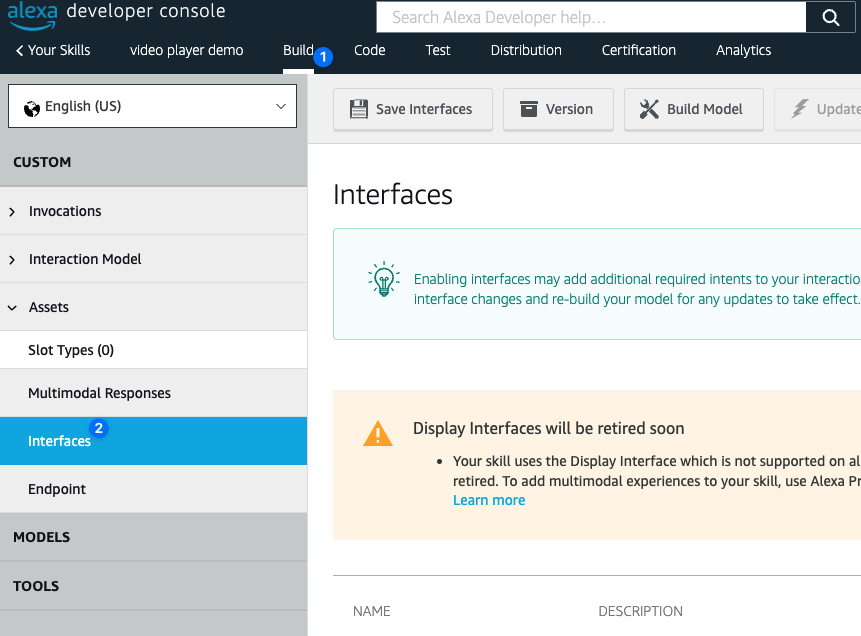
Back on the Alexa Developer Console, be sure to be on the Build tab, expand the Assets section and click on Interfaces.
We want to activate the Alexa Presentation Language interface:
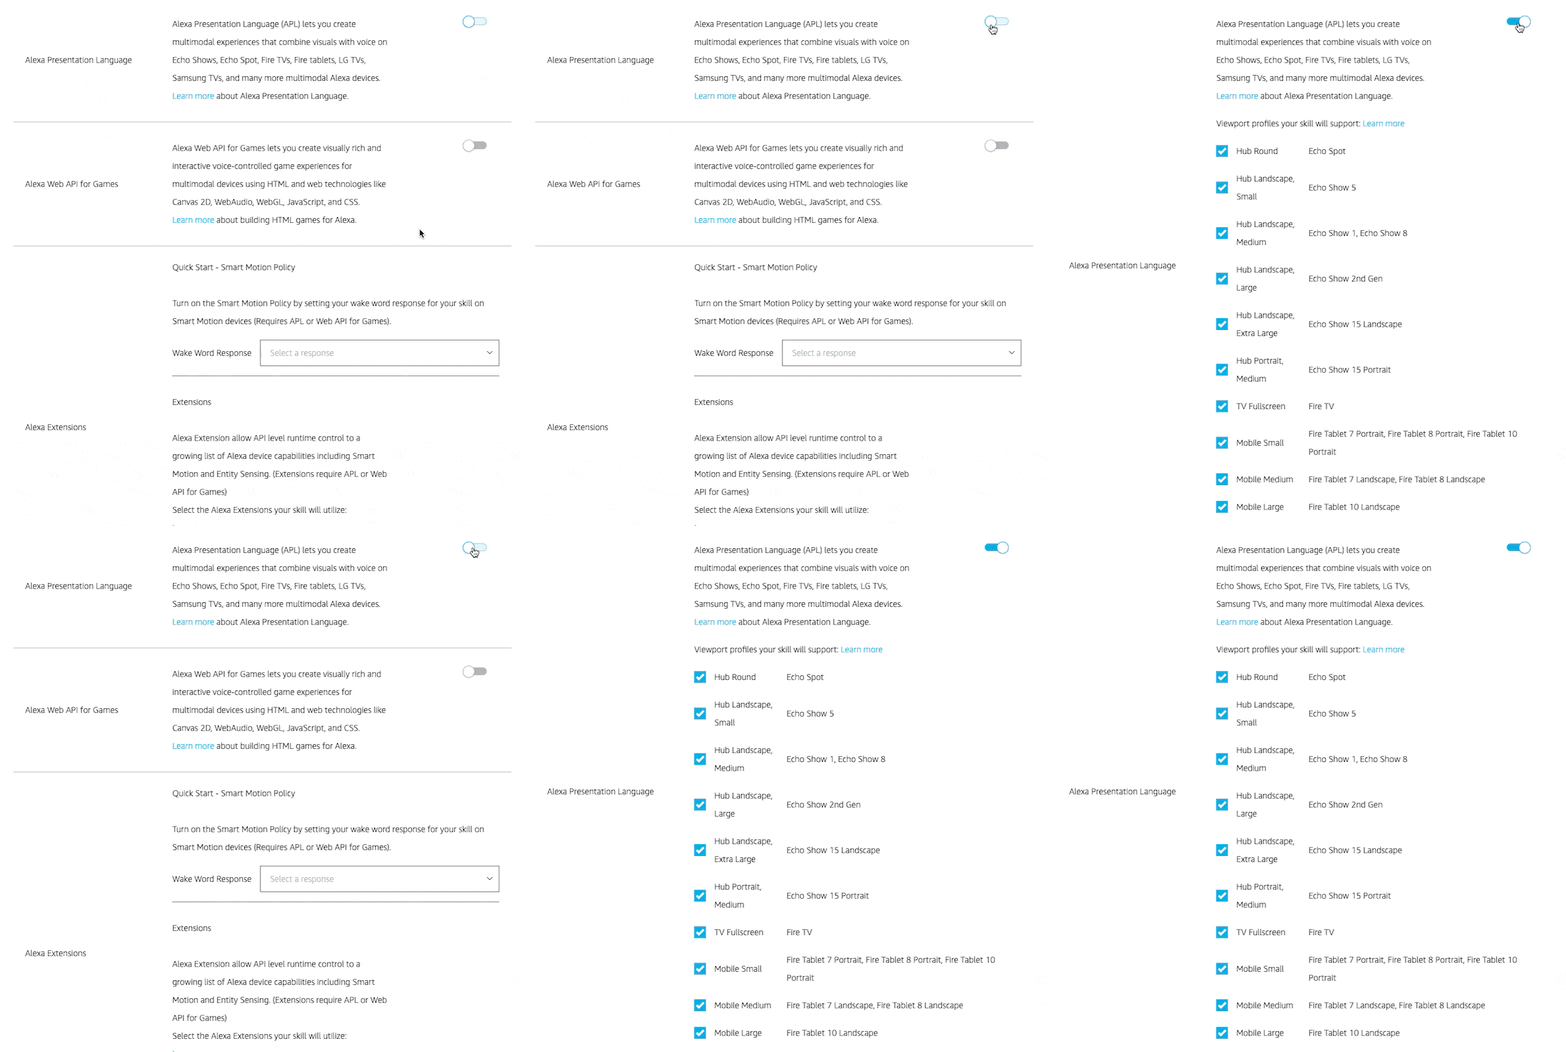
Save your change by clicking on Save Interfaces button at the top of the page.


You might need to wait around 3-5 minutes for the changes to populate before being able to fully test the skill.
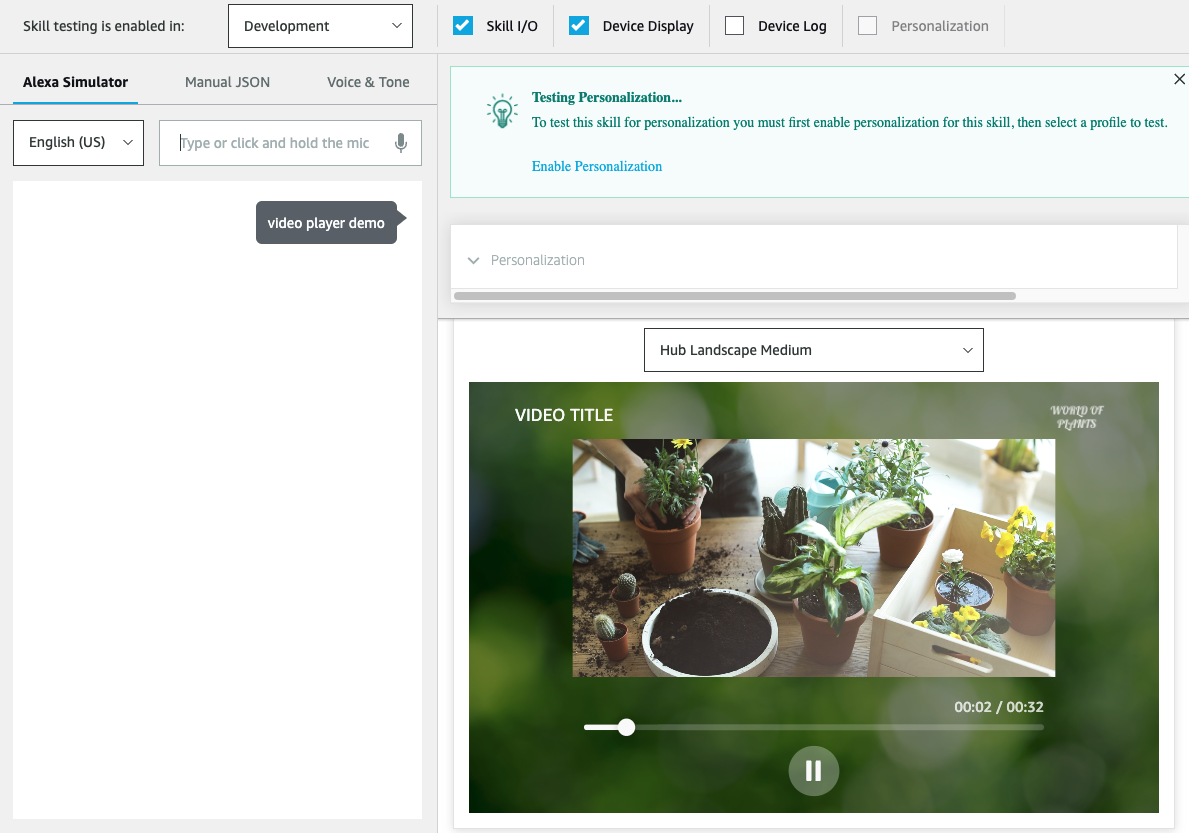
Go to the Test tab, be sure to check the Device Display settings and run a test.
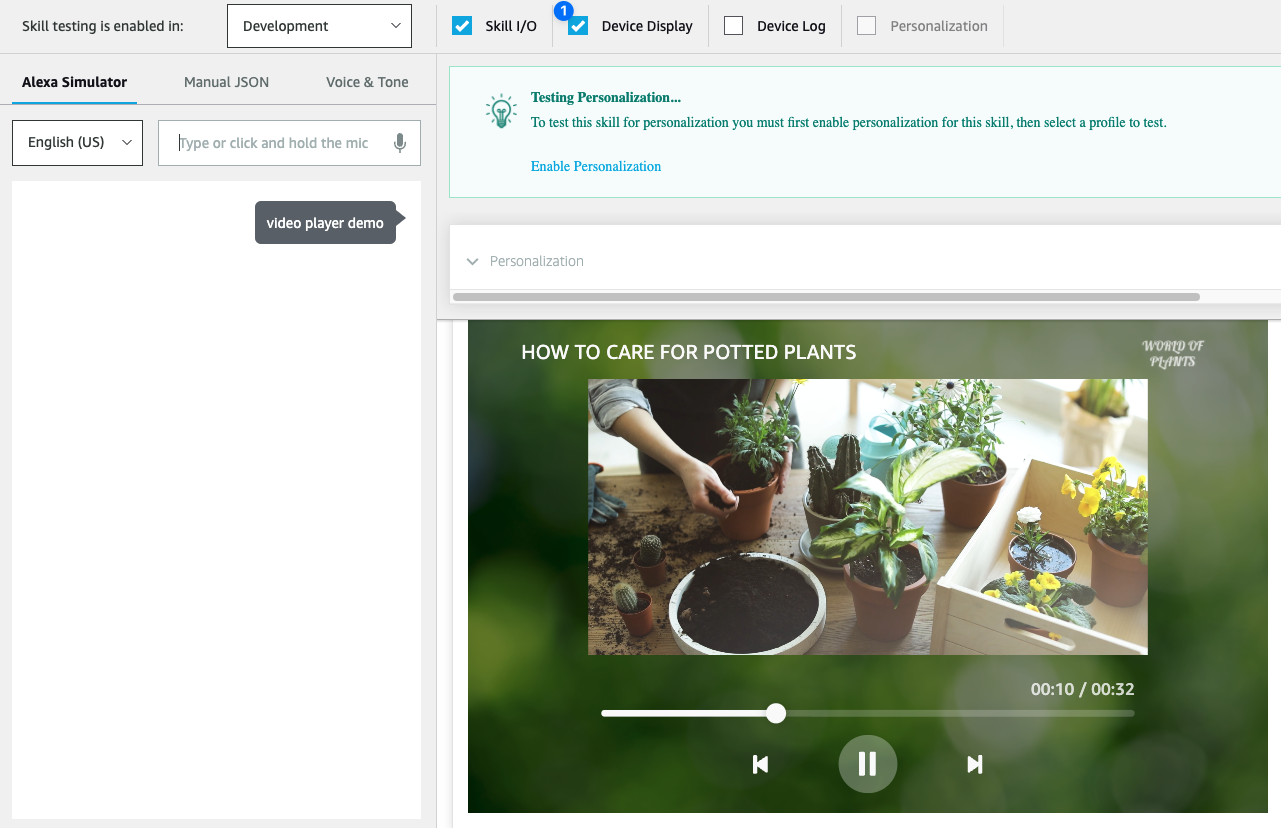
You should get a similar result, using the default template settings.
Step 3 | Edit your template on ADC
As we are using a template integrated with our skill, you can edit it from the Multimodal Responses section on the Build tab to generate a new directive code we can paste into the Directive step in our Voiceflow project.
To do so, click on the Edit In Response Builder link.
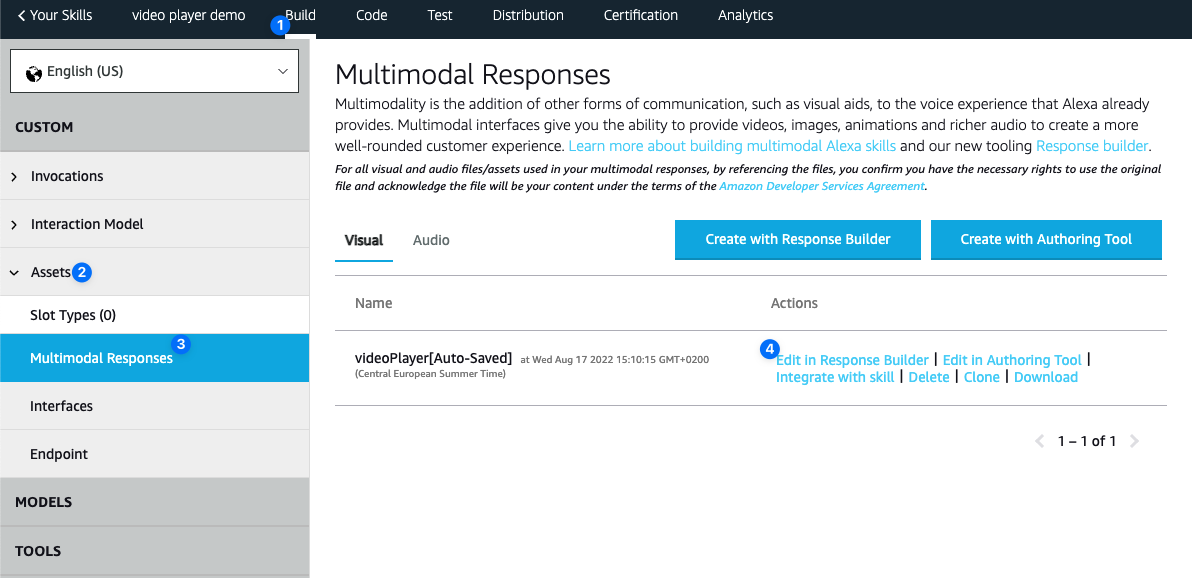
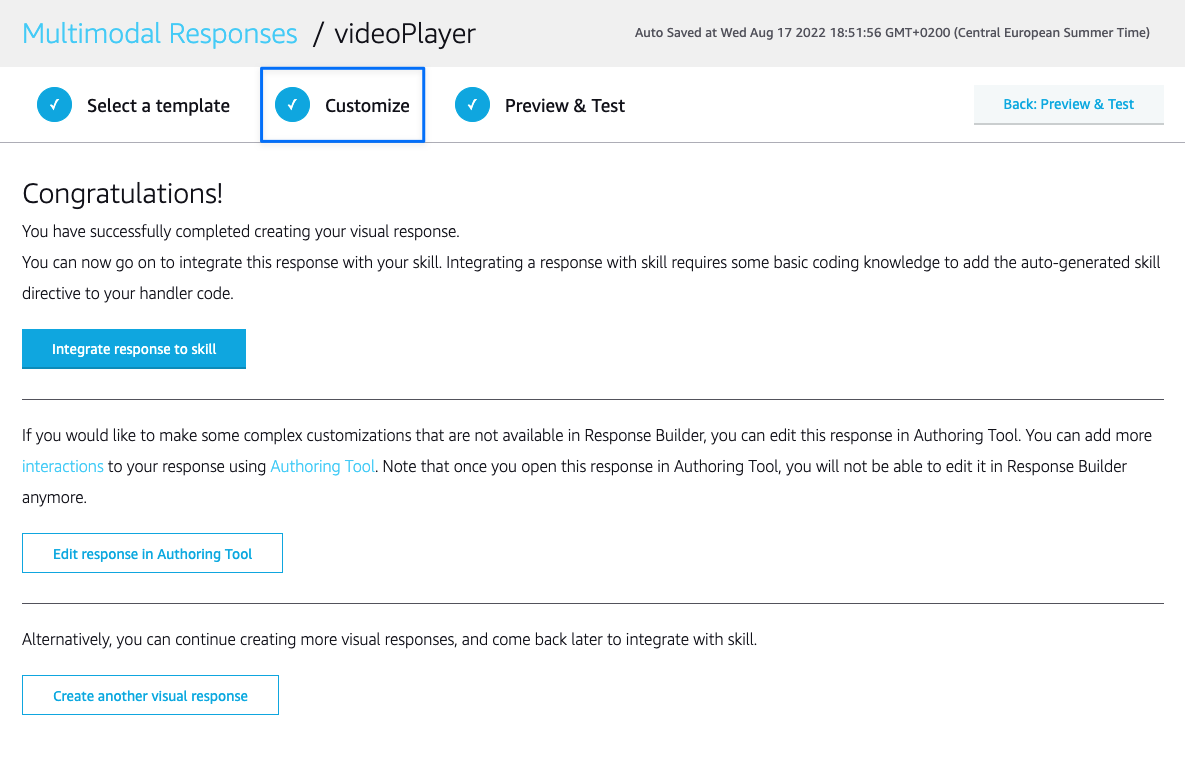
From the next screen, you can click on Customize to edit/update your APL template.
Here for example, I’m updating the Control Type property
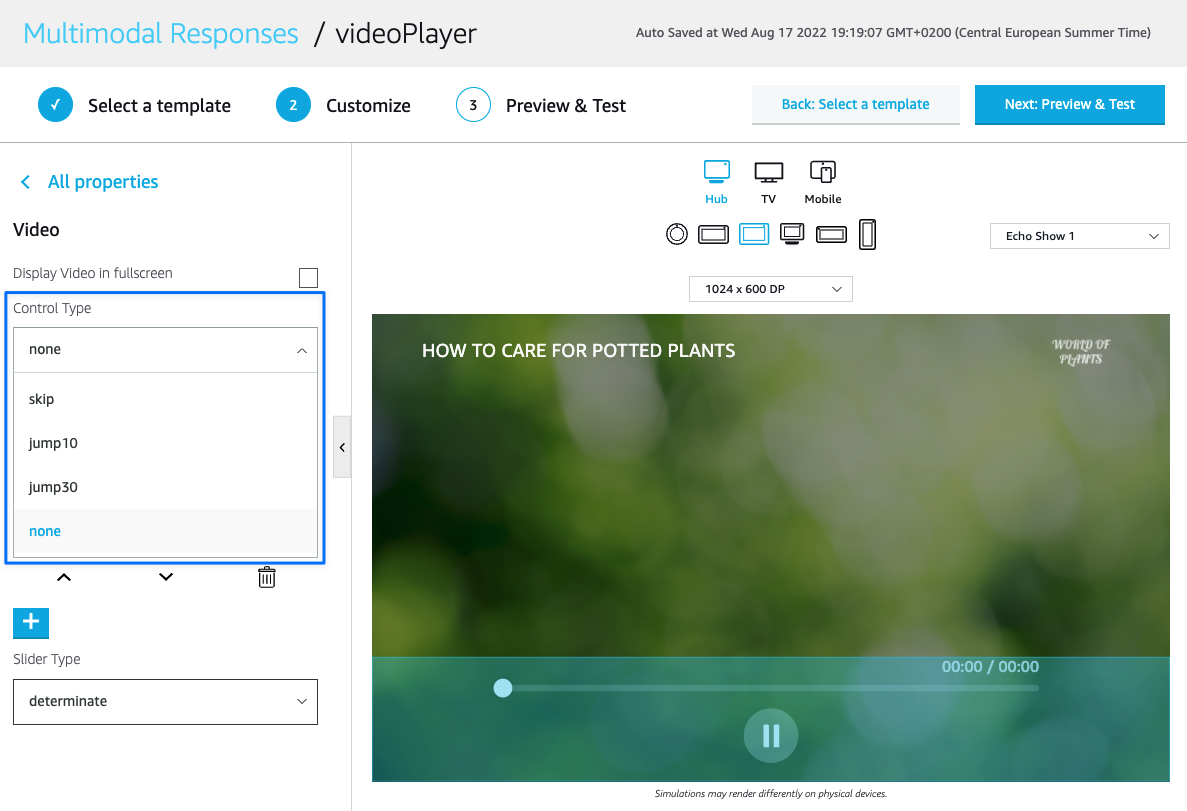
You can tweak and change all the properties available but do not forget to click the Next: Preview & Test button and then on the Done! button when you’re done to populate your changes.


On the Congratulations! screen, click on the Integrate response to skill button.

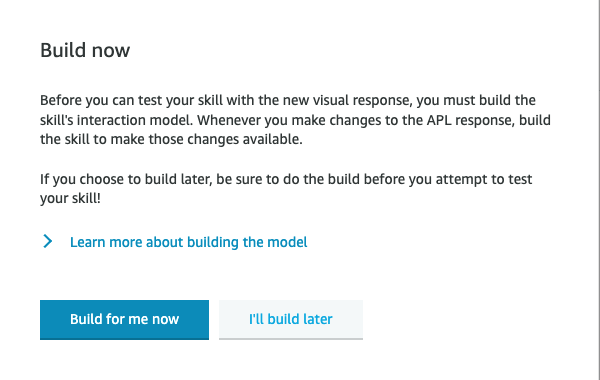
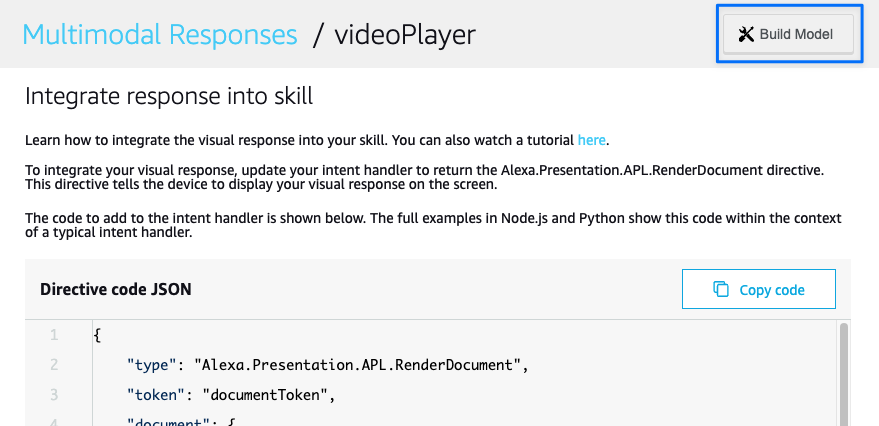
Back on the Integrate response into skill page, be sure to click on the Build Model button on the top right or on the Build for me now button on the modal to publish your changes to the linked document/template.
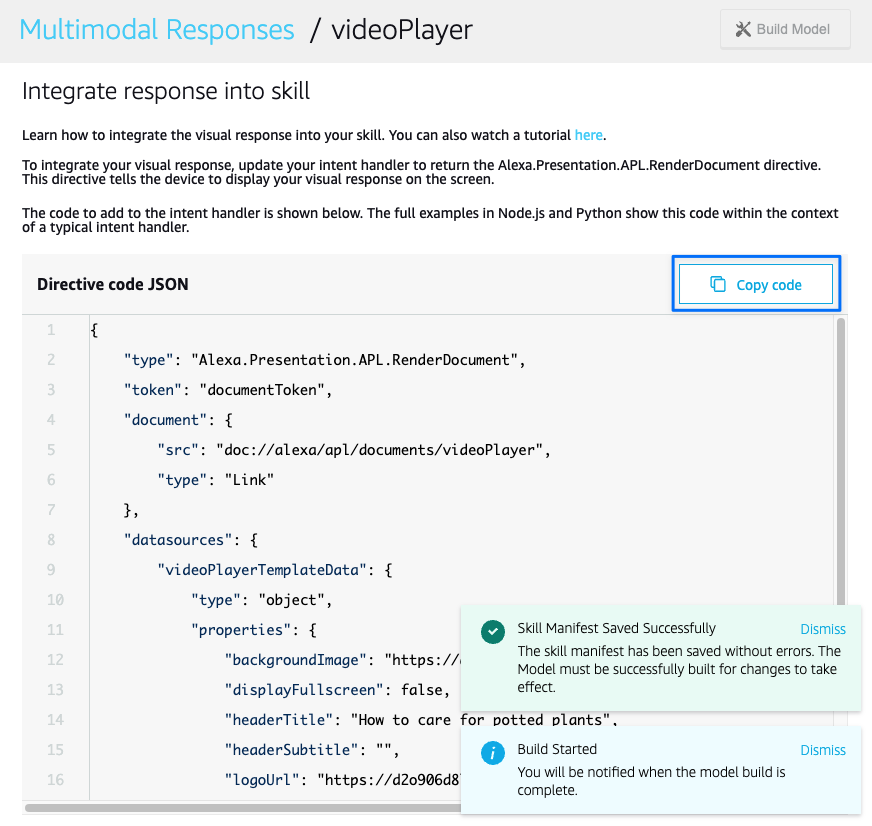
We will also need to update our directive code so click on the Copy code button before going back to your Voiceflow Alexa project.
Step 4 | Update your template on Voiceflow
In your Voiceflow Alexa project, click on the Directive step and replace the actual code with the one you’ve just copied.
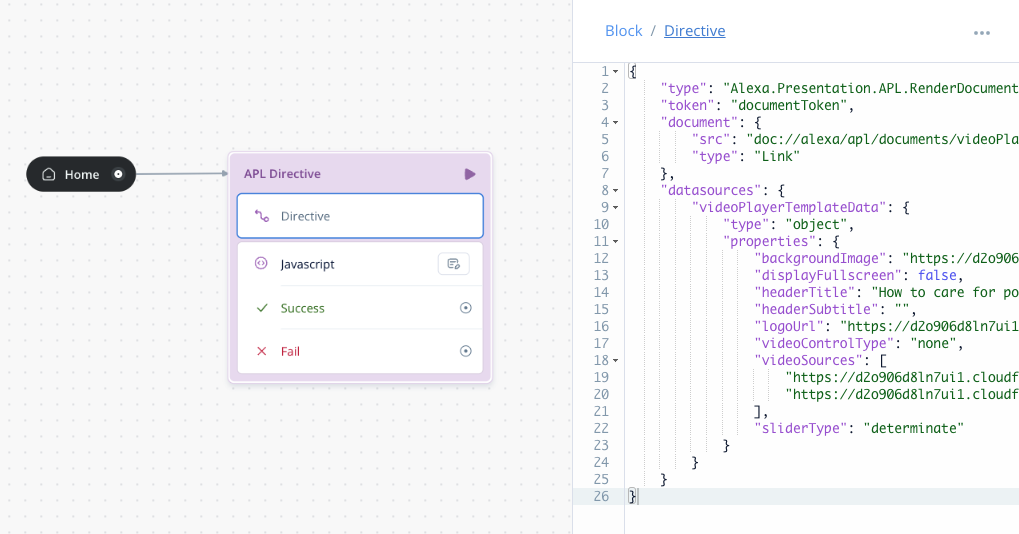
Now that we have our base template, we can start tweaking the code in the directive as well.
To have a better view, click on the Expand Fullscreen button from the bottom right menu in the Directive step settings view.
Let’s update the headerTitle value to use a variable we can populate before the Directive step to dynamically set a title.
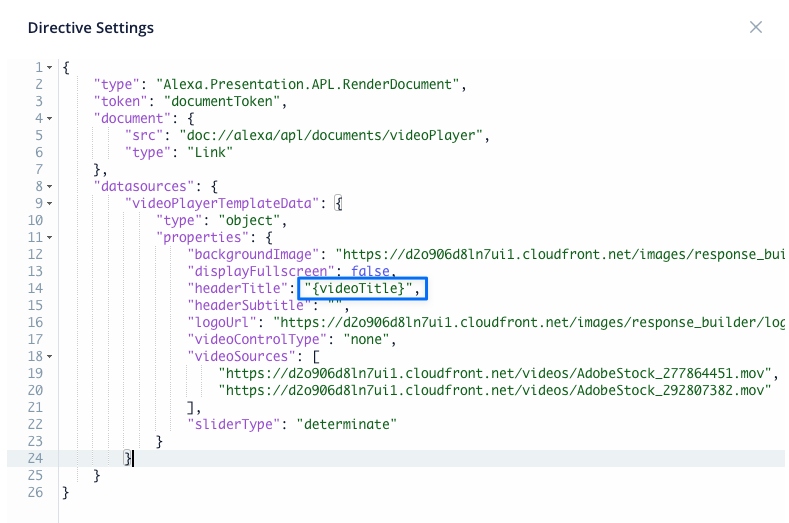
"headerTitle": "{videoTitle}"
You can use {variables} in the Directive code anywhere you need them. As we’ve done for the headerTitle property, you can do the same with the backgroundImage for example.
As we are using a variable now we want to populate it with a value. We are using a Set step to do that.
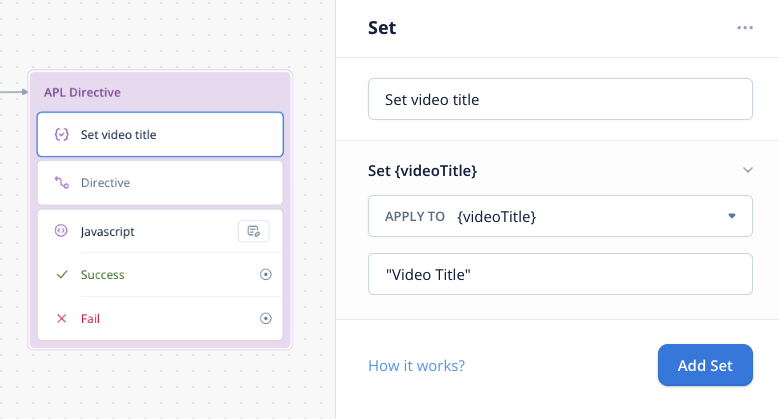
Upload you project to Alexa when you’re ready to test you changes.
You might need to wait around 3-5 minutes for the changes to populate before being able to fully test the skill.
You should be able to see your changes (here the header title and the video control).
Further reading
Updated about 1 year ago