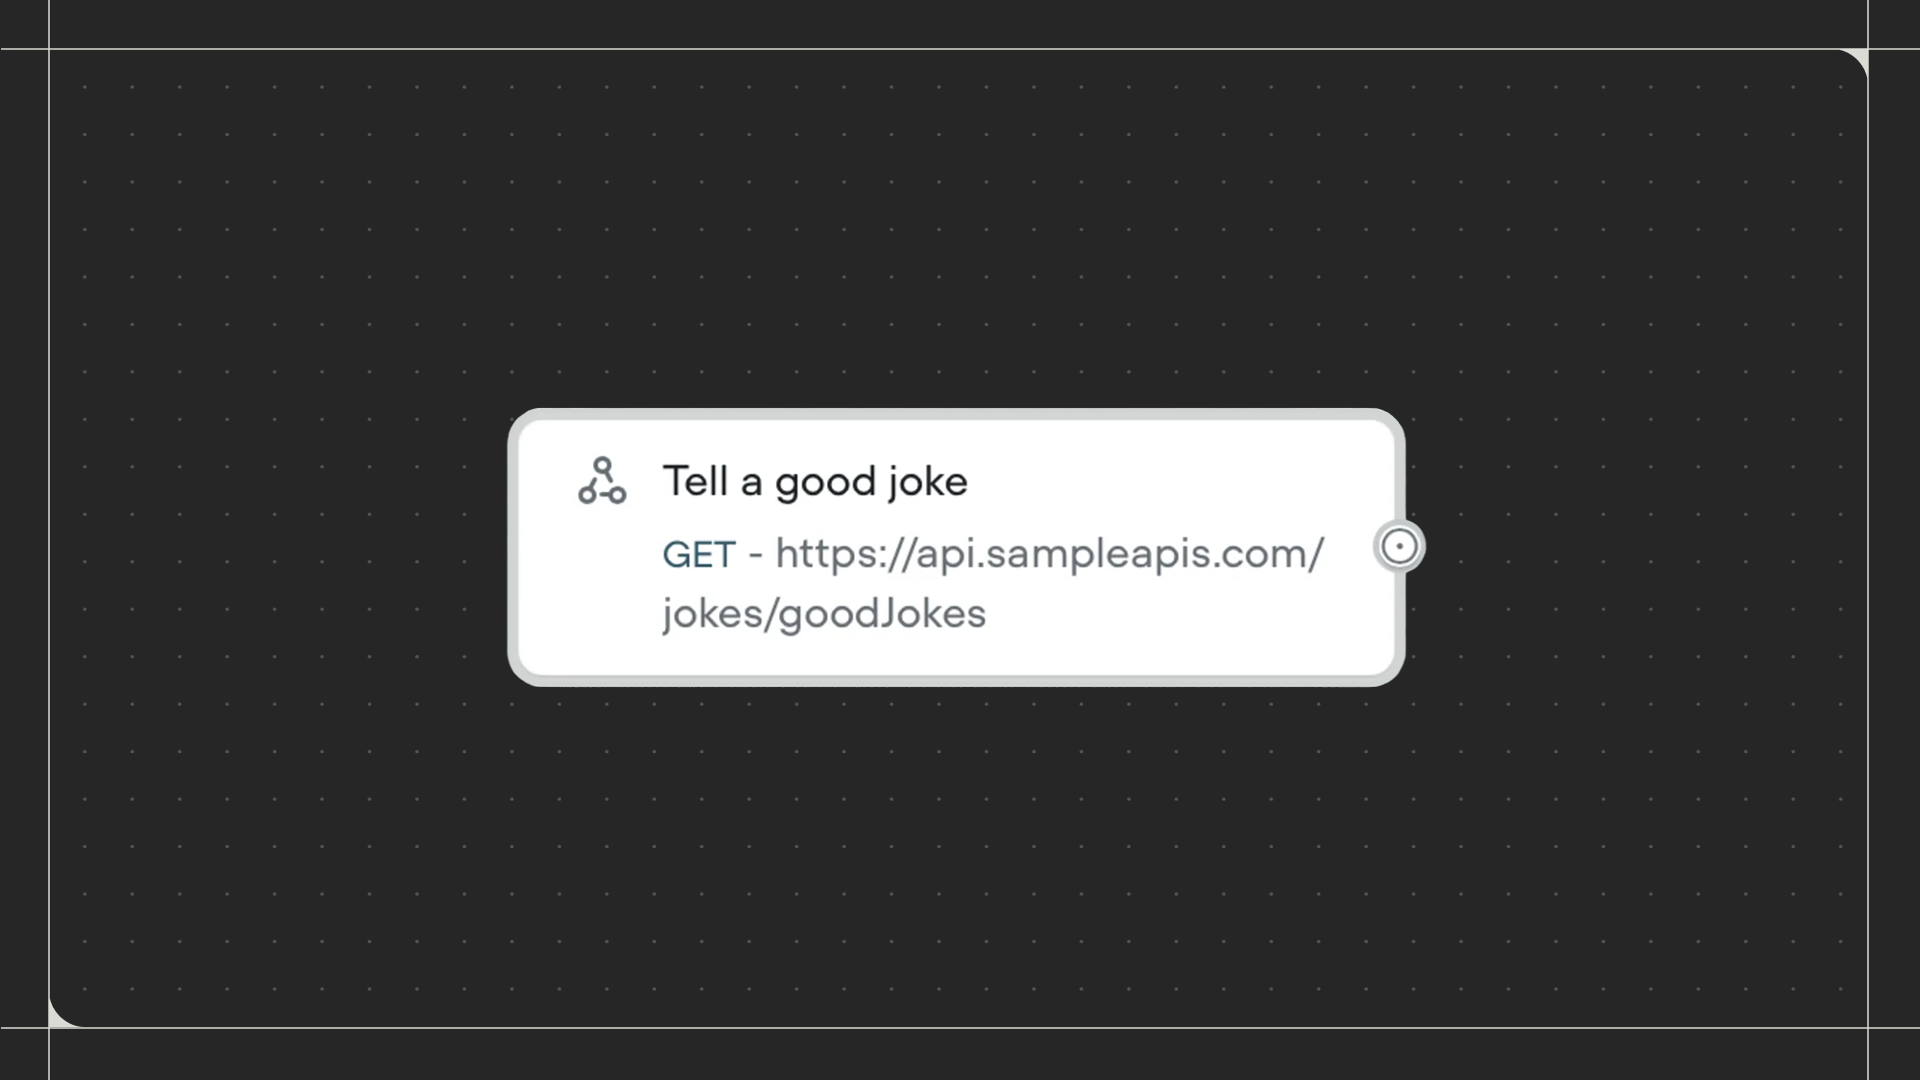
The API Step allows you to make custom API calls to connect your assistant with external APIs and data.

The API block consists of several parts:

  • The request type — GET, POST, PUT, DELETE, PATCH
  • The endpoint — request URL or {variable}
  • Headers, parameters, and body — respective parameter keys & values (can input raw body content code)
  • Capture Response — entering respective keys & saving/capturing to variables
  • Send Request — a button to test the API Step or call/request directly from Canvas

There are 5 standard request types available through the API block.

  • GET — Retrieves information from your data source
  • POST — Creates information in your data source
  • PUT — Completely updates information in your data source
  • DELETE — Deletes information in your data source
  • PATCH — Partially updates information in your data source

Depending on your assistant design, you should consider using an API step for functions that involve retrieving data from an external database or sending data to another source. Some use cases involve making a new Zendesk (or other similar customer support platforms) ticket request, sending and getting data from an Airtable database, or registering a potential client prospect in an internal repository.

📘

For reusuable use cases that might require more formatting of data in and out, consider using a function instead of an API step.

Endpoint

The endpoint is the URL that points to your API. Similar to website URL, your endpoint URL is where your requests will be sent to speak with your API. You can also configure endpoints with { variables } by simply putting them into the link string.

An example API endpoint could look like the following:

https://api.twitter.com/1.1/search/tweets.json

Headers, Body, and Parameters

Your API may need additional information in order to give you information. This information can include data like Usernames, Passwords, Authentication tokens, etc. Typically, these fields will be provided by your API provider in their documentation.

If you want to add a Raw Body (often used for JSON) to the request that references variables from your agent, you'll need to write them inside quotes and then use the curly braces: "{variable_name}". There isn't any auto-complete for this, so just make sure to exactly match the name and case of your variables.

For example, here's the Raw Body for adding an entry to Airtable. We include "{caller_name}", "{booking_time}" and "{booking_number}", that are entities and variables in our agent.

{"records": [
  {
    "fields": {
      "Name": "{caller_name}",
      "Time": "{booking_time}",
      "Group Size": "{booking_number}"
    }
  }
]}

Capture Response/Saving to Variables

Once you have successfully made an API call, you will receive back a JSON object. Once you have this, you will likely want to save some of the information you got back onto Voiceflow to speak back to the user, send to another API or compare to something that a user has said.

You can do this using the “Capture Response” section. Simply copy the object path or key, and paste it into the text box. Then select a variable that you would like to save to/apply to.

A path always begins with “response” followed with the path you want to map.

As an example, with an API response like this one:

{
  "name": "Voiceflow",
  "product": "Creator"
}

You can map the name to a variable using response.name.

Send and Test Request

Testing the request allows you to make sure that your API call is working before moving on in your assistant. If it succeeds, you will see a message saying "Success".

You can click on the copy icon beside portions of the JSON to copy the object path and save it into a variable.

Troubleshooting tips

  • Double-check the API documentation for what content types are accepted and compare your configuration to any example requests.
  • Re-test the API call using a tool like cURL, Postman or Insomnia.
  • If the API endpoint accepts JSON body content and the API returns errors regarding missing fields or incorrect body format, try the following steps:
    • Validate the JSON format. Use an online JSON formatter or validator to check if the JSON body format is correct. For example, JSON supports straight quotes (i.e., ' or ") and not curly quotes (i.e., “ and “). Some text editors automatically use curly quotes, which is not valid JSON syntax.
    • Check if there are any unexpected, hidden characters. Use an online tool to reveal hidden characters. Sometimes, a copy-paste of Canvas Steps or text between apps may introduce invisible characters, which are still processed by the API call and may cause errors.

Certificate Upload

If required, you can also upload your SSL/TLS certificates directly to the API block for establishing a handshake between Voiceflow and your server.

To do this, select the settings button and then select Add Certificates.

Here you can upload both your certificate and key. Once uploaded, you can now connect with your server to perform any request. Supported file types are .pem, .cert and .key.