Organizing your workspace
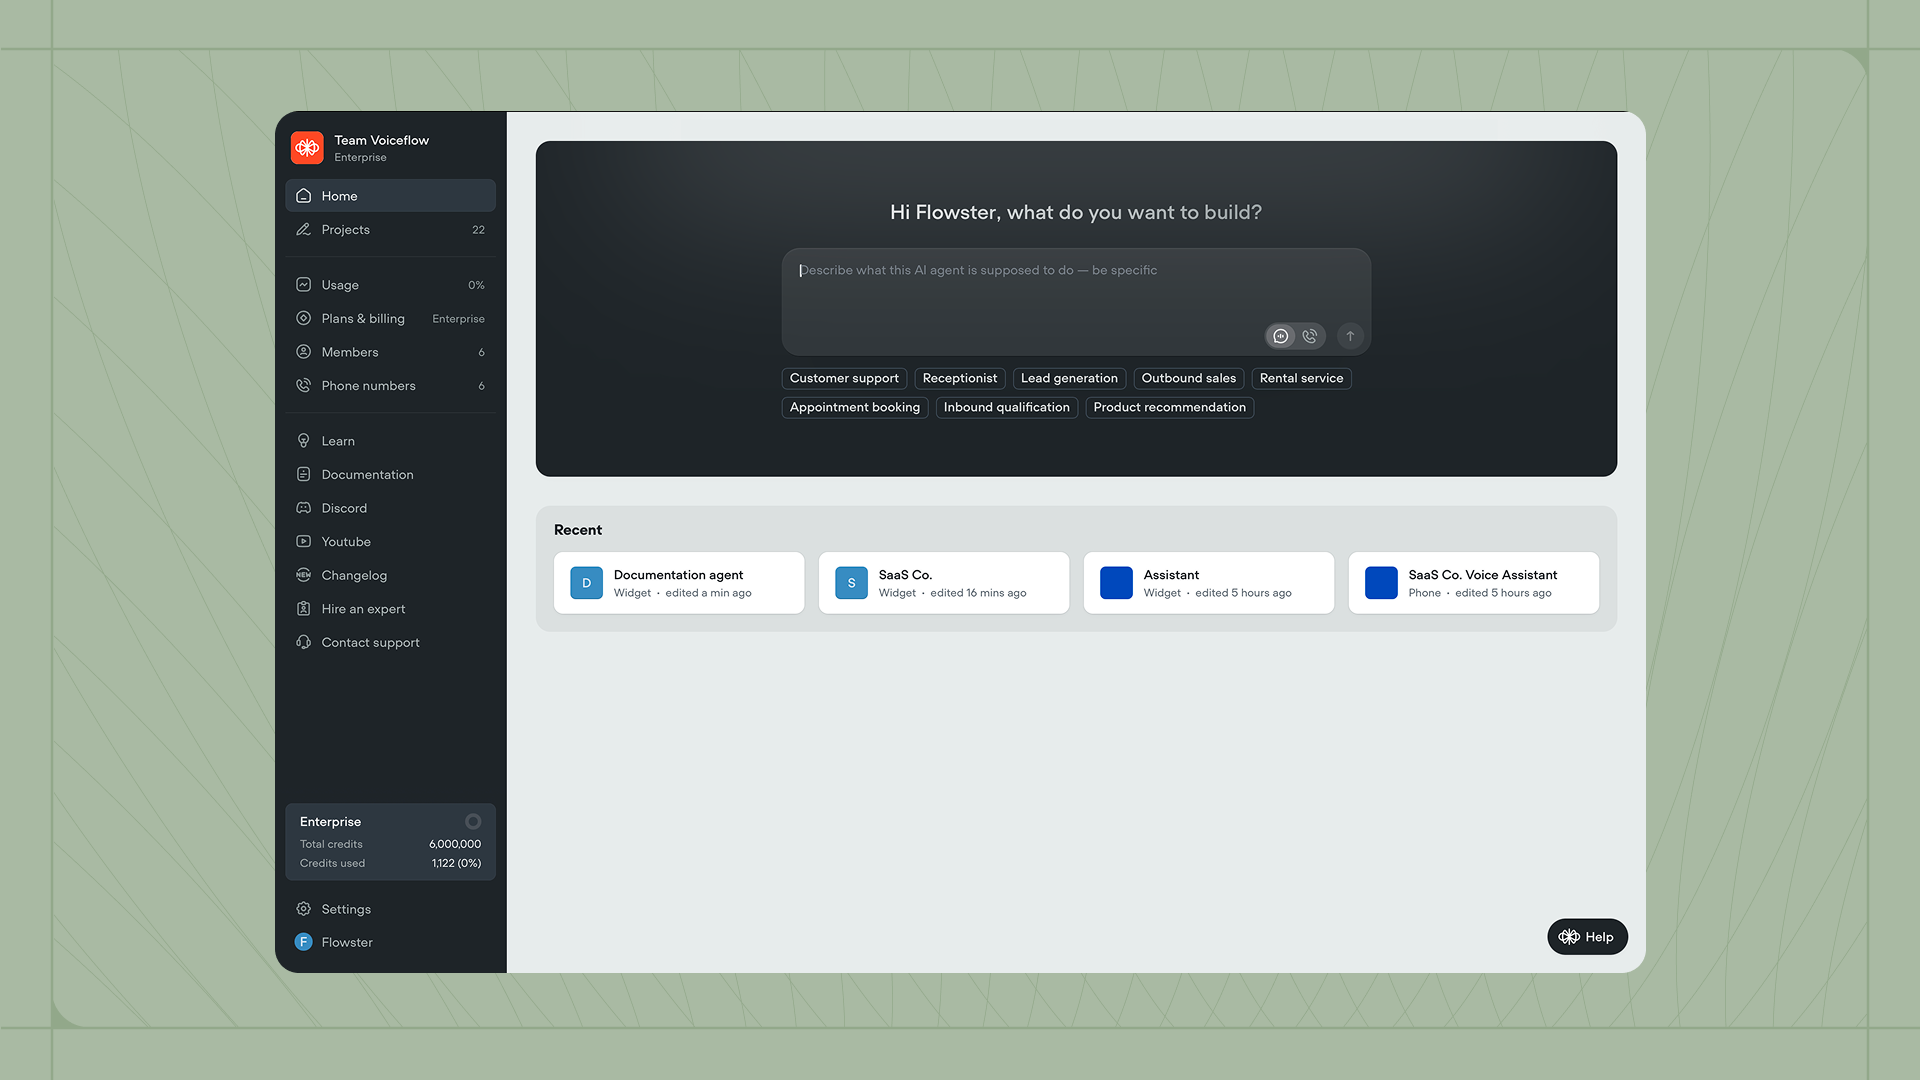
When you log in to Voiceflow, you’ll land on your workspace. You can organize projects into folders, and customize each project’s icon, name, and description by hovering over it and clicking the three-dot menu. From there you can also export the project as a.vf file or share a clone link that lets others copy your agent.
To switch between workspaces, click your workspace name in the top left corner of the dashboard. From here, you can also create new workspaces.
Inviting team members
In the Members section of your workspace, you can manage collaborators and permissions. You can invite people by entering their email address or by copying a magic link to share directly. Magic links expire after 72 hours. When inviting someone, you choose their role. You can change a team member’s role later from the same menu, though you can only assign roles at or below your own access level.Roles
Voiceflow workspaces have five different roles that users may be assigned to:- Owner has full control over the workspace, including billing, settings, and member management. The person who creates a workspace is automatically its owner. On Enterprise plans, owners control all workspaces in the organization.
- Admin can do everything except transfer ownership. Admins manage workspace settings, invite and remove members, and edit all projects.
- Editor can build and publish agents, manage project settings, and import or export projects. Editors cannot invite new members or change workspace settings.
- Viewer can see projects and leave comments, but cannot make edits. Viewer seats are free and unlimited on all plans.
- Billing has the same access as a viewer, plus the ability to manage billing and subscription settings.