Prompt
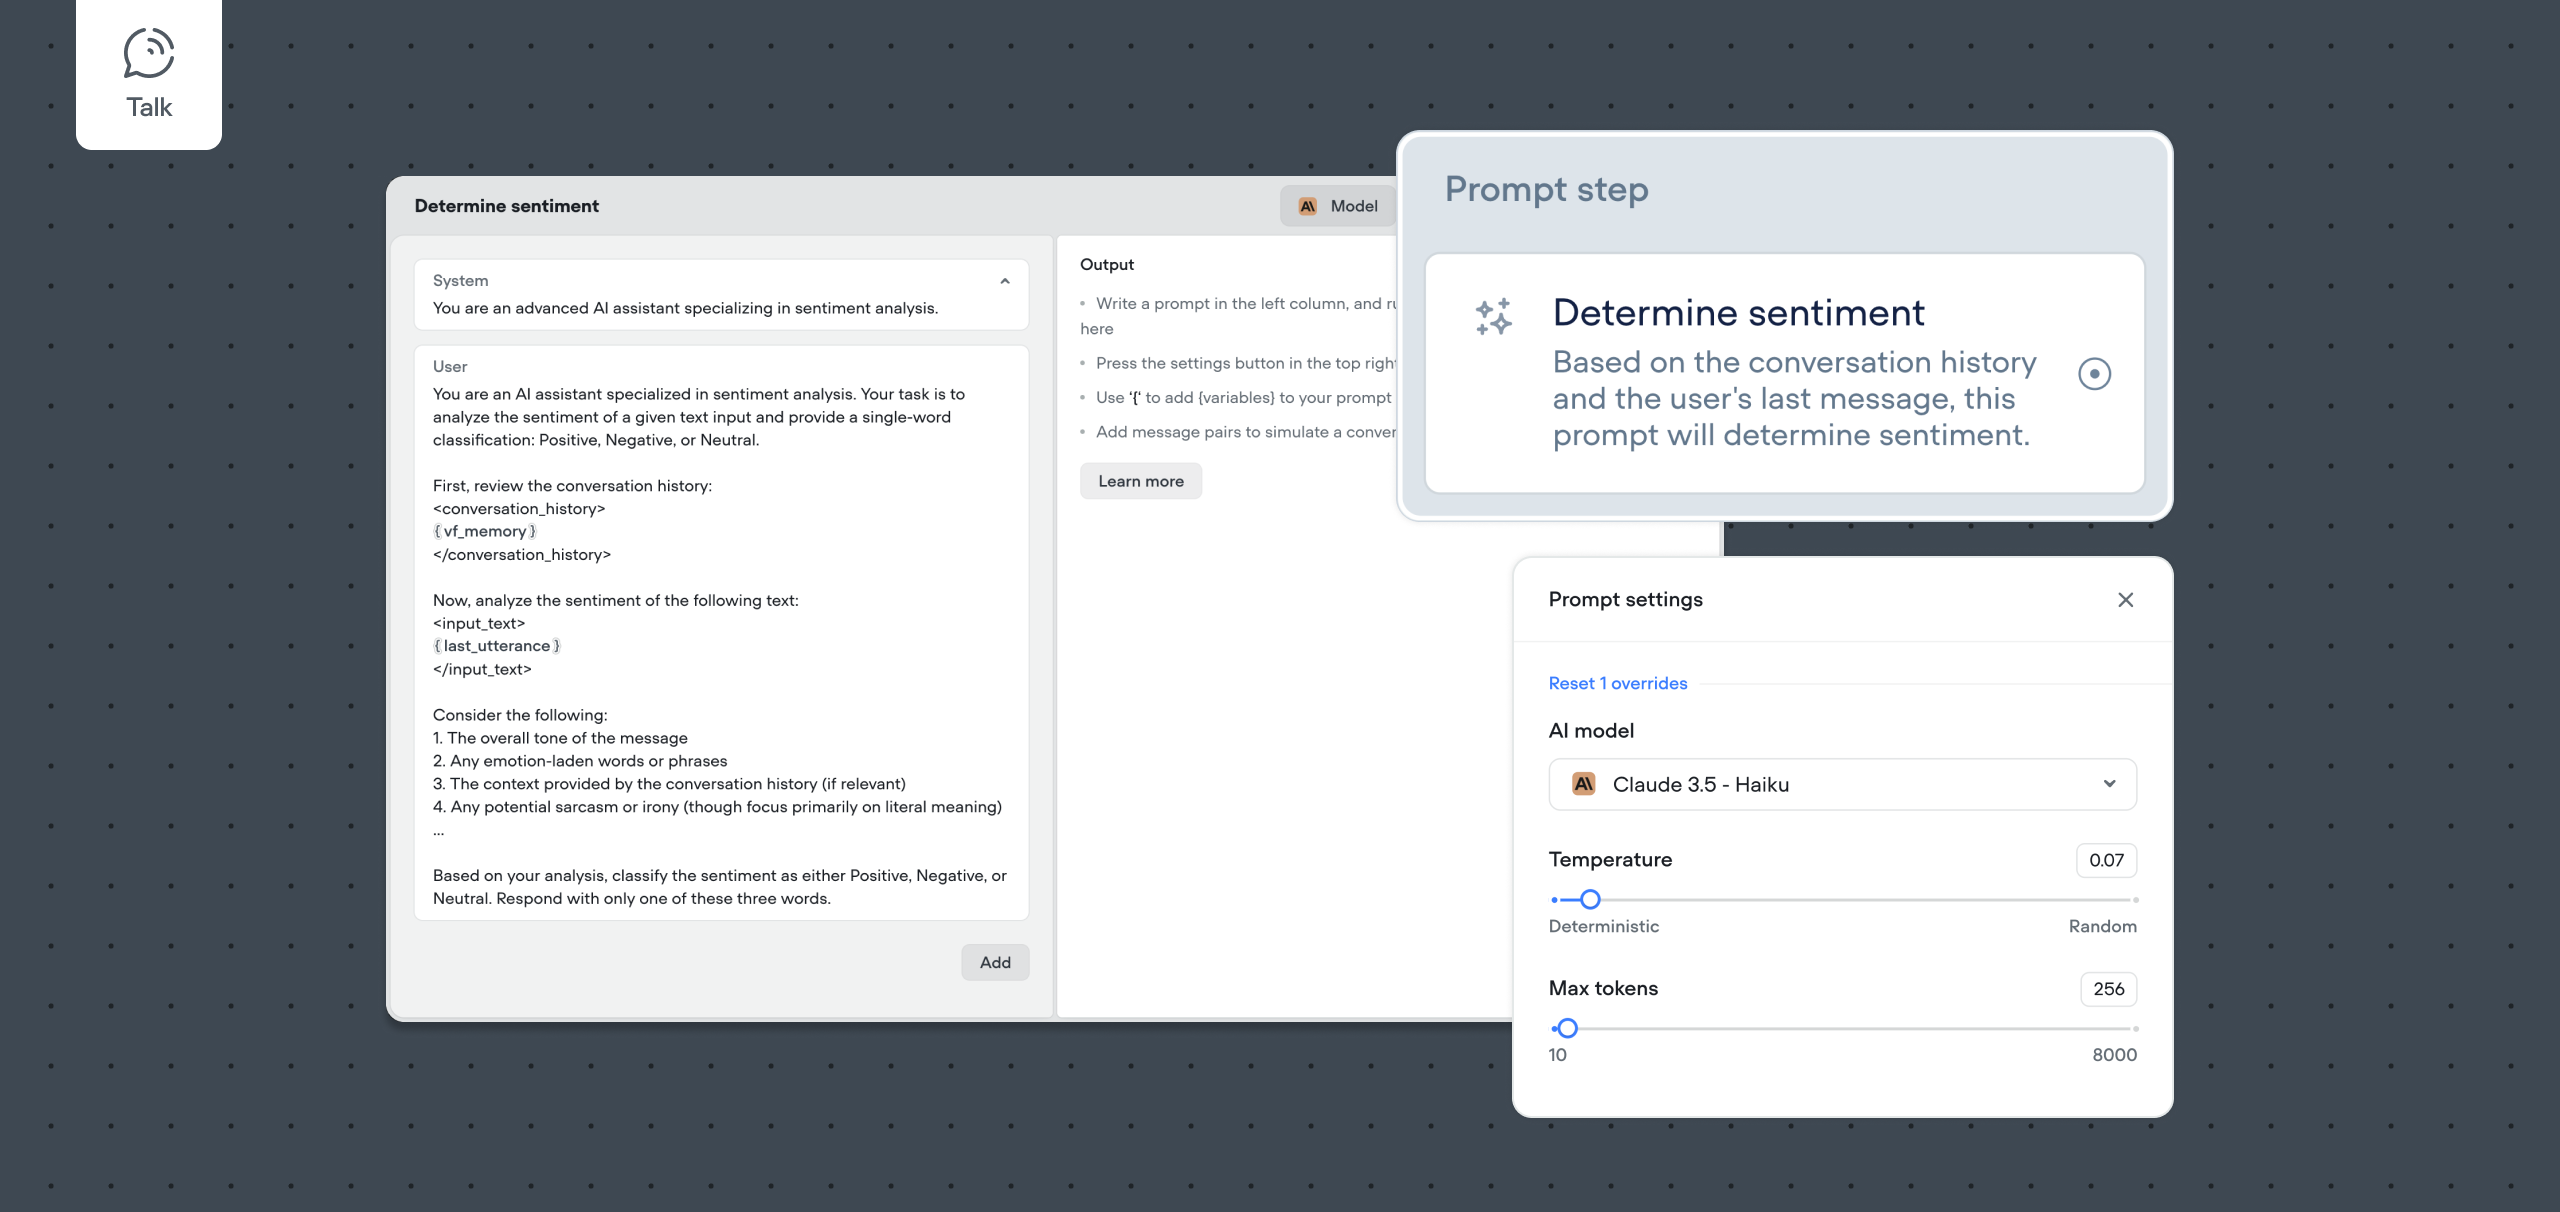
The Prompt step allows you to incorporate advanced AI-driven responses into your conversational agents. By leveraging pre-defined prompts, you can create dynamic and context-aware interactions that enhance the user experience. The Prompt step simplifies the integration of complex prompts, making it easier to design intelligent and responsive agents.
What is the Prompt Step?
The Prompt step is a component you can add to your workflow that utilizes prompts defined in your Prompts CMS. It allows your agent to generate responses based on these prompts, which can include system prompts, user-agent message pairs, variables, and more. This step enables you to:
- Select an existing prompt from your Prompts CMS.
- Create a new prompt directly from the workflow.
- Edit prompts on the fly without leaving the canvas.
- Seamlessly integrate AI-generated content into your conversation flow.
How to Use the Prompt Step
1. Adding the Prompt Step to Your Workflow
- Navigate to Your Workflow: Open the workflow where you want to add the Prompt step.
- Drag and Drop: From the step toolbar, select the Prompt step and drag it onto the canvas.
2. Configuring the Prompt Step
When you add the Prompt step, you’ll have two options:
Option A: Select an Existing Prompt
- Select a Prompt: Click on the dropdown menu within the Prompt step editor.
- Choose from the List: You’ll see a list of prompts you’ve previously created in the Prompts CMS.
- Select the Desired Prompt: Click on the prompt you want to use.
- No Additional Configuration Needed: Once selected, the Prompt step is ready to use with the chosen prompt.
Option B: Create a New Prompt
-
Click “New Prompt”: Within the Prompt step editor, click the New Prompt button.
-
Prompt Editor Opens: A modal window appears, allowing you to create a new prompt.
-
Define Your Prompt: Enter the prompt name, description, and content as you would in the Prompts CMS.
-
Save the Prompt: After configuring your prompt, it will now be available in your Prompts CMS and selectable in the dropdown.
3. Editing a Prompt from the Workflow
- Edit Prompt Button: After selecting a prompt, an Edit Prompt button appears below the dropdown.
- Make Changes: Click this button to open the Prompt Editor directly from the canvas.
- Save Changes: Modify your prompt as needed. Changes are reflected wherever the prompt is used.
4. Integrating the Prompt Step into Your Flow
- Connect Steps: Link the Prompt step to other steps in your workflow to define the conversation path.
- Testing: Use the built-in prototype tool to test how the Prompt step functions within your agent.
- Adjust as Needed: Based on testing, you can return to the Prompt step to select different prompts or edit existing ones.
Best Practices
Use Clear Prompt Names
- Consistency: Ensure prompt names are descriptive to make selection easier.
- Organization: Helps maintain clarity, especially when managing multiple prompts.
Test Your Prompts
- Validate Responses: Use the prototype tool to ensure the prompt generates the desired output.
- Variable Checks: Confirm that any variables used in the prompt are correctly populated at runtime.
Example Scenario
Imagine you’re building an agent that provides personalized product recommendations.
Steps:
-
Create a Prompt: Define a prompt in the Prompts CMS that generates recommendations based on user preferences.
-
Add Prompt Step: Drag the Prompt step into your workflow where the recommendation should occur.
-
Select the Prompt: Choose your recommendation prompt from the dropdown.
-
Connect Steps: Link the Prompt step after collecting user preferences and before presenting the recommendations.
-
Test the Flow: Use the prototype tool to ensure the agent provides appropriate recommendations.
Learn more
- Prompt CMS and Editor: Explore the central hub for creating, testing, and managing prompts within your agent.
- Set step: Discover how to dynamically assign prompt outputs to variables for greater control over agent behaviour.
Updated 3 months ago