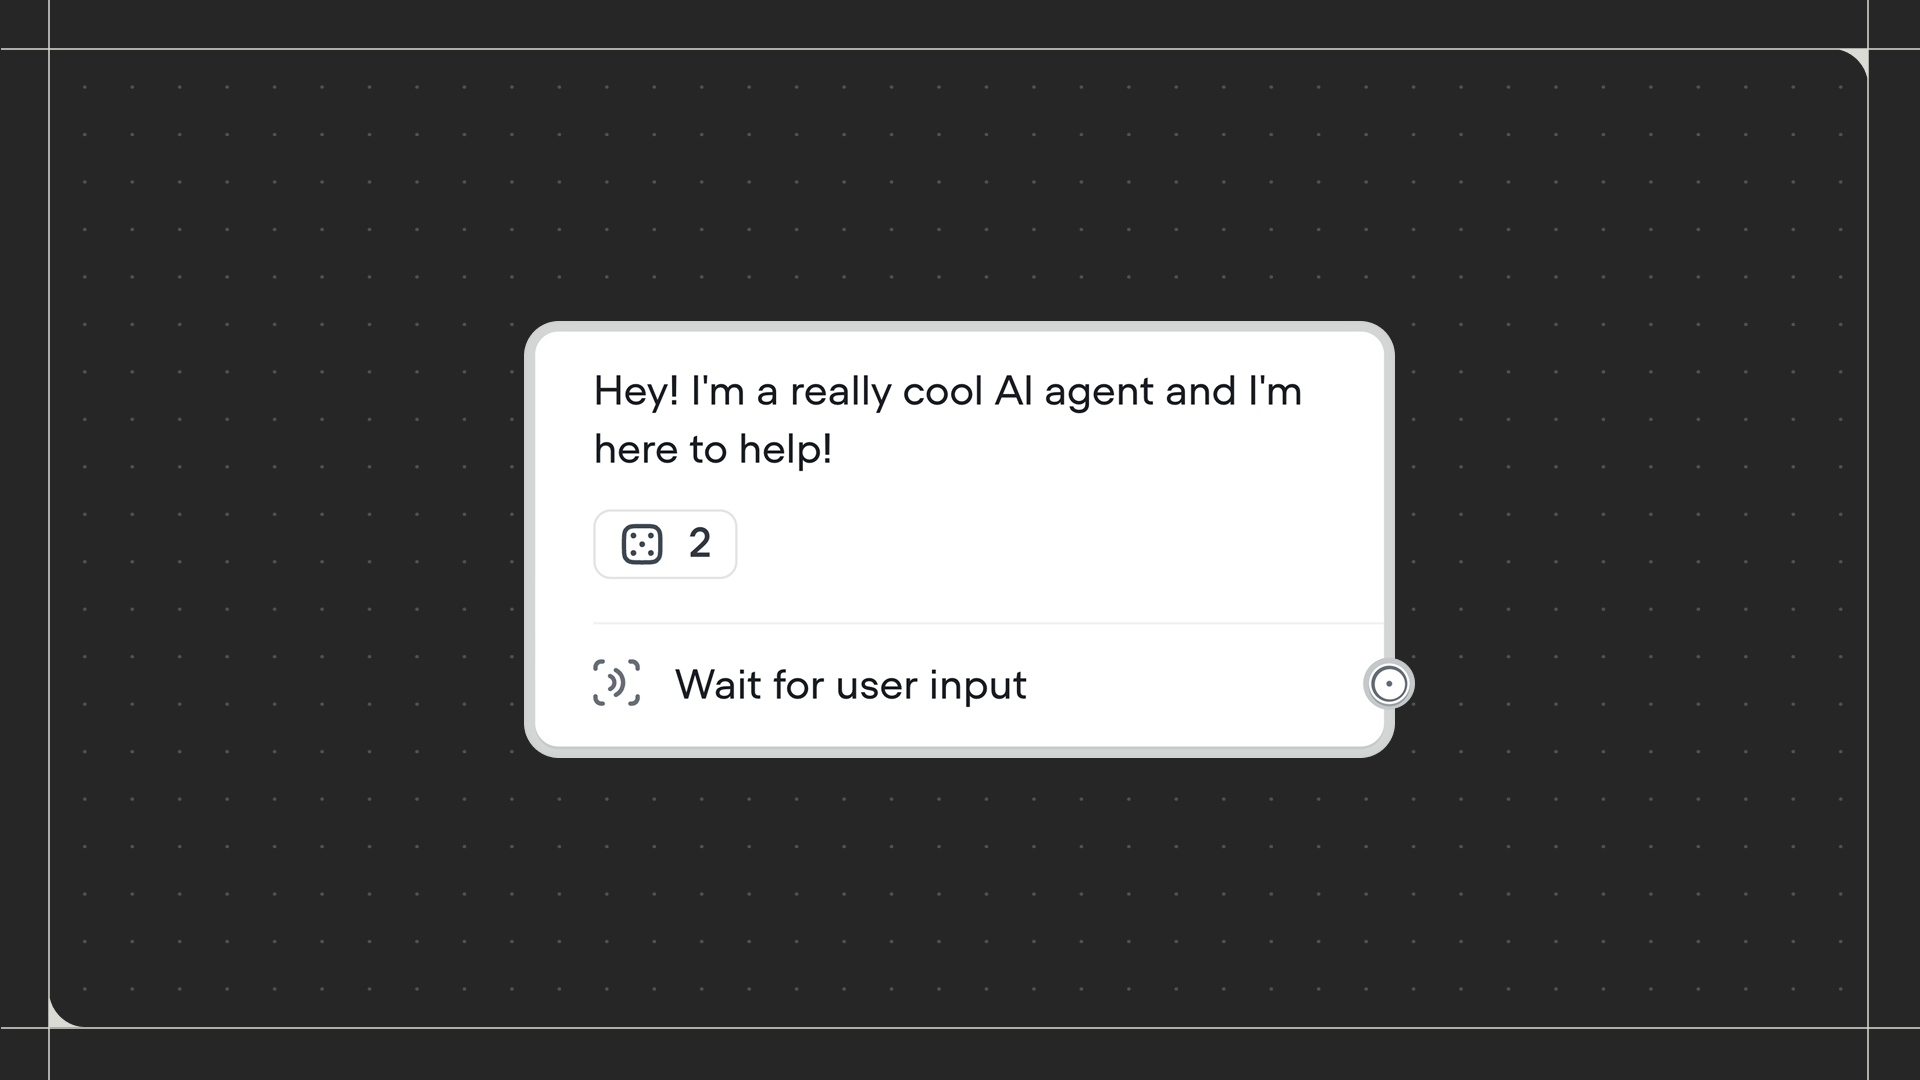
Overview

Messages are an important data type in your agent. Available are a suite of tools to scale message creation and usage, transforming how you manage, scale, and customize your AI agent’s responses. This guide provides detailed, step-by-step instructions for using messages across your agent and explains how you can leverage the supporting tools to maximize effectiveness.

📘

The Messages feature is currently available exclusively for chat projects. We recognize the value this feature brings and are actively working on unifying our chat and voice project types. Our goal is to ensure that both modalities will soon benefit from the enhanced flexibility and efficiency that Messages provide.

Key Features

  • Centralized Management: Manage all agent messages from a single, unified interface. This includes text responses in message steps and entity reprompts.
  • Rich Text Formatting: Enhance your messages with various formatting options.
  • Variants: Create multiple versions of a message for diverse scenarios.
  • Conditions: Use expression builders or JavaScript to tailor responses.
  • Reusability: Easily reuse messages across different workflows and/or components for consistency and efficiency.

Video Walkthrough


Instructions

Accessing Messages CMS

  1. Navigate to the CMS:
    • Access the Messages tab from the Agent CMS.
    • The interface includes four columns:
      • All Messages: Displays all messages by the text of your default message.
      • Used By: Indicates components or workflows referencing the message.
      • Last Editor: Shows who last edited the message.
      • Updated: Displays when the message was last updated.

Creating a New Message

  1. From the CMS:

    • Click the "New Message" button in the top-right corner.
    • A new row is added to the table, and the message editor appears on the right.
  2. On the Canvas:

    • Drag the "Message" step from the toolbar onto the canvas.
    • This action creates an instant reference in both the CMS and the canvas.

Editing a Message

  1. Message Editor:
    • Enter your message in the input field.
    • Utilize rich text formatting options:
      • Bold: Emphasize important text.
      • Italic: Highlight key points.
      • Underline: Underline significant information.
      • Strikethrough: Indicate deletions or modifications.
      • Hyperlink: Add links to direct users to additional resources.
      • Message Delay: Set a delay to simulate typing for a more natural feel.

Adding Variants

  1. Variants for Flexibility:

    • Variants allow different versions of a message for varied responses.
  2. Automatically Generated Variants:

    • Use AI to generate variants based on your base message.
    • This feature leverages AI to create diverse and contextually appropriate responses.
  3. Manually Created Variants:

    • Click the + button to add a new variant.
    • Manually enter the variant message and apply formatting and conditions as needed.

Setting Conditions

  1. Defining Conditions:

    • Conditions determine which variant to use based on specific criteria. You can apply one or many assertions per condition.
  2. Using Condition Builder:

    • Choose between "Match all" or "Match any" assertions.
    • Define conditions using variables and operators (e.g., is, is not, greater than).
    • Input values directly or use existing project variables.
      • The input value defaults to string unless value is an integer. If you require to check assertions with other data types, you will be required to use Expression conditions.
  • To add multiple assertions in a single variant condition, click the + button.
  1. Using Expression:

    • Choose "Expression" to open the JavaScript code editor.
    • Write custom JavaScript code to define your condition. If the code returns true, the variant will be marked as true.
    • Note: You do not need to use the return command in this editor.
    • Example:Basic Condition: Checking User’s Session Count
      • sessions == 5
        
      • This condition checks if the user's session count is equal to 5. If true, the variant will be used.
    • Example: Complex Condition: Checking Multiple Criteria
      • age >= 18 && isSubscribed === true
        
      • This condition checks if the user is 18 years or older and is subscribed. Both conditions must be true for the variant to be selected.

Reordering Variants

  1. Order of Evaluation:
    • Variants are evaluated from top to bottom.
    • The first true variant is used; if all variants are false, the default message is used.
  2. Reordering:
    • Drag and drop variants to reorder them as needed.
    • Ensure the most specific conditions are checked first to optimize response accuracy.

Reusing Messages

  1. Reuse for Consistency:
    • Reuse messages by typing a forward slash (/) in the message editor. You can filter down results by immediately beginning to type the message you are looking to reference.

🚧

Impact of Changes

Changes to a reused message effect all instances where it is used.

Managing References

  1. Visibility of Impact:

    • The "Used By" column shows where each message is used.
    • This provides visibility into the impact of changes across different components.
  2. Editing References:

    • Sever connections to edit messages independently without affecting other instances.
    • This ensures targeted updates without unintended consequences.

Best Practises

  • Consistency: Reuse messages to maintain consistency across your agent.
  • Visibility: Use the "Used By" column to track where changes will have an impact.
  • Variants: Utilize AI to quickly generate message variants.
  • Conditions: Leverage both the condition builder and JavaScript for flexible condition evaluation.
  • Propagation: Be aware that changes to reused messages will affect all instances.
  • Order of Operations: Ensure the correct order of variants to avoid unexpected behaviour.
  • Review Conditions: Regularly review conditions to ensure they are still relevant and accurate.

Example Scenario

Imagine you are building a customer service agent that needs to respond differently based on user intent and previous interactions. Here’s how you can leverage the Messages:

  1. Create a Welcome Message:

    • Enter a welcoming message using rich text formatting to highlight key points.
    • Add variants to greet users differently based on the time of day (morning, afternoon, evening).
  2. Set Conditions for Variants:

    • Use the condition builder to create assertions based on the user's account type and time of day.
  3. Reuse Messages:

    • Reuse the welcome message across different parts of the chatbot to maintain a consistent tone.
    • Update the welcome message in the CMS, and the changes will propagate throughout the agent.
  4. Manage References:

    • Check the "Used By" column to ensure the welcome message is correctly referenced across all relevant workflows.