Environments and Backups
Environments
Environments provide a well-organized space to separate the development and production versions of your project. This guide will walk you through how to effectively use the Environments feature to streamline your development process.
Accessing Environments
To access the Environments feature:
- Navigate to the Settings tab in your assistant.
- Click on the 'Environments' tab

Understanding the Environments Table
The Environments table displays your current workspaces:
- Development: This is your sandbox, where you can test new features, debug, and make changes without impacting the live version.
- Production: Once you've published your project, the production environment will appear here. This is the live version that is accessible to users.
Both environments are always active, and are available through APIs. Learn more about project and version IDs in the API reference.
Working with Environments
Development Environment
- You can use the development environment to build and test new features.
- Changes made here do not affect your production project.
- Once you are satisfied with the changes, you can publish them to make them live.
Production Environment
- This environment reflects the live version of your project.
- It should only be updated with fully tested and stable versions from the development environment.
- The production environment is what your end-users interact with when you use the
productionversion alias.
Transitioning Between Environments
To promote a version from development to production:
- Ensure that all new features and fixes have been thoroughly tested in the development environment.
- Follow your internal procedures for deployment, which might involve a review process or automated scripts.
- Once deployed, monitor the production environment for any unexpected behaviors.
Best Practices
- Keep a clear log of changes and updates made in the development environment to track what needs to be published using backups.
- Only push thoroughly tested and reviewed changes to the production environment to maintain the integrity of the live project.
Backups
Create a Backup of Your Assistant on Voiceflow
Backups let you save an official snapshot of your assistant at a chosen point in time. You can use backups to document an assistant's life cycle so you can view or revert to it later. Unlike environments, they're not necessarily deployed and available from the testing tool or through APIs. Think of them like long term stores or archives of versions of your agent.
Keep track of changes you've made to your files with backup history. This is a powerful and important feature to keep in mind, as you are developing and deploying your conversations in live and/or production environments.
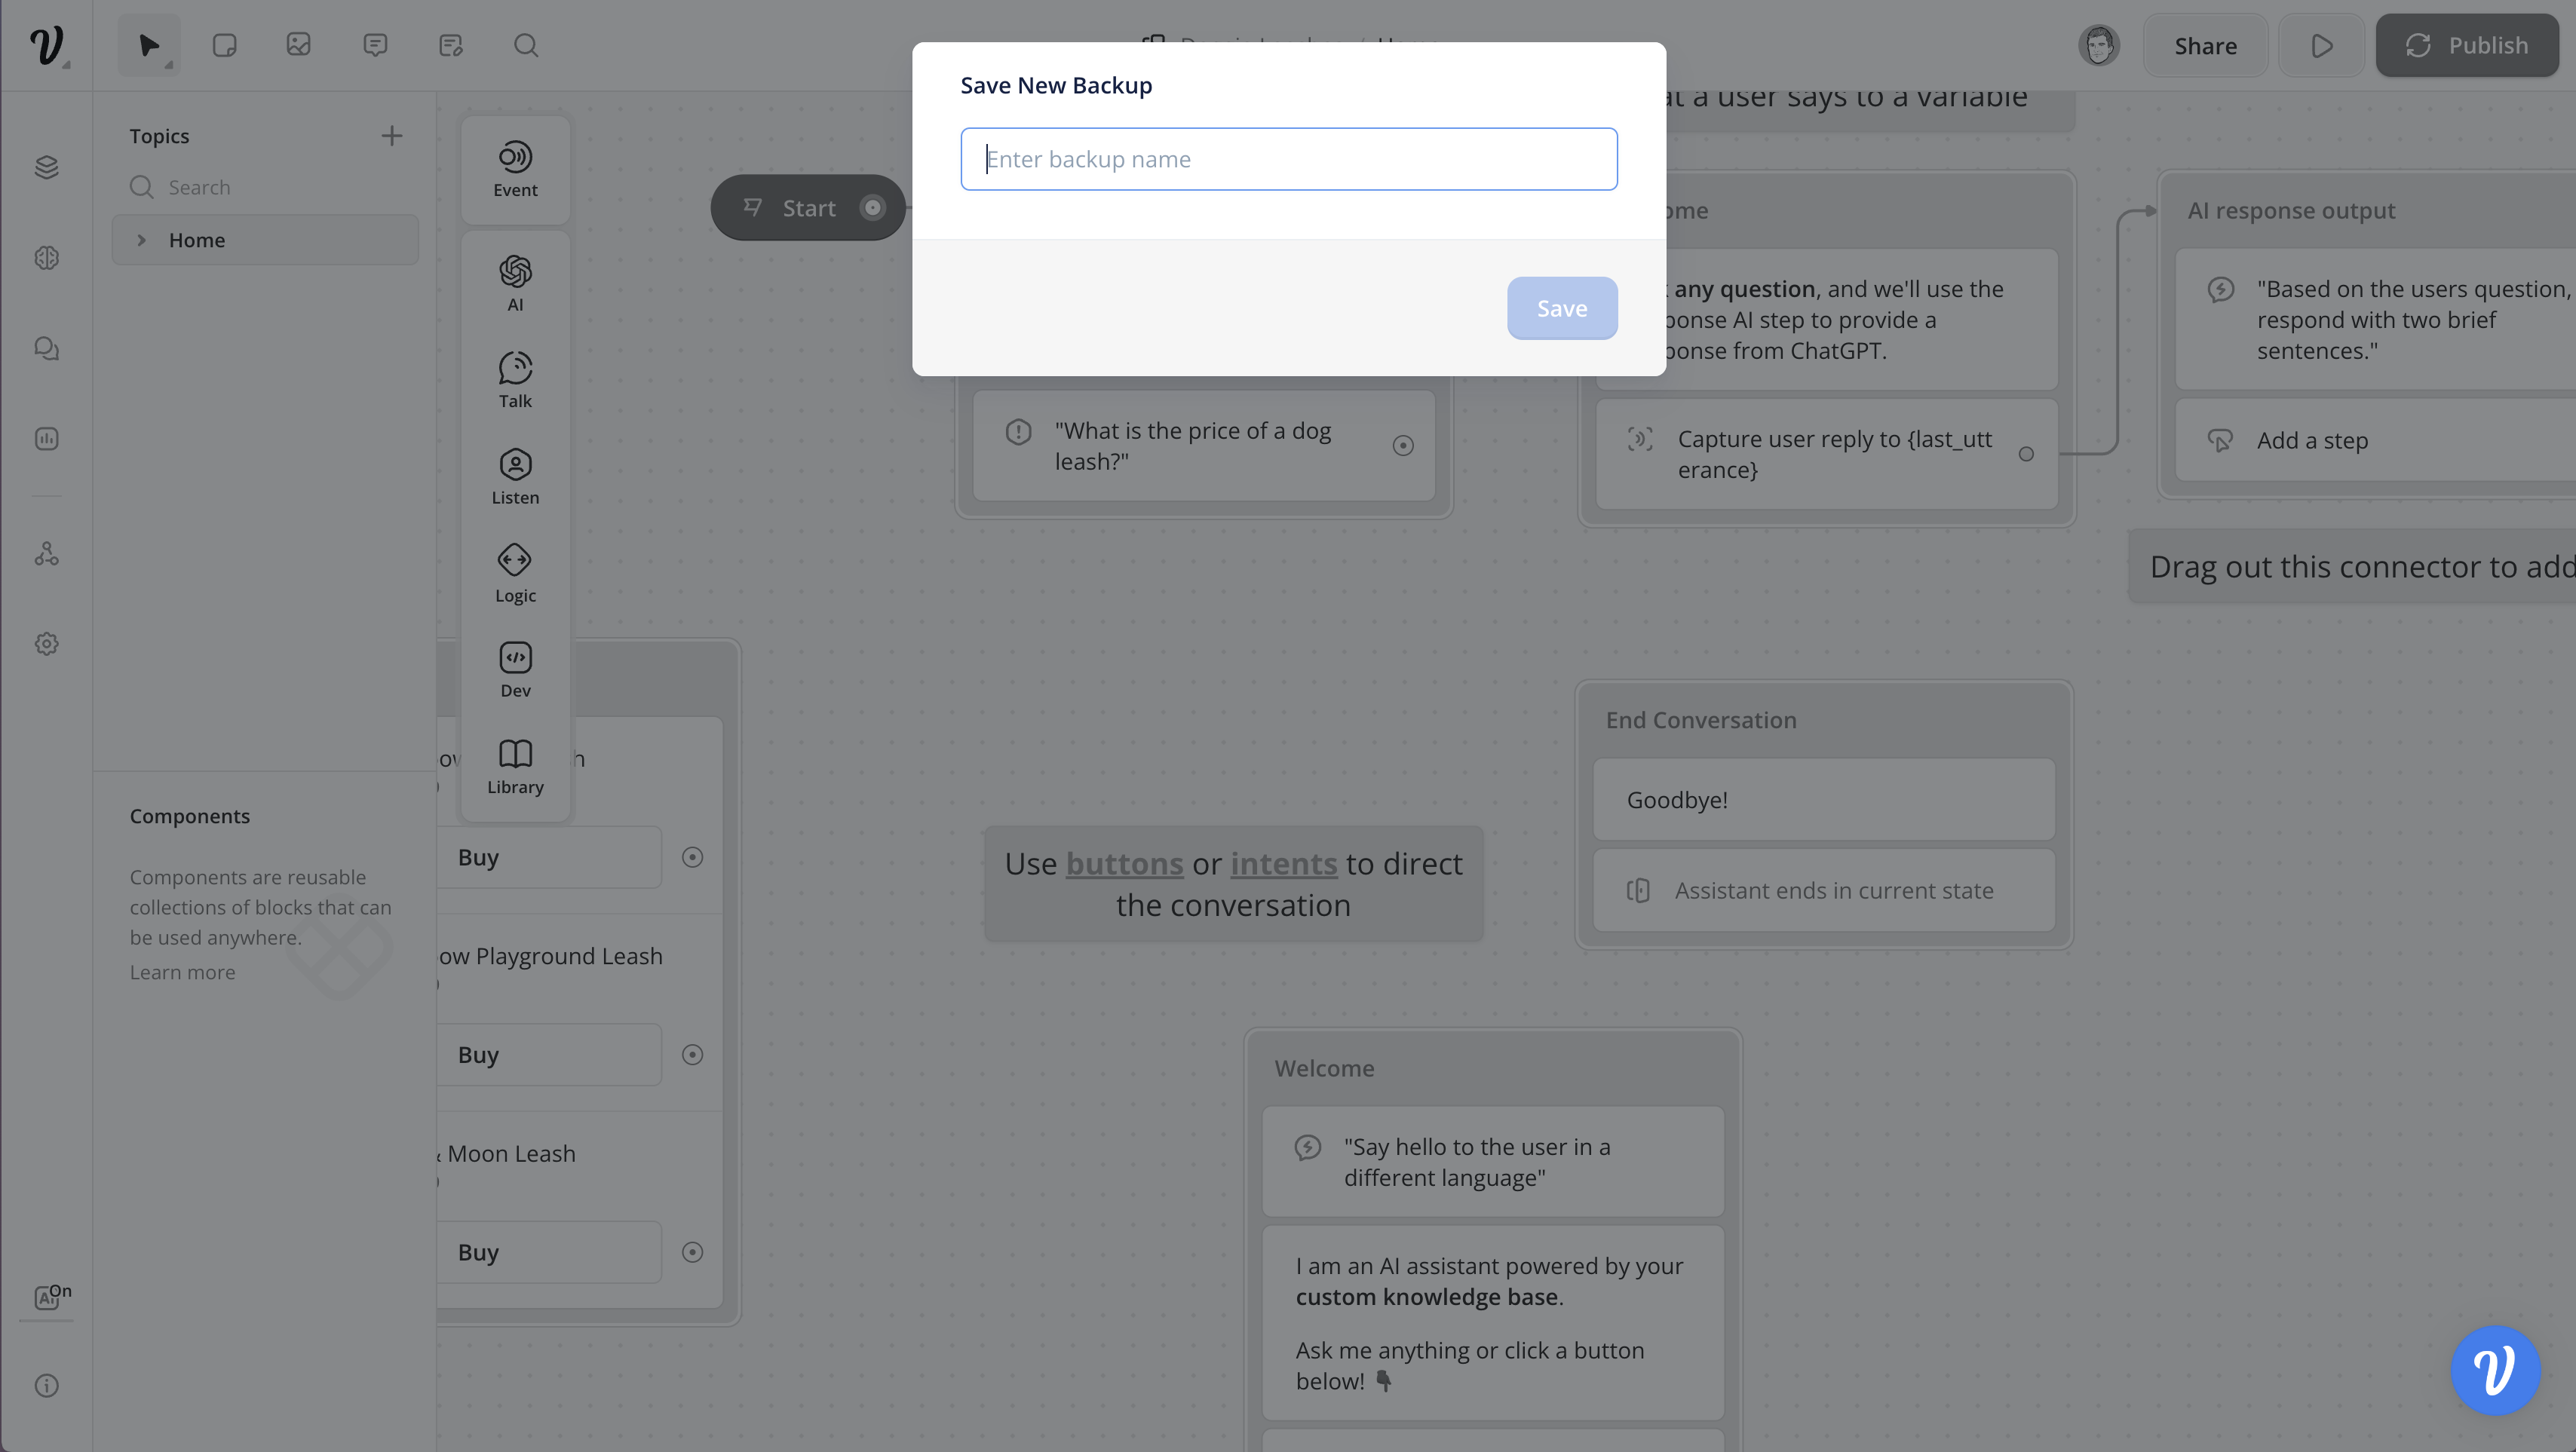
To create a version, use the keyboard shortcut Shift + ⌘ + S (Shift + Ctrl + S on Windows). Enter your version name and hit Save.
When prompted to create a New Version, you will have the option to give your new version a name.
Note: Once a new version is named, configured & created, please give a few seconds for the confirmation notification 'Saved new version' + [Your Version Name] to appear.
How to View, Manage, Rollback and Restore a Backup
To view and manage your assistant's backups, click Settings in the left sidebar or by inputting keyboard numerical shortcut (4) on the main canvas screen, and navigate to Backups.
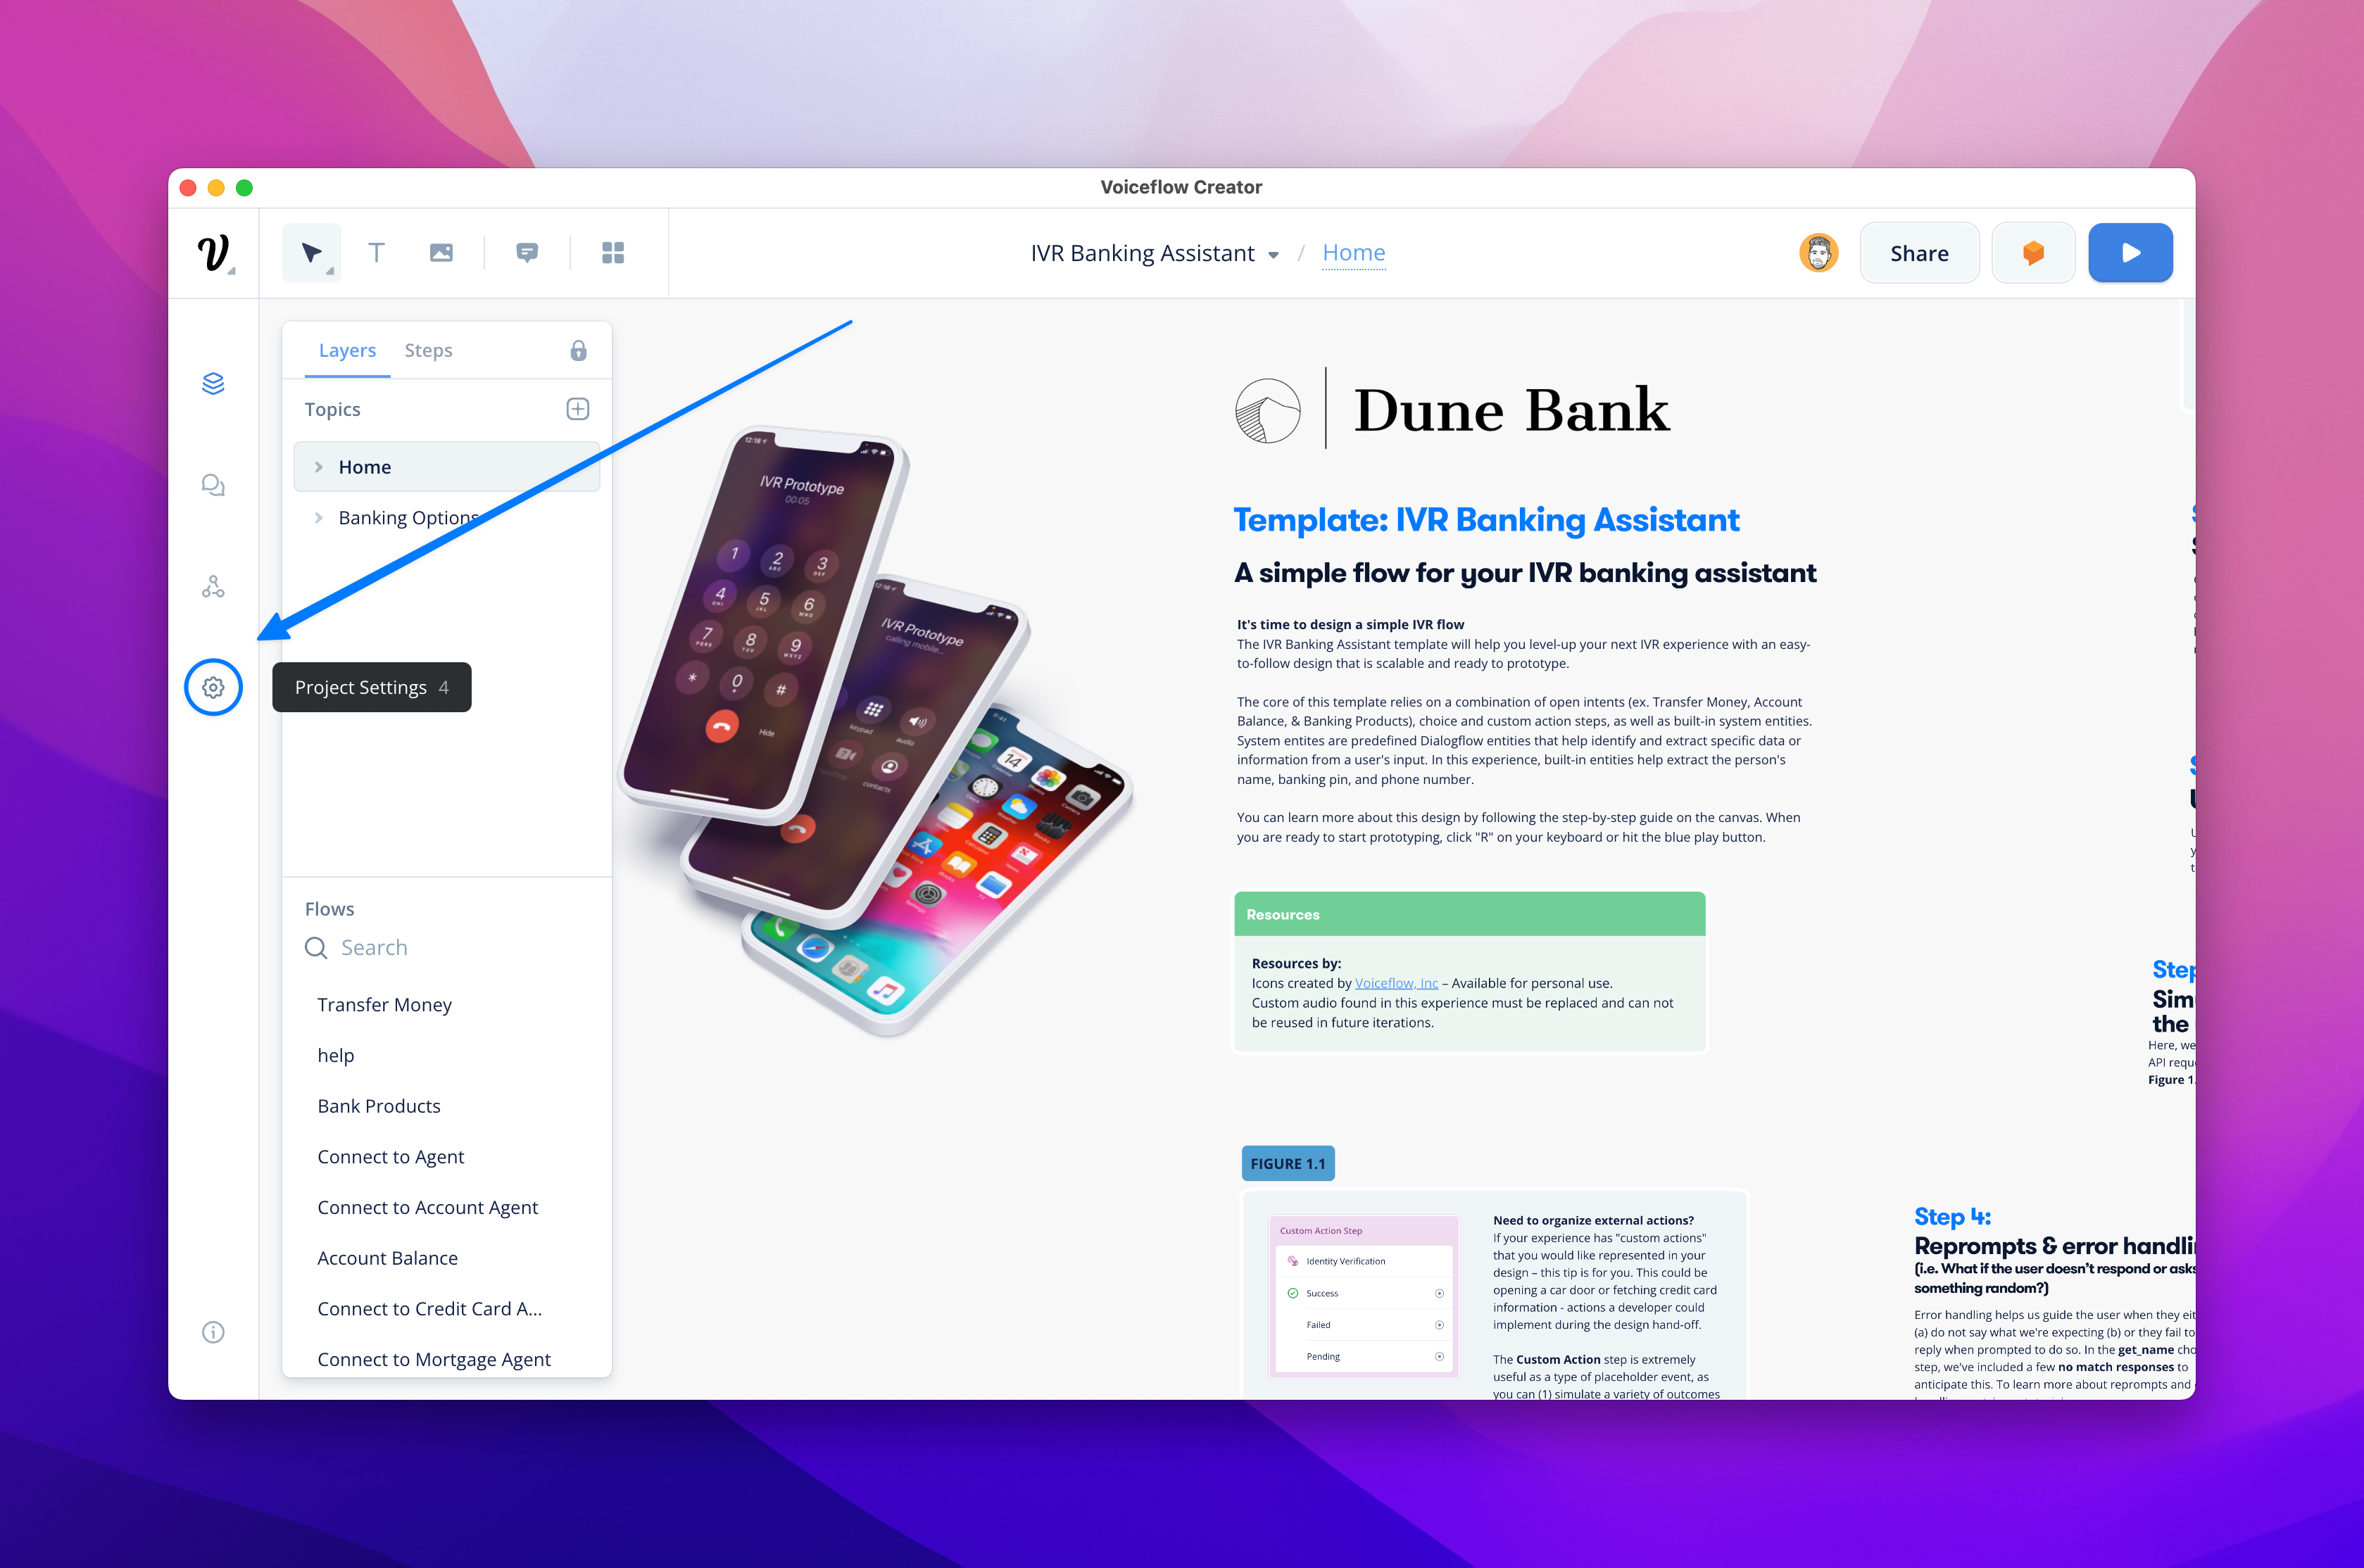
When you access the Backups tab, you’ll see:
• Backup History — A list of all your assistant's historic backups
• Date — date it was created
• User — which collaborator/user from your workspace managed that version
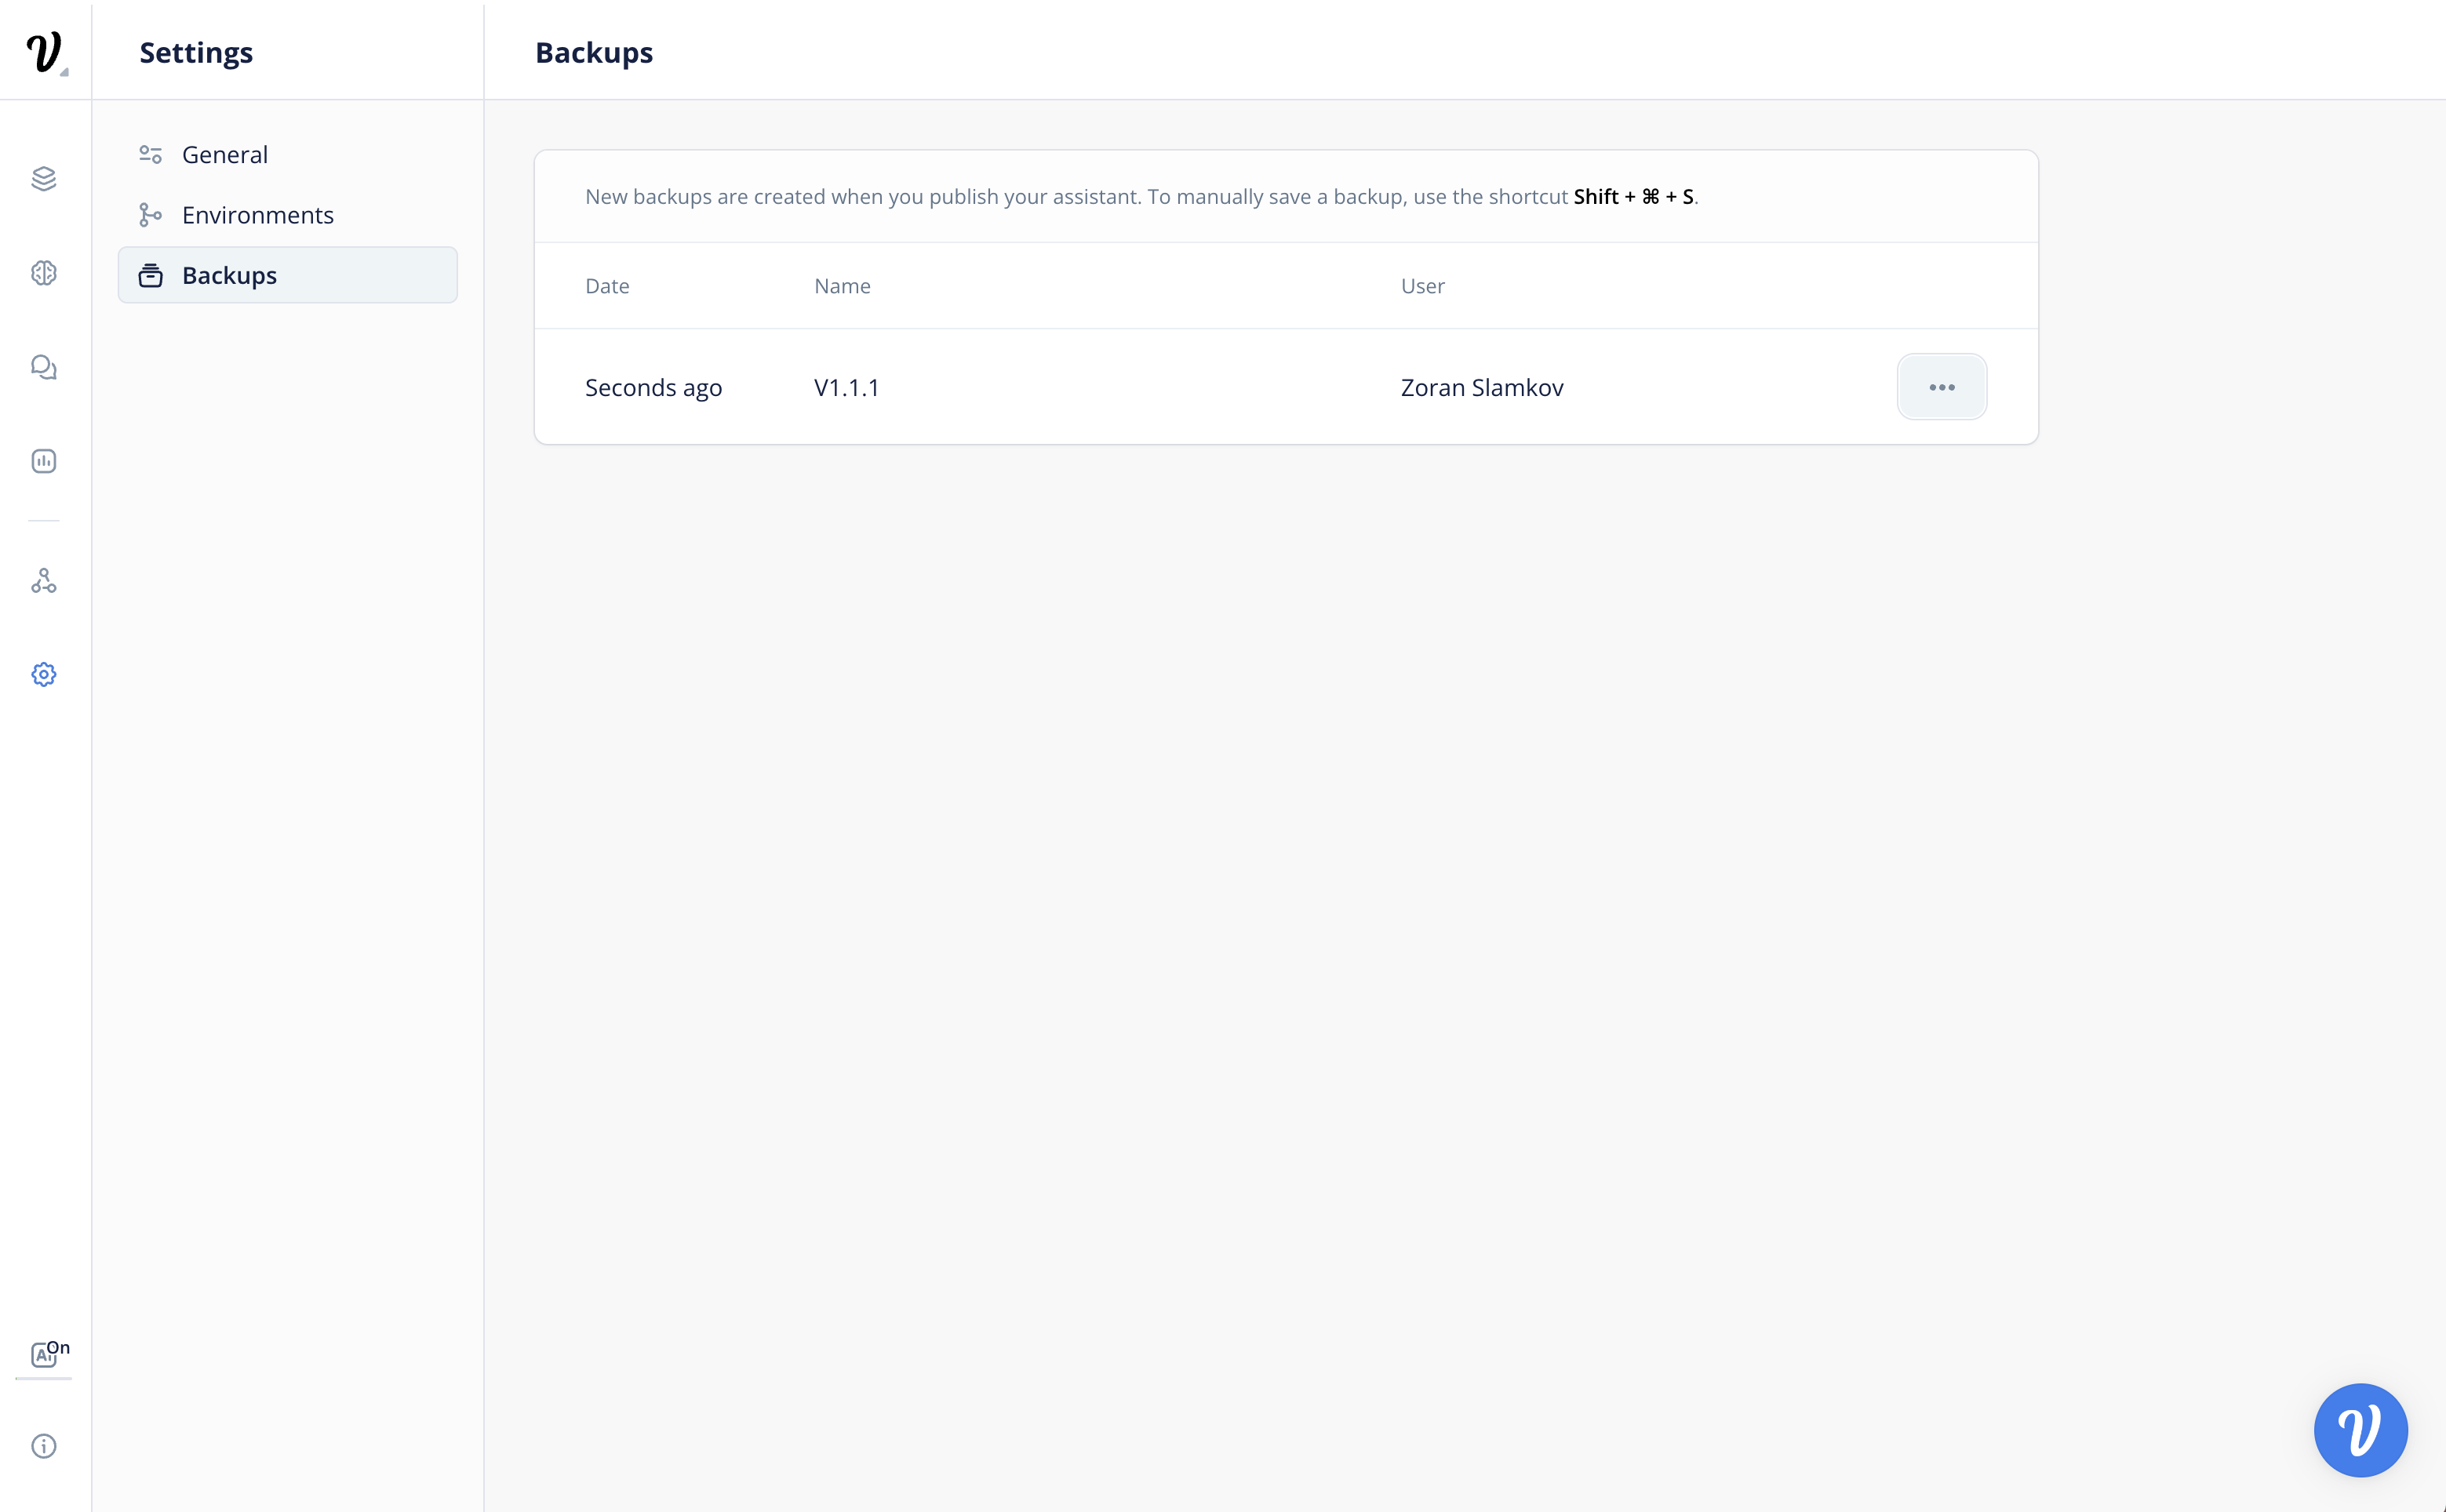
At the last column of each version's respective row, you can navigate to the (…) icon to have access to the Version management features of Preview and Restore for the production/deployed version management and status toggling.
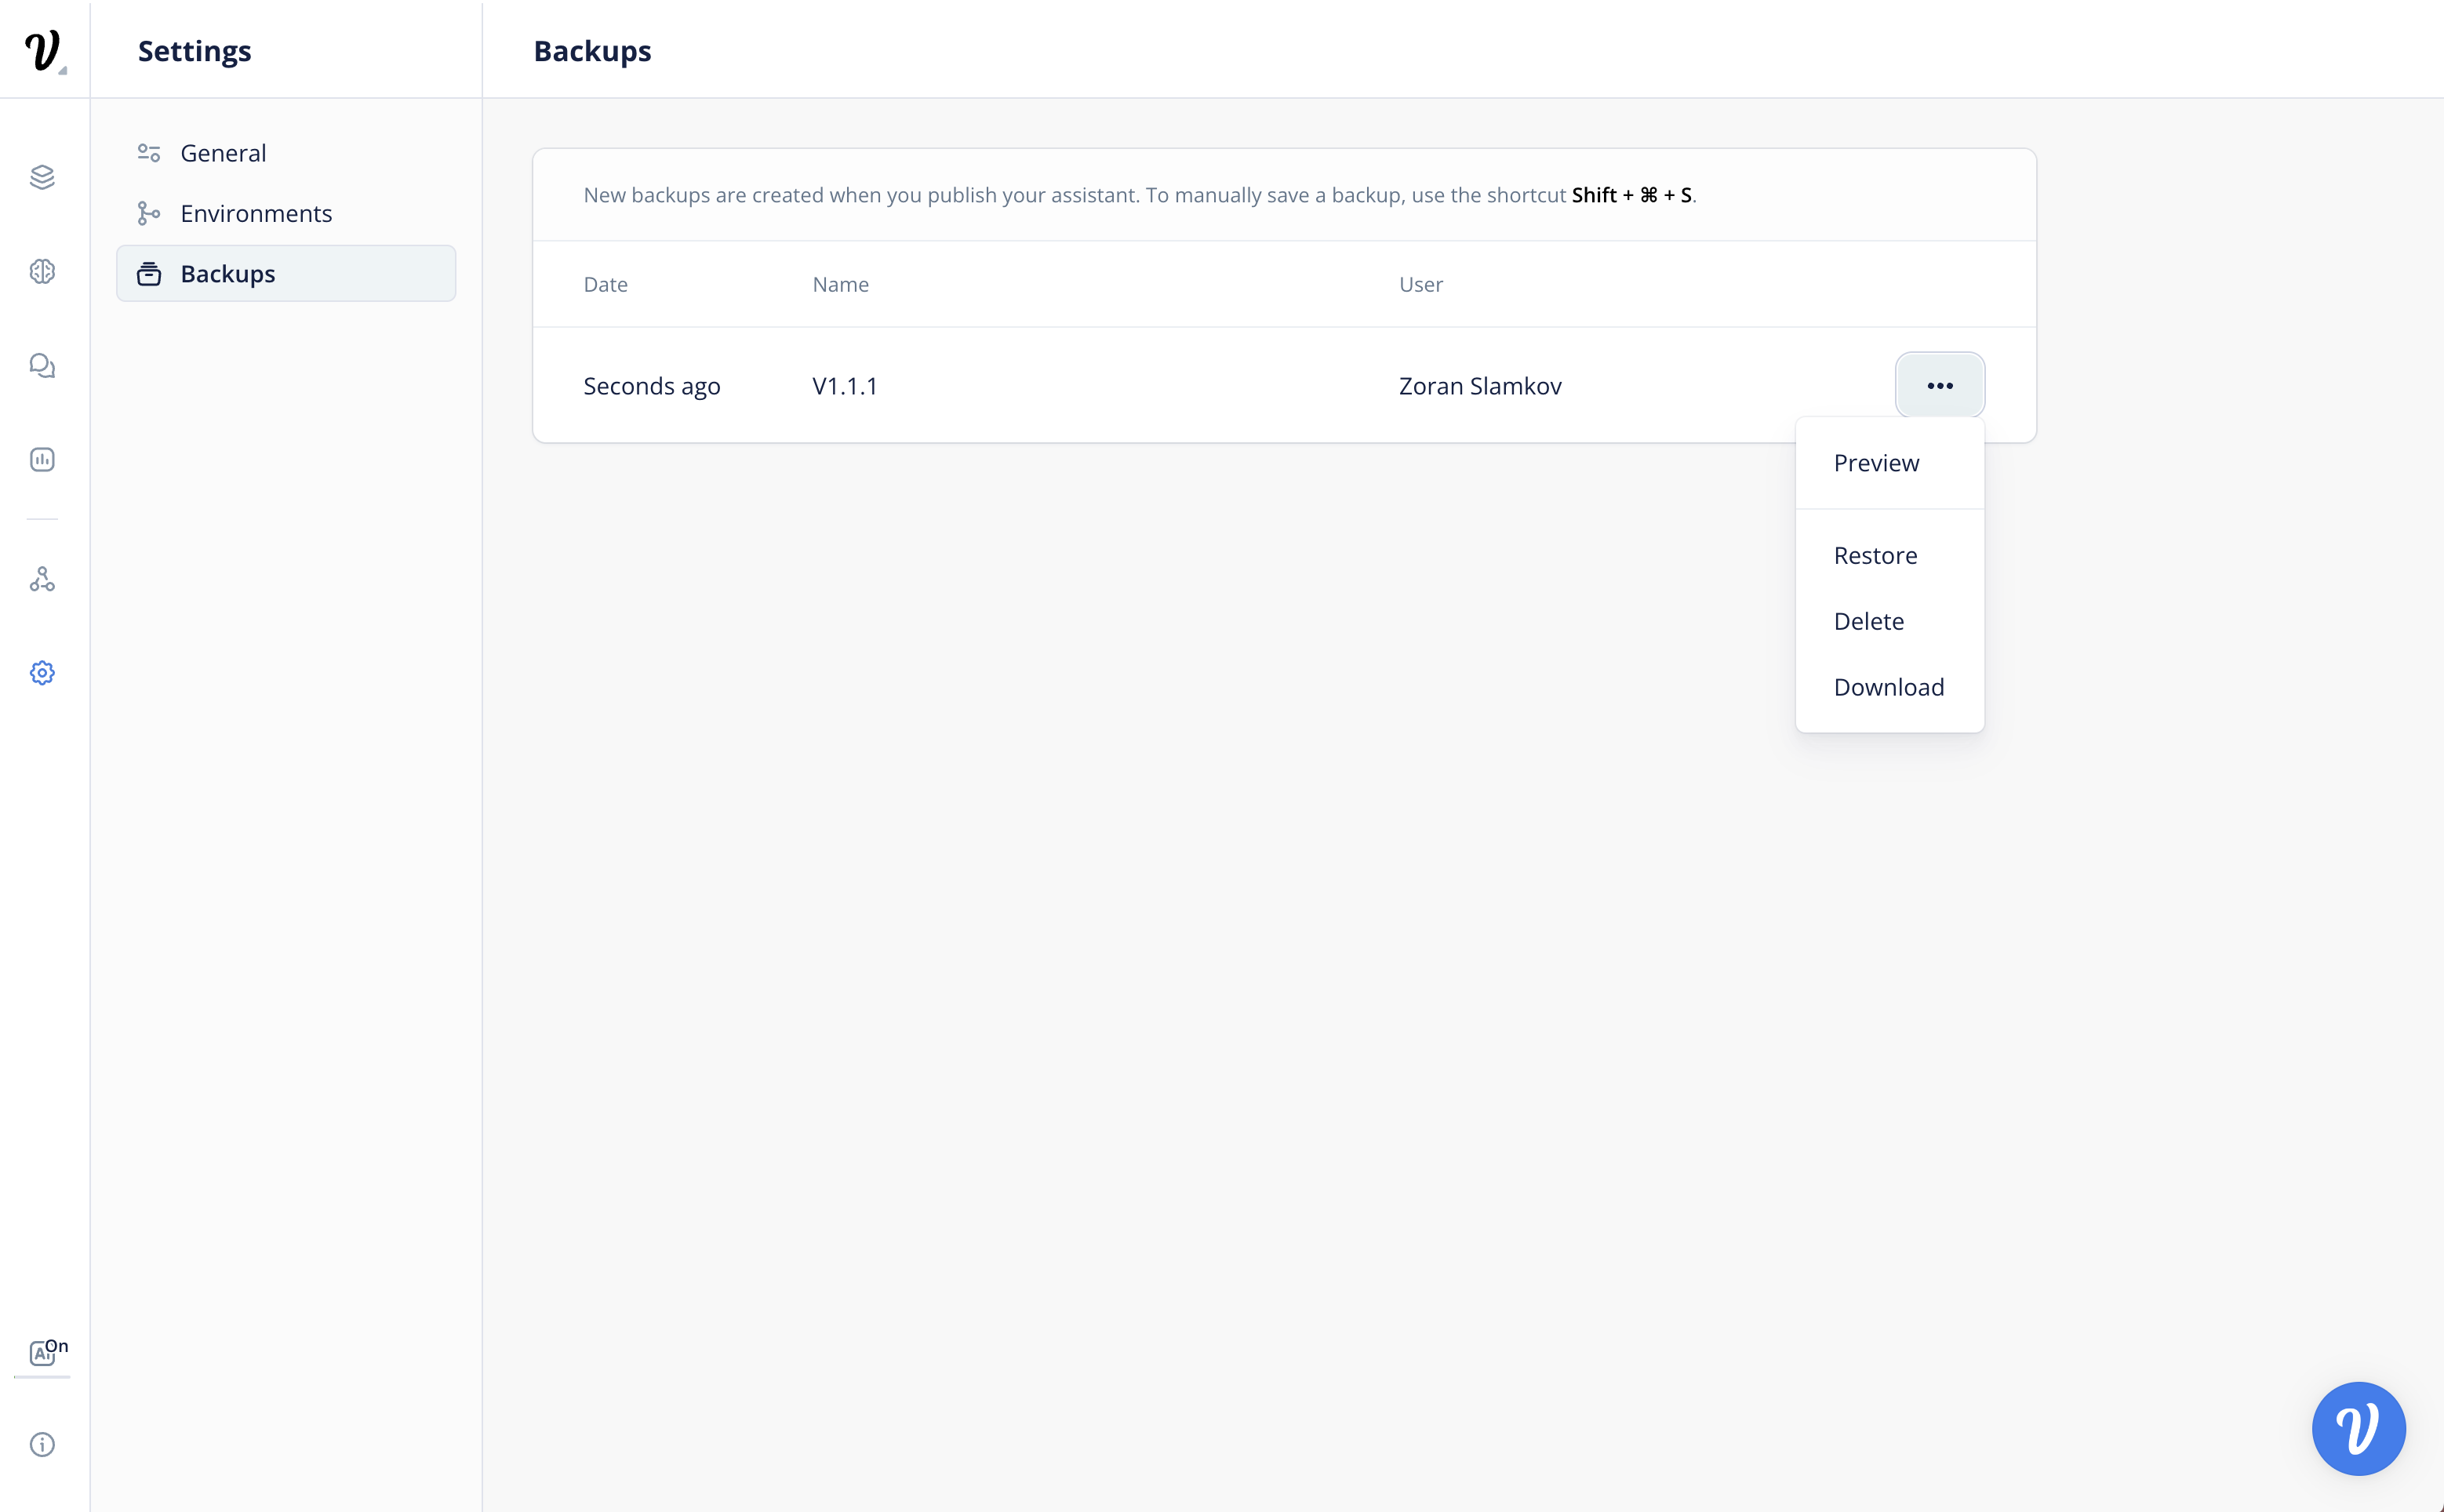
Preview a backup
Hit Preview (under the above menu) to view the specified backup’s content in a new tab.
Delete a backup
Select Delete to remove the backup from your history. This action can NOT be undone.
Download a backup
Select Download to receive a project export (.vf) of your assistant content that can be imported on the dashboard to create a new assistant.
Restore a backup
If you want to roll back to a backup, click the Restore option in the above menu.
Note: This action can NOT be undone. Make sure you’ve previewed the version and confirmed this sequence, and are expecting overwriting of your recent version(s)/change(s) before reverting.
When you restore a backup, Voiceflow creates a new automatic backup of the current designer state. Once confirmed, Voiceflow will send a pop-up notification: 'Backup successfully restored' and refresh the tool with the new loaded version.
Legacy Versions
This section is only relevant to legacy users who used the version system before Backups were added.
The Legacy Versions table is where you'll find all past versions of your project that used to be in the now outdated versions table. Every version listed here can be accessed and managed using its specific versionID. It's important to remember that once you convert a version into a backup, you won't be able to access it with code anymore.
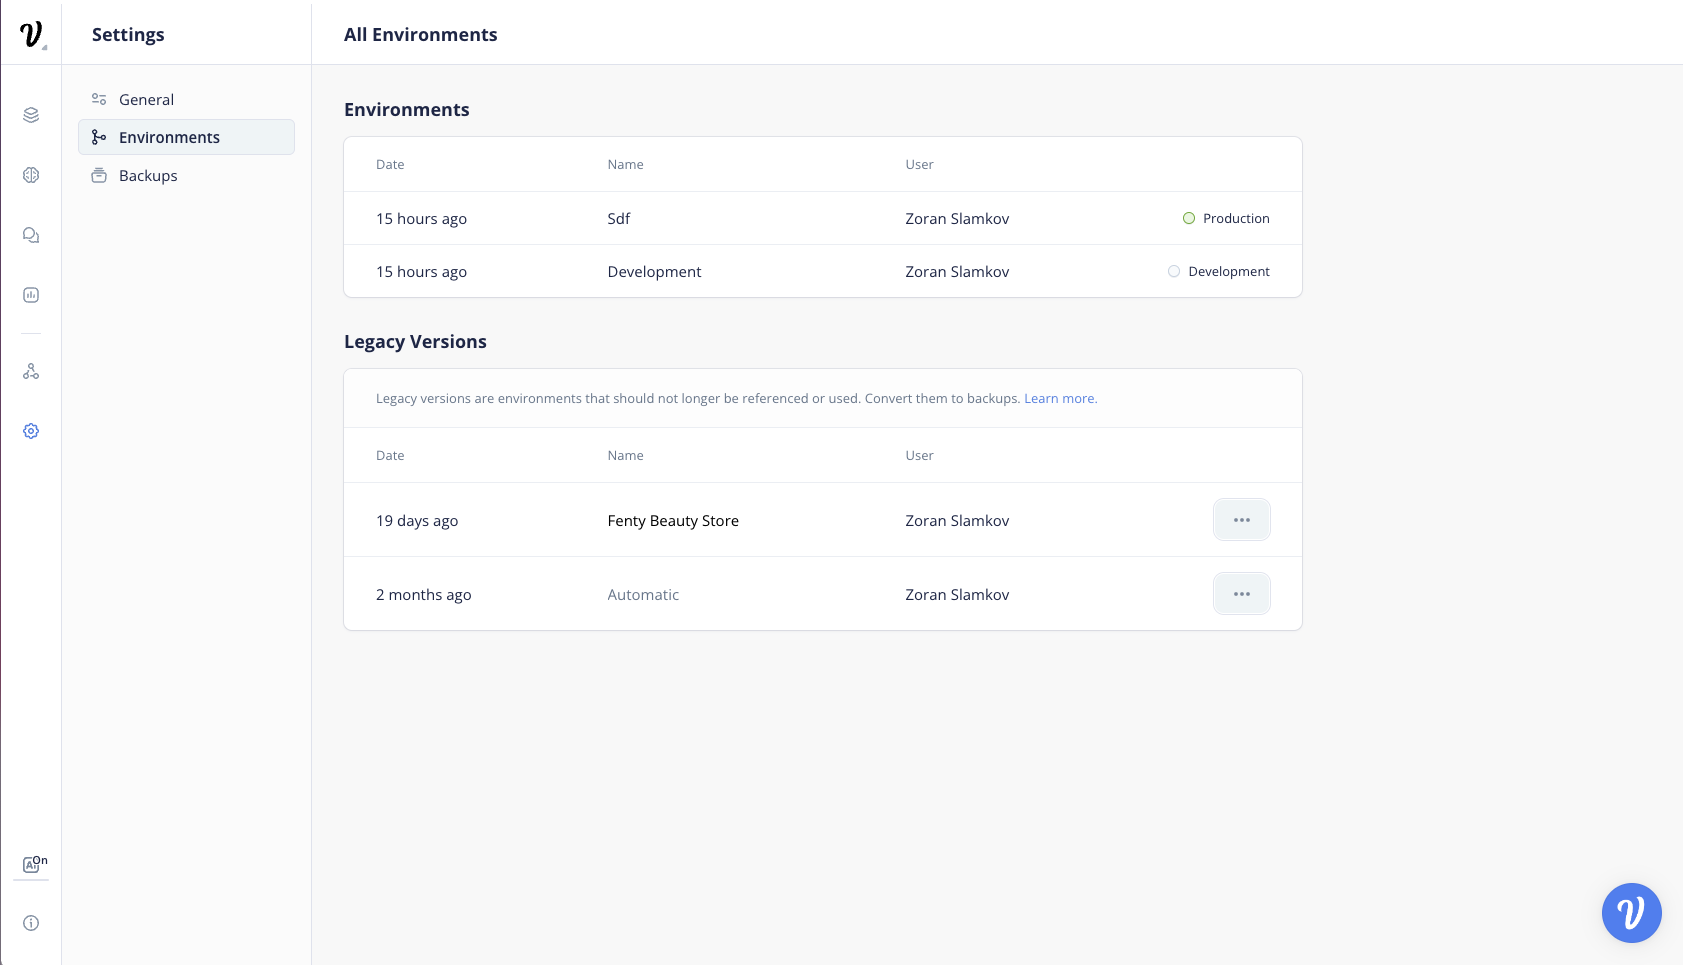
Working with Legacy Versions
Options Available
- Convert to Backup: This allows you to archive the version as a backup, which allows you to Preview, Restore, or Download the legacy version.
Delete: This permanently removes the version from the list, which should be used when you are certain that you no longer need that version.
Conversion to Backup Process
- Click on the '…' (Options) next to the version you want to convert.
- Select 'Convert to Backup'.
- You will be prompted with a confirmation modal to ensure that you want to proceed, as this action is irreversible, and you will no longer be able to access this version via the
versionID.
- You will be prompted with a confirmation modal to ensure that you want to proceed, as this action is irreversible, and you will no longer be able to access this version via the
Deleting a Legacy Version
- Click on the '…' (Options) next to the version you wish to delete.
- Select 'Delete'.
- A confirmation modal will appear to confirm your decision.
Updated 8 months ago
