While the Listen step is a great way to collect information during scripted flows, most of the time, it’s better to use a Playbook step to capture user input. The Playbook step allows you to have two-way conversations inside a workflow, meaning you can build a much more powerful agent.
Using the Listen step
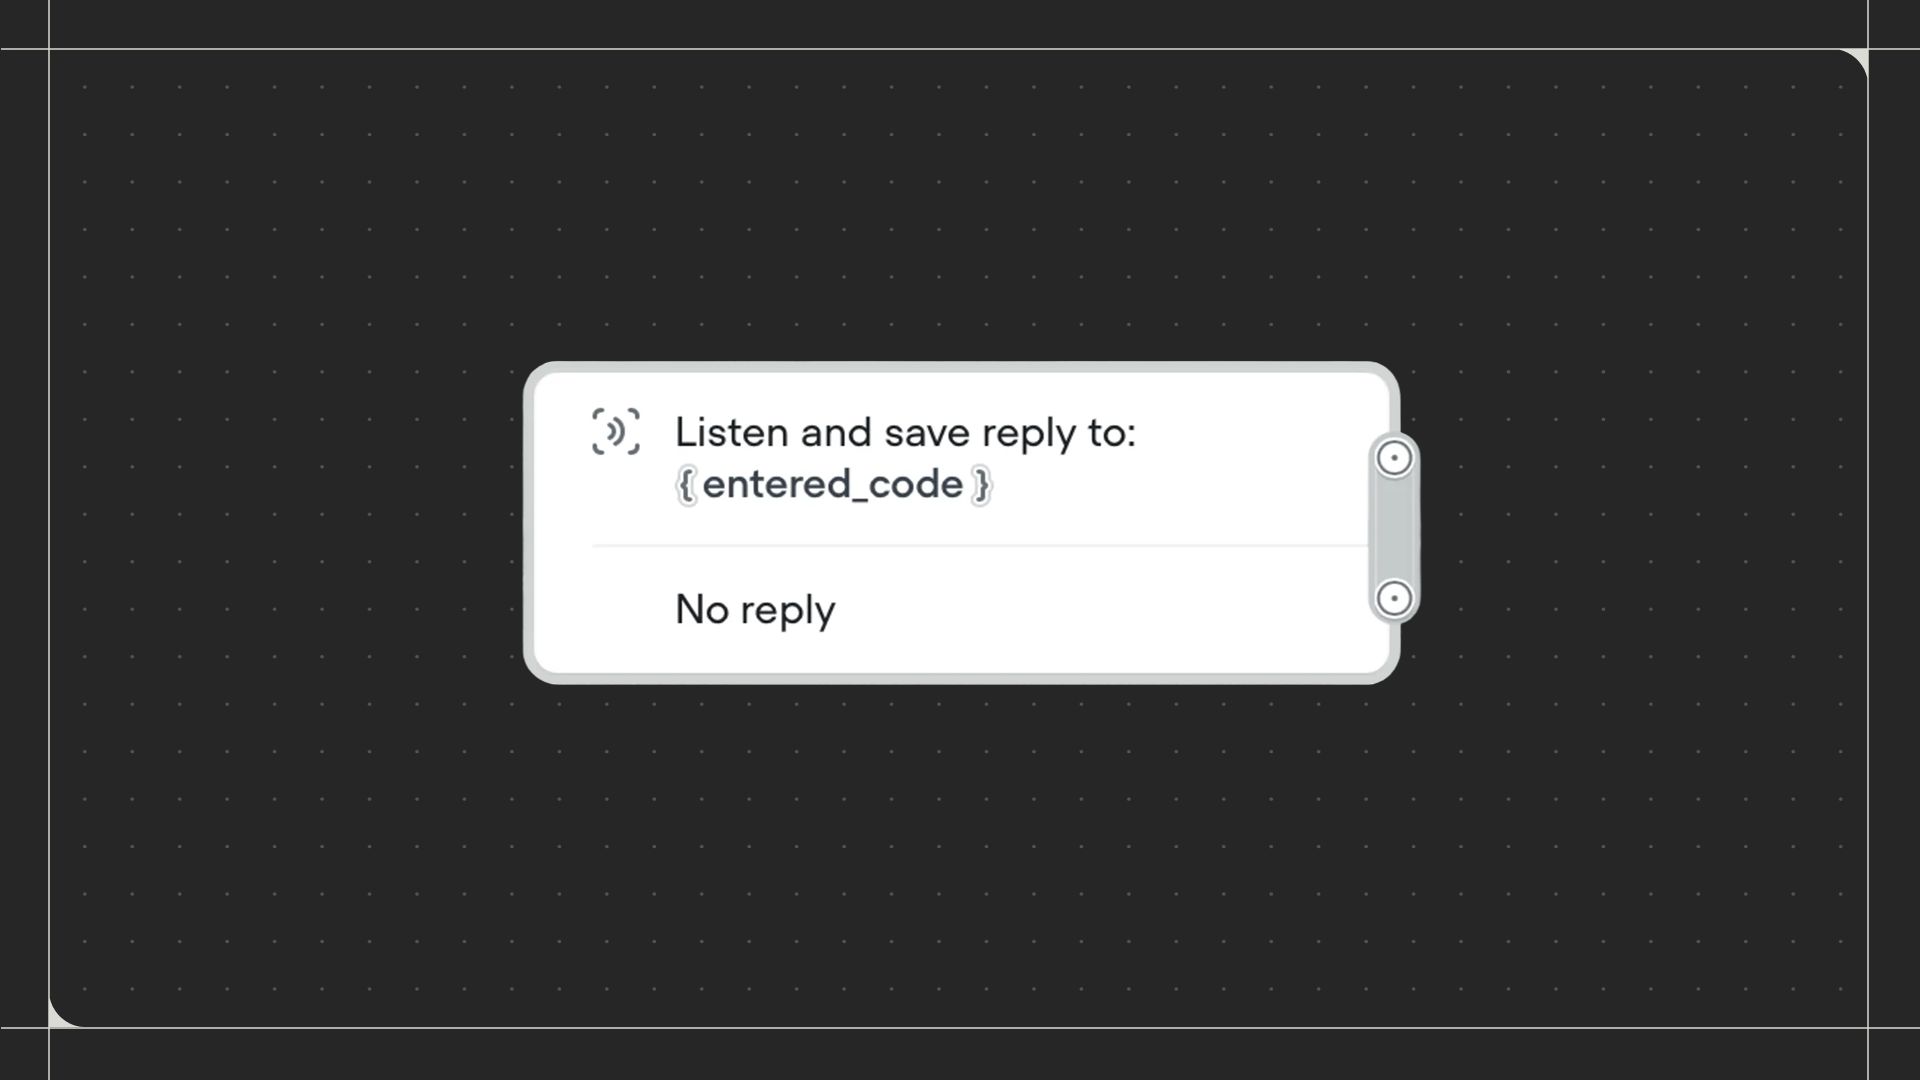
Drag the Listen step onto the canvas and connect it to the step before it. Click on the step to configure where the user’s response should be saved.Configuration
- Save entire reply to: Select or create a variable where the user’s complete message will be stored. This variable can be referenced later in your workflow.
- No reply: Toggle this on to handle situations when the user doesn’t respond within a set timeframe. Configure how long to wait and what message to send as a reminder.
- Listen for other triggers: Toggle this on to allow your agent to respond to other triggers while waiting for the user’s reply. When off, the agent focuses only on capturing the user’s input at this step.