When on at the agent level, individual playbooks can also query the knowledge base. You can override query settings at the playbook level without impacting the agent or other playbooks.
Configuring the knowledge base tool
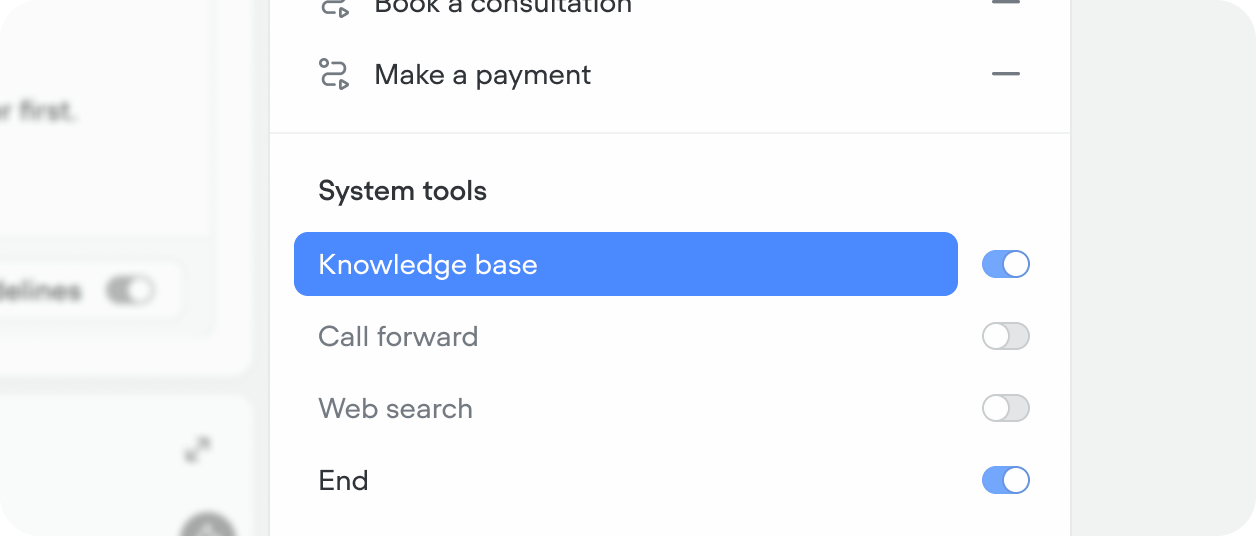
When you enable the knowledge base system tool in your agent, you can configure how it queries your content.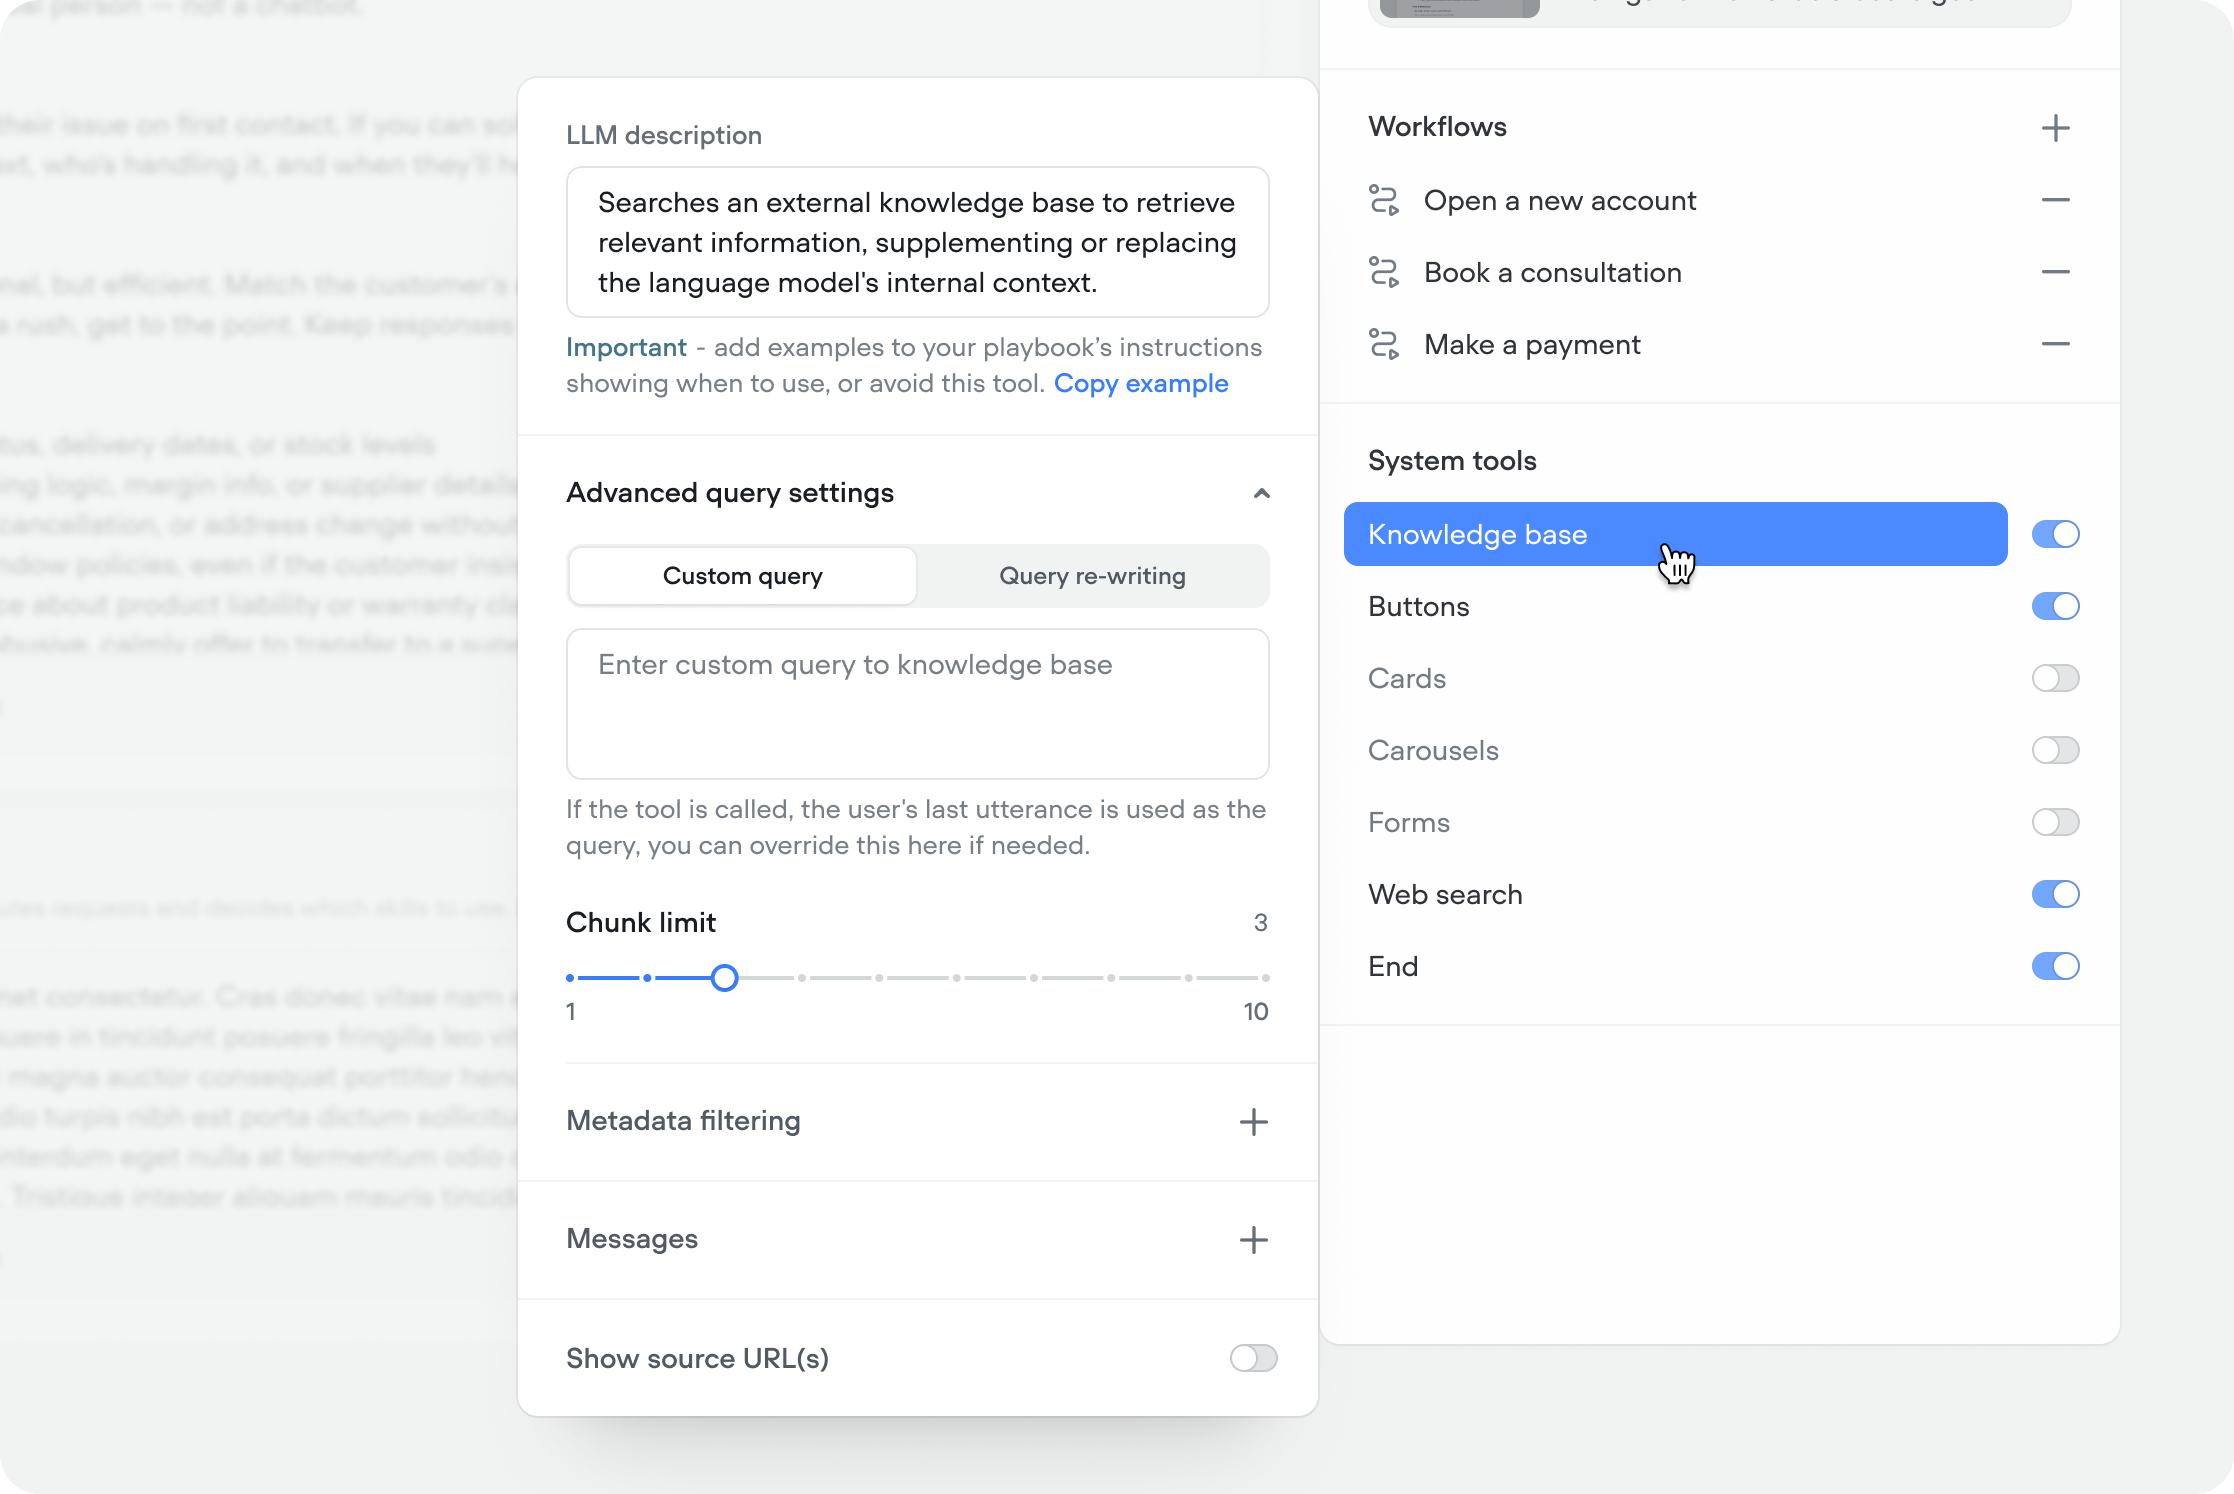
Trigger
Describes what this tool does and when the agent should use it. By default this is pre-filled with an opinionated description, however, you can reset it to a simpler default, or override it to your use-case. You can also add examples in your agent or playbook instructions showing when to use — or avoid — this tool for better retrieval accuracy.Opinionated default we apply to new projects
Simple default you can reset to
Custom query
By default, the agent uses the user’s last message as the search query. Use a custom query to override this — useful when you want to search on a specific variable or a reformulated version of the user’s input. To insert a variable, type{ in the input.
Query re-writing
When enabled, the model rewrites the user’s last message before searching based on your instructions — improving retrieval for conversational or ambiguous inputs. Useful when users don’t phrase questions the way your content is written.Query re-writing example
Chunk limit
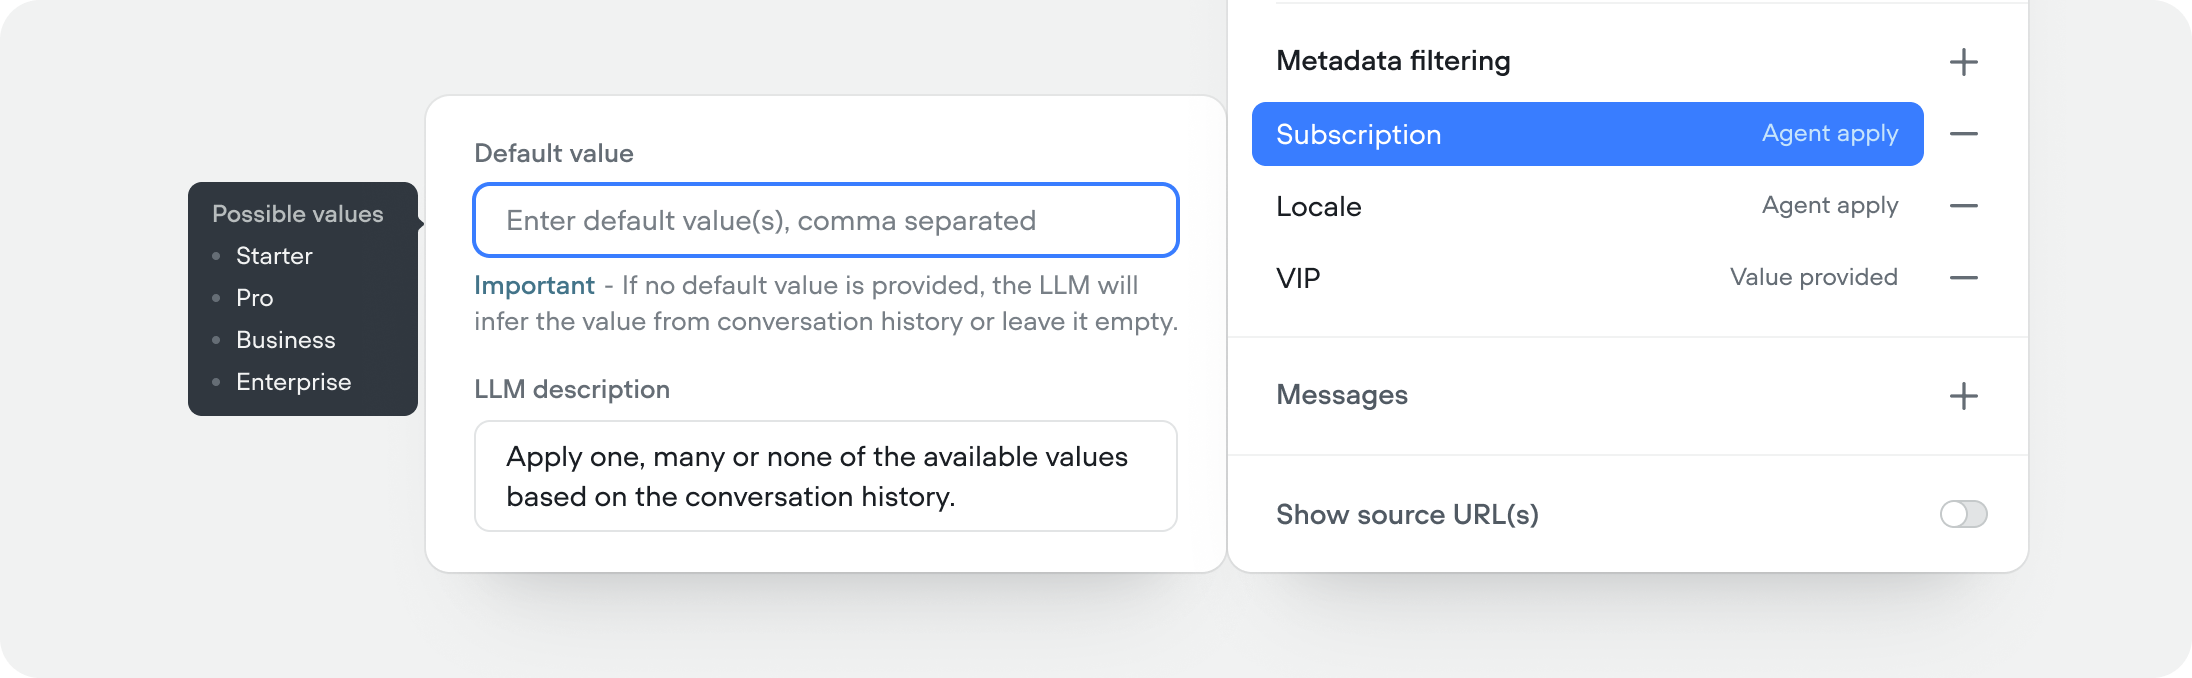
Controls how many content chunks are returned per query (1–10, default 3). Higher values return more context but increase latency and token usage. Start at 3 and increase if the agent is missing relevant information.Meta data filtering
Unfamiliar with adding meta data in the knowledge base? Learn more
{ .
Tool messages
Customize what the user sees while the knowledge base tool is running. You can set scripted messages for four states:- Start — shown when the tool begins querying
- Complete — shown when results are returned
- Fail — shown when the query returns nothing or errors
- Delay — shown if the query takes longer than expected (you set the delay threshold)
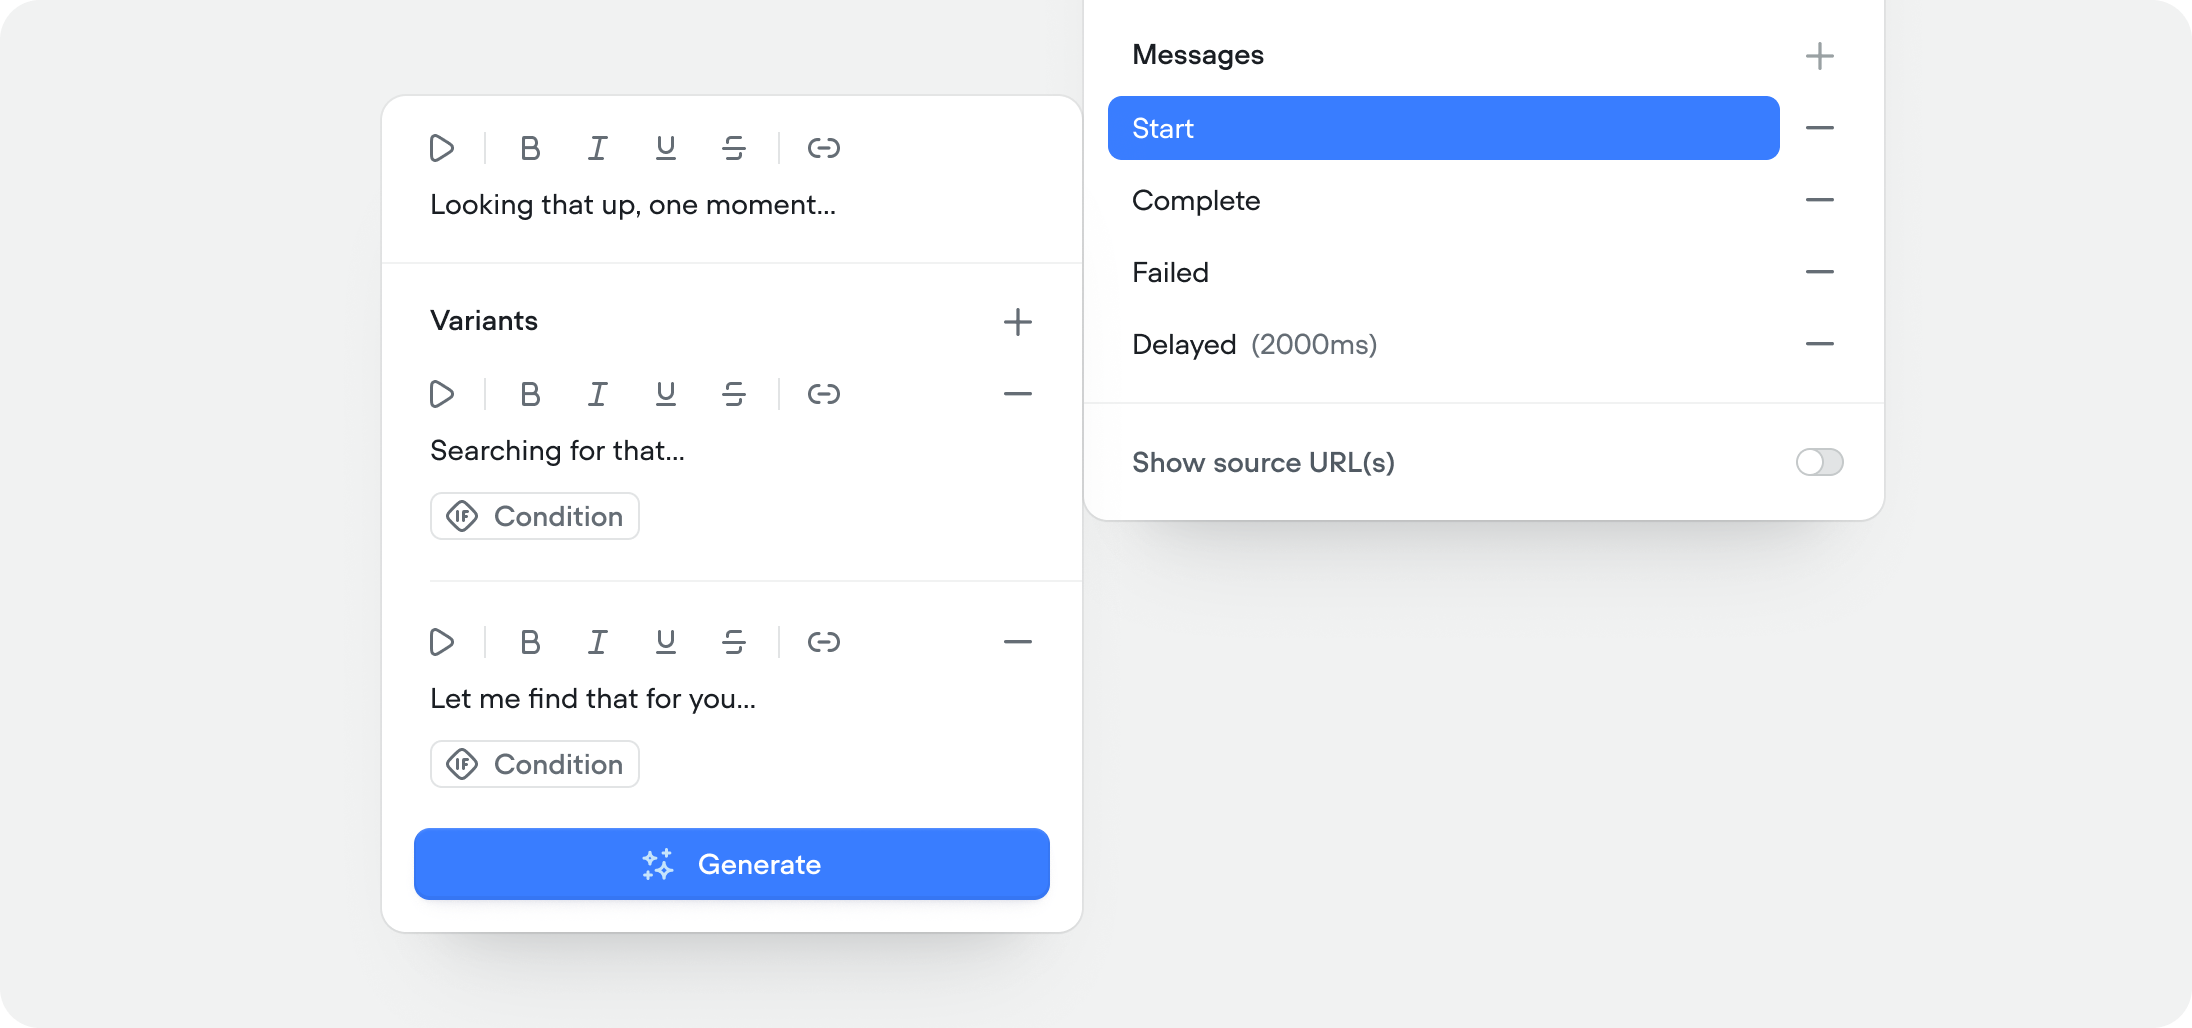
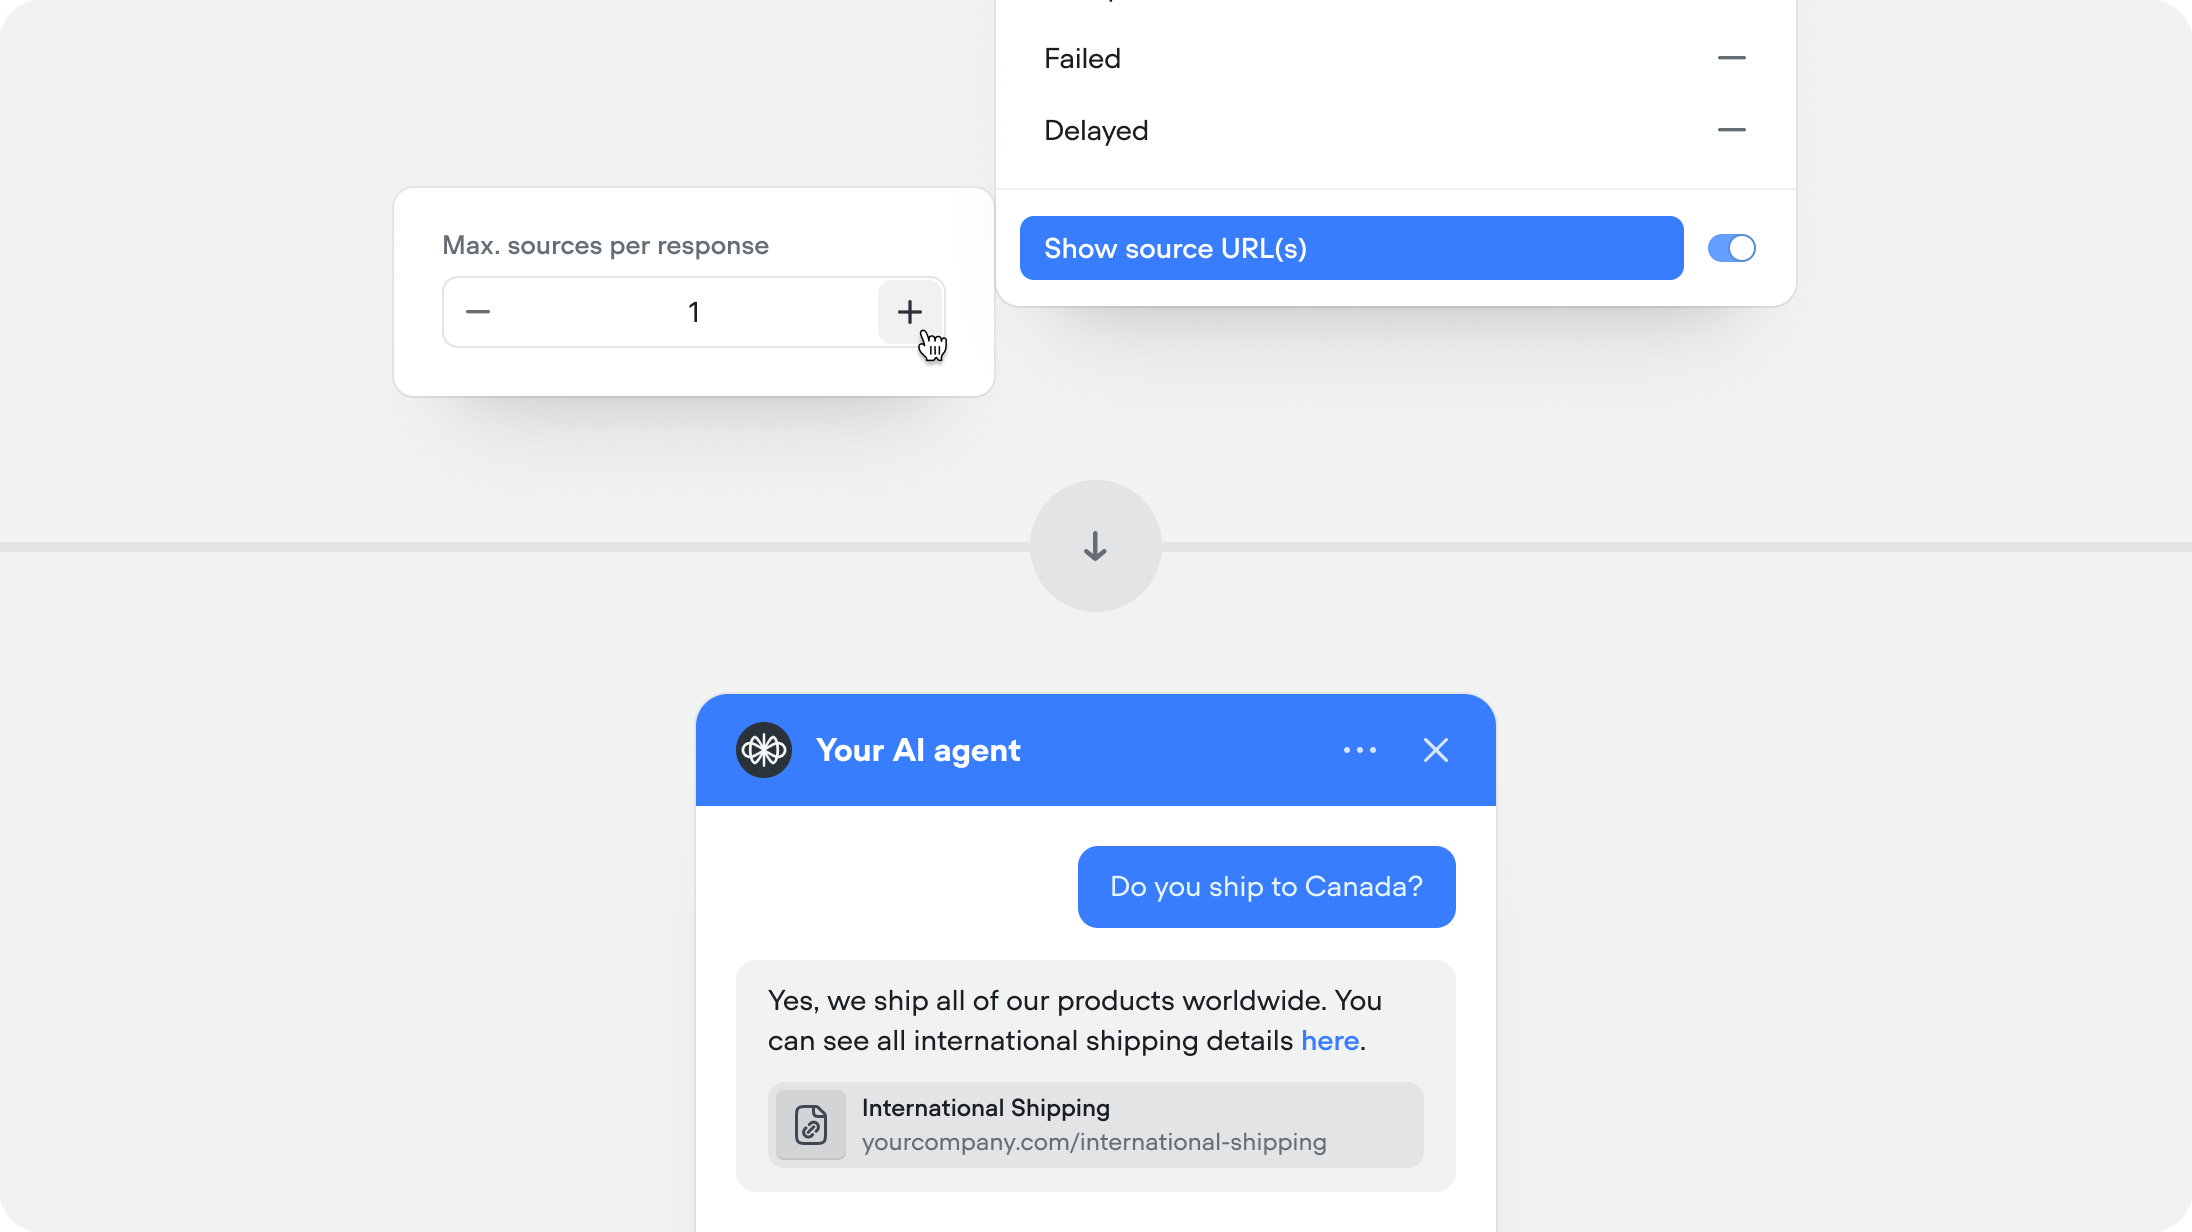
Show source URL(s)
This feature is only available in chat projects.