Adding a phone number
Open Phone numbers in the sidebar and click Create number. Select your provider and enter the required credentials.- Voiceflow number: Voiceflow can provision a US or Canadian phone number for you. Select an area code and optionally give it a name. The number of Voiceflow numbers included depends on your plan.
- Twilio: You’ll need your phone number, Account SID, and Auth Token from your Twilio console.
- Vonage: You’ll need your phone number, API Key, and API Secret from your Vonage dashboard.
- Telnyx: You’ll need your phone number and API Key from your Telnyx portal.
Assigning an existing number
If you’ve already connected a phone number to another project in your workspace, you can reuse it. Click Assign existing number to see all available numbers in your workspace and assign one to the current project.Routing calls to an environment
By default, a phone number linked to an agent routes each incoming call according to the traffic split configured in Settings → Environments, so the A/B tests and gradual rollouts you’ve set up for the rest of your agent apply to phone calls too. If you’d rather point a phone number to a specific environment, this can be configured when linking the phone number or from the Phone numbers tab. Phone numbers can be pointed at the live or draft version of any environment. Once assigned, every call to that number goes to the version you selected, regardless of the traffic split.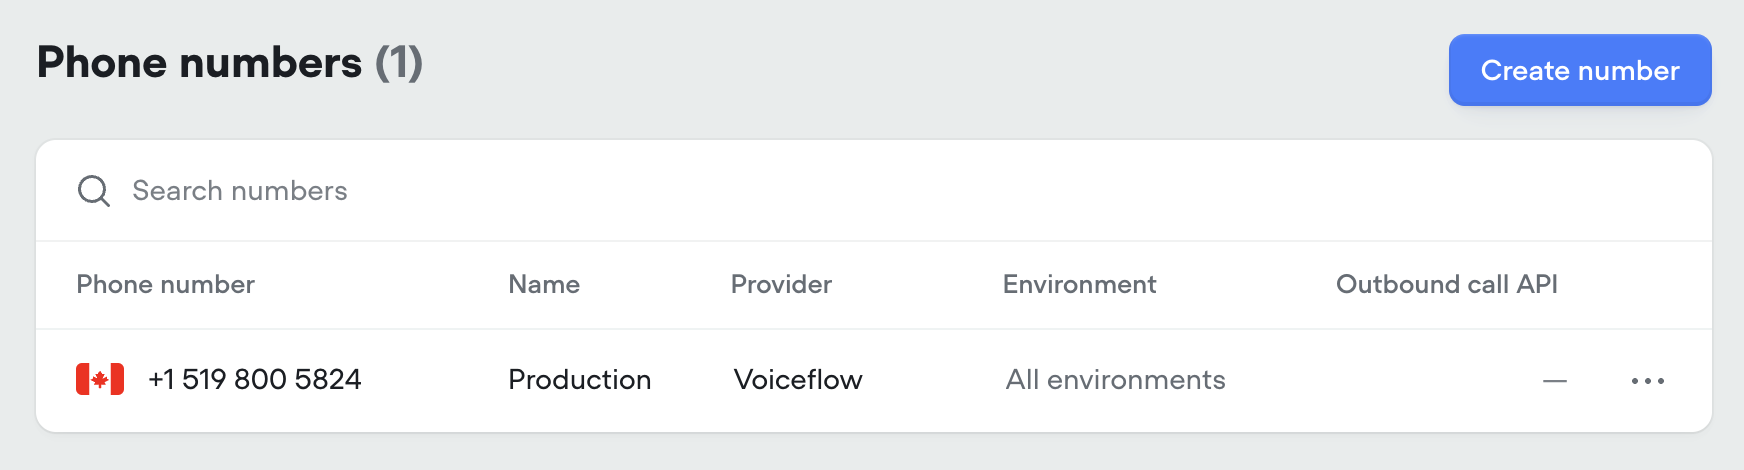
Enabling call recording
You are responsible for complying with laws related to call recording and consent in your region.