Using the Condition step
Drag the Condition step onto the canvas and connect it to the step before it. Click on the step to set up your conditions and paths.Configuration
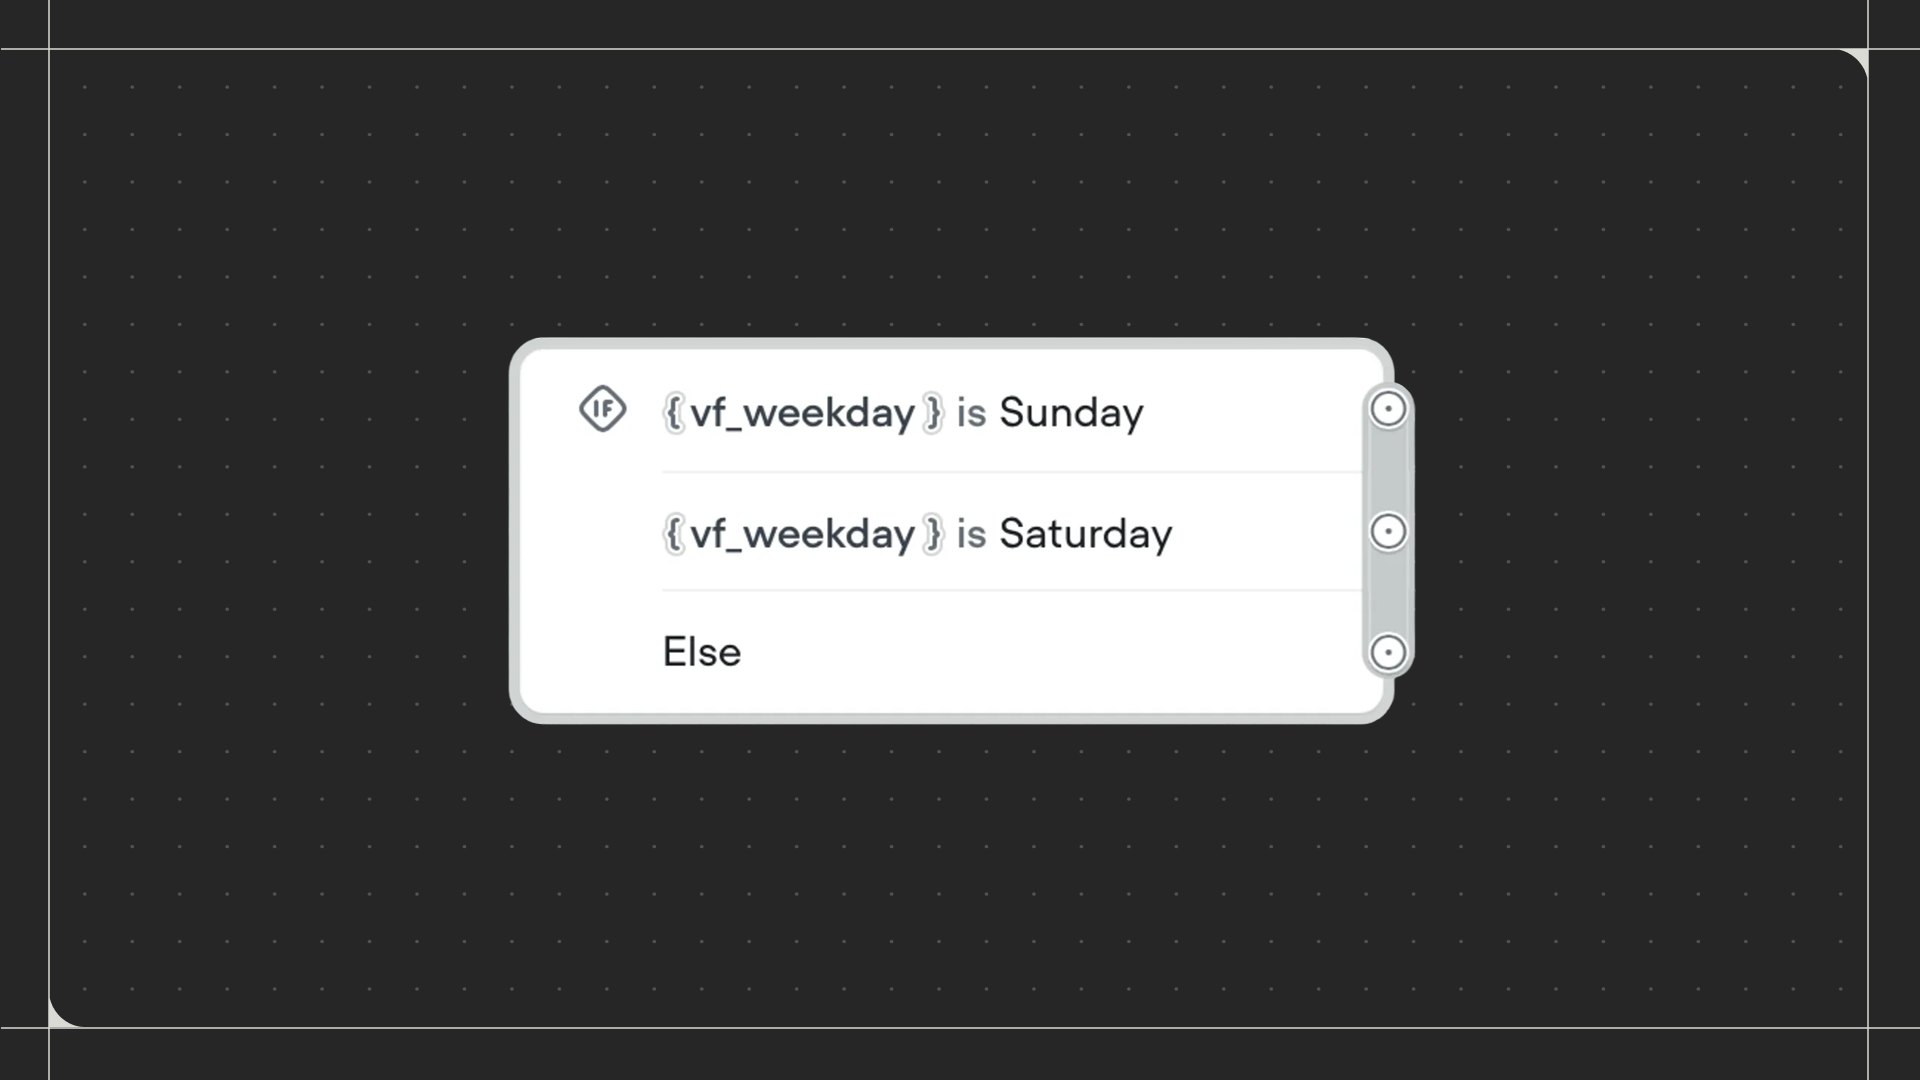
- Paths: Create paths that your workflow can follow. For each path, define conditions by selecting a variable, choosing a comparison operator (eg: is, contains, greater than), and entering a value to compare against. Use Match all for AND logic or Match any for OR logic when adding multiple conditions to a path.
- Else path: Toggle this on to add a fallback path when no conditions are met.