Workspaces
Organize your team’s projects in shared workspaces
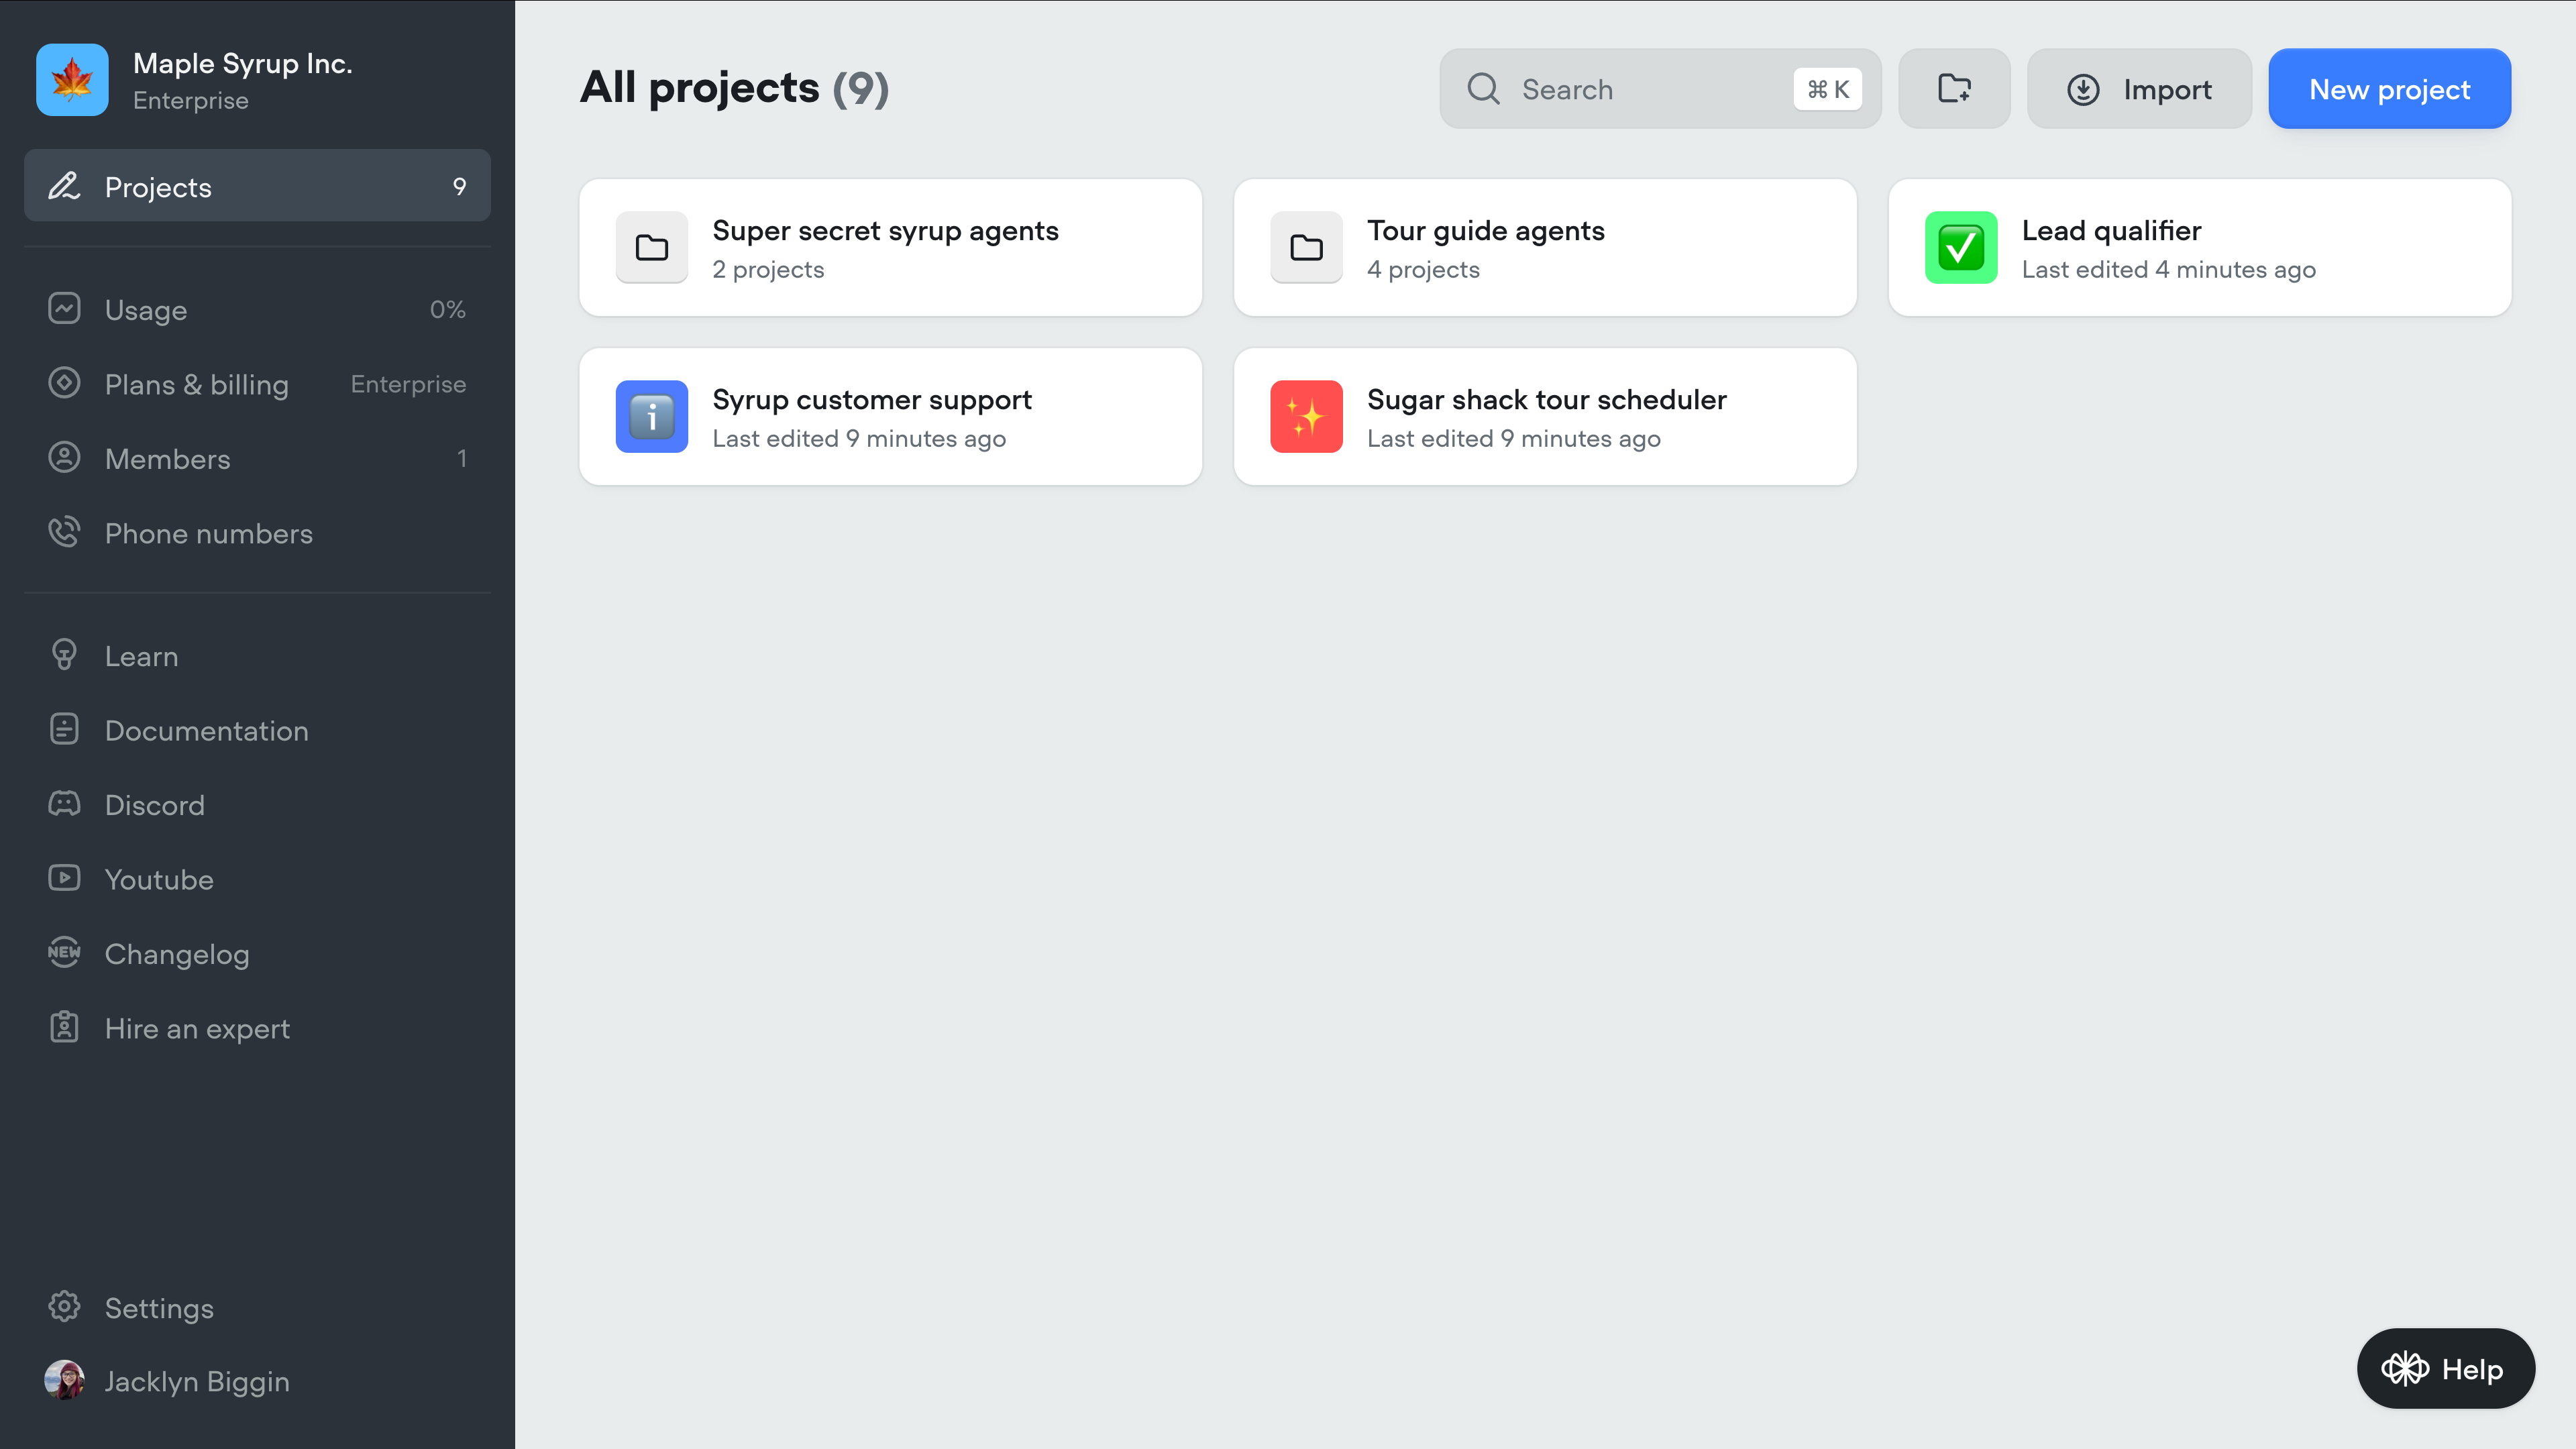
Your Voiceflow account is organized into workspaces, which act like teams or companies. Each workspace contains one or more projects.

Your workspace is home to your projects and is the first thing you'll see when logging into Voiceflow. You can organize your projects inside a workspace using folders, and can customize a project's icon, name, and description by hovering over the project and clicking the three dots that appear. From there, you can also export your agent as a .vf file, or share a clone link which allows others to copy your agent.
If you are on a Teams or Enterprise plan, you can create multiple workspaces - just click the name of your workspace in the top left corner of your workspace, then click new workspace.
On non-Enterprise plans, each workspace you create is billed separately. Learn more.
Permissions and collaborators
In Voiceflow, collaboration happens at the workspace level. When you invite someone to a workspace, they’ll be able to see all projects inside it.
You can set someone as an editor or viewer for a specific agent, but keep in mind - they’ll still have visibility into the other agents in that workspace. If you want to share a working version of your agent without exposing its internals, use prototypes instead. Prototypes let you send a link so someone can try out the assistant without editing access.
To update someone’s permissions, click the three-dot menu on the project card and choose manage access. Please note that you'll only be able to add someone to a project if they're already a member of your workspace. You can manage workspace members using the Members option on your workspace's sidebar.
Updated 9 months ago
