Blocks
Group related steps into organized sections.
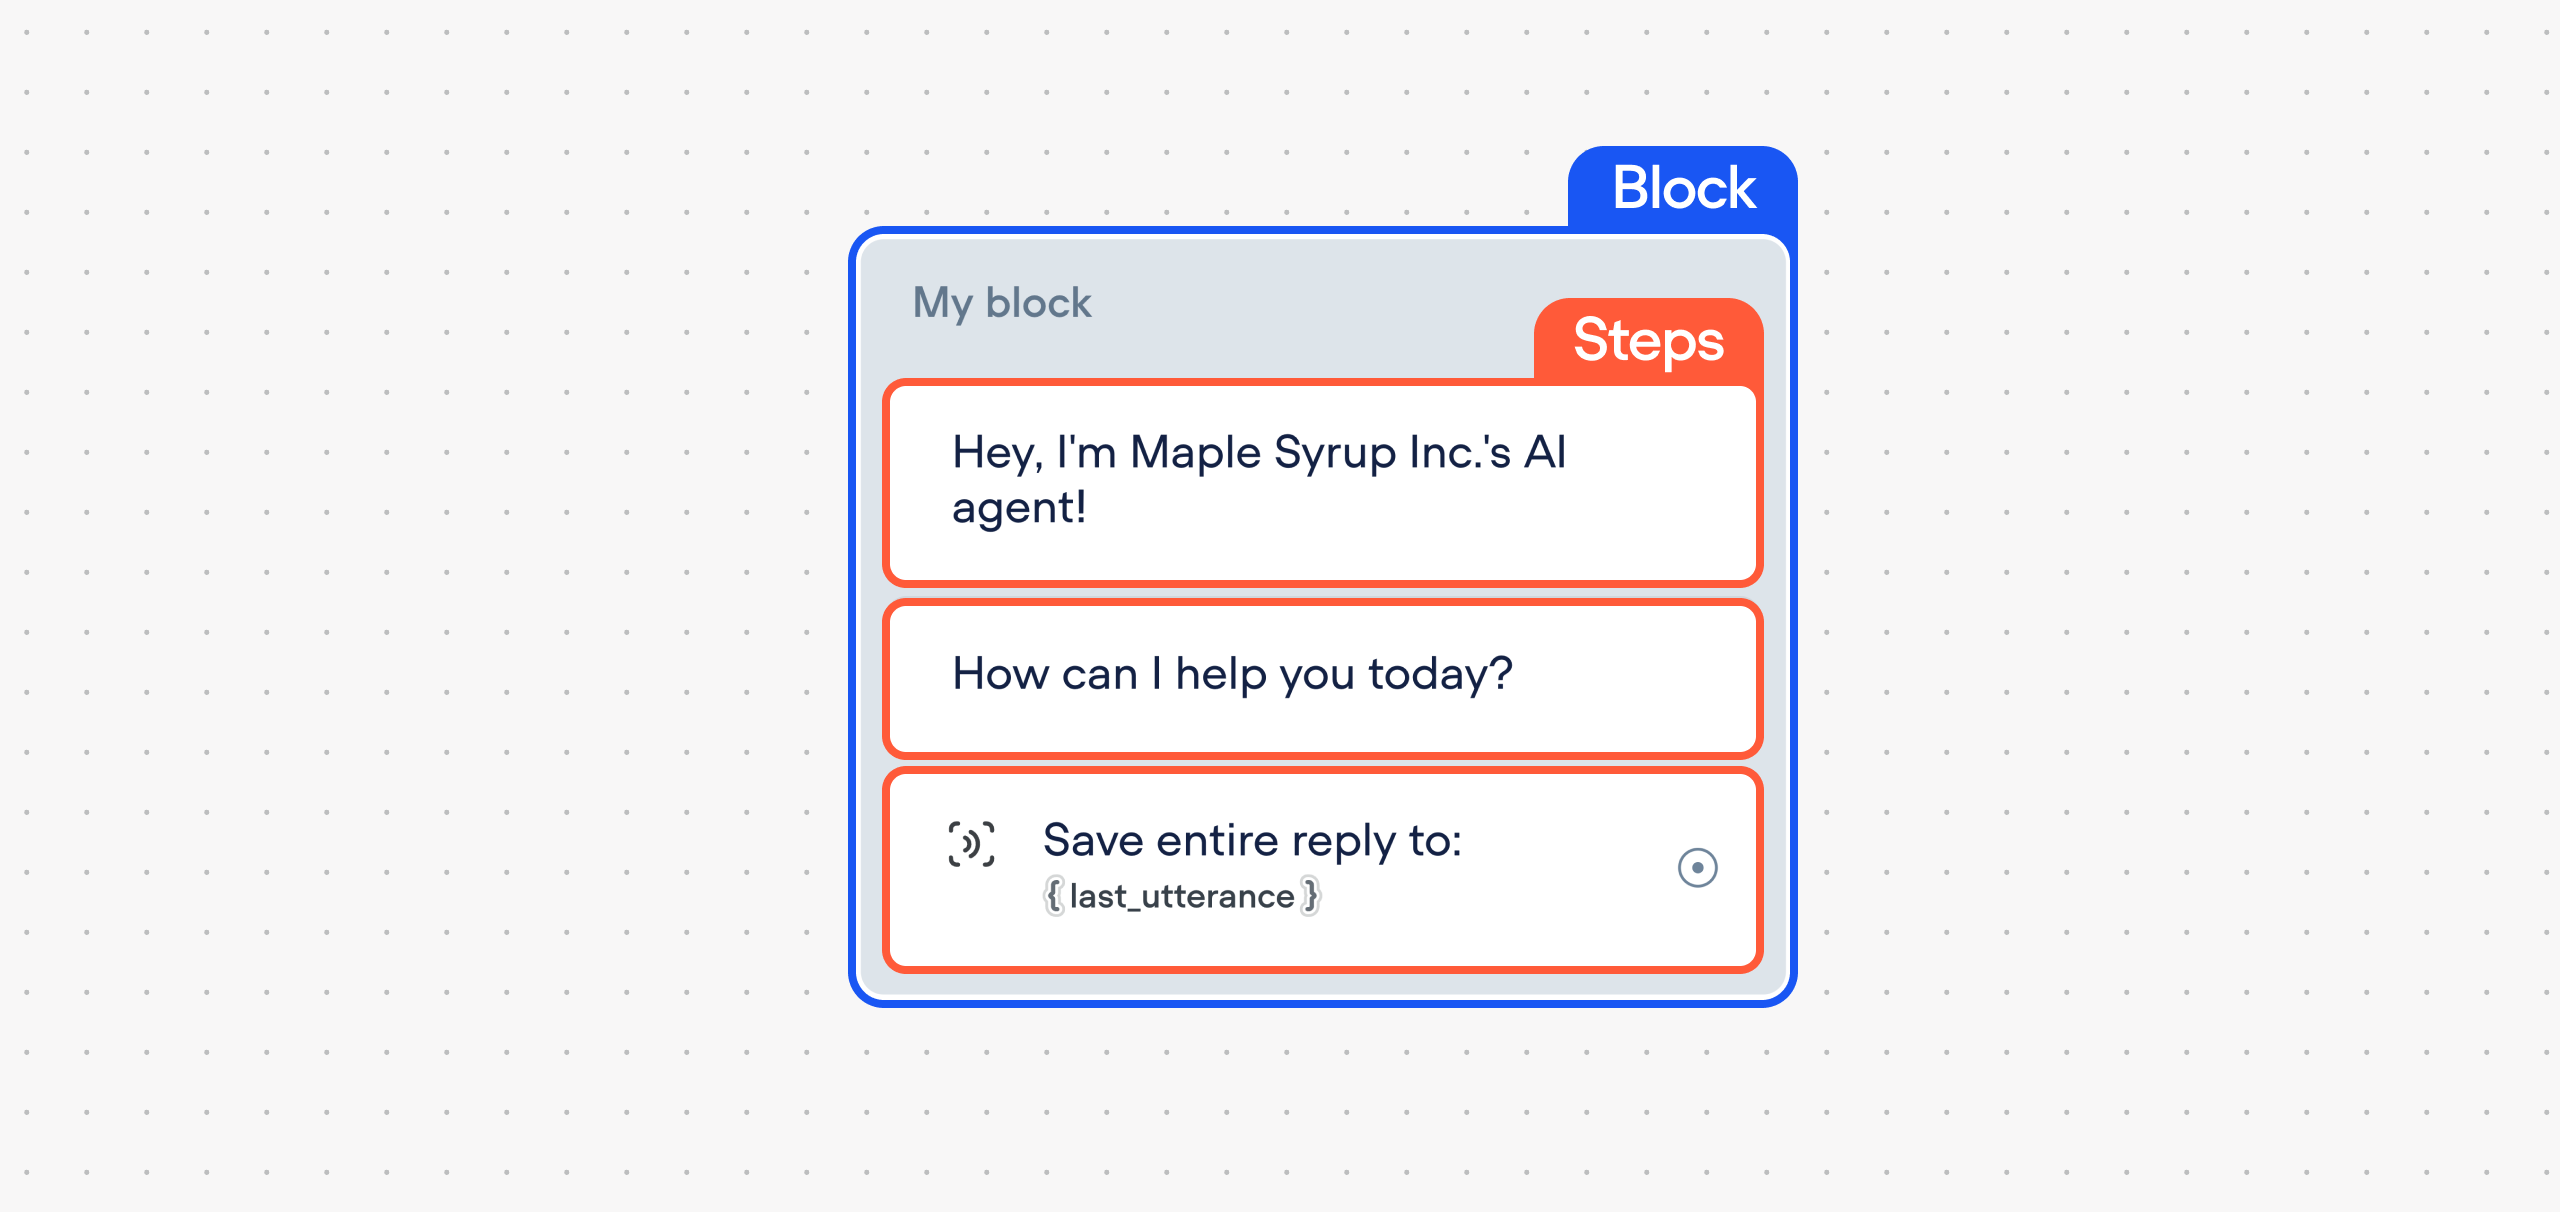
Blocks are used to group multiple steps together on the canvas. They help keep your assistant organized and make it easier to manage complex workflows. Each block has a name and colour, and can contain any number of steps.

Blocks are especially useful when:
- Structuring your conversation into logical sections (e.g. onboarding, booking, support)
- Jumping between parts of the project using Actions
- Reusing flow structures with the Template library
Creating and editing blocks
You can create a block in two ways:
- Drag a step onto an empty area of the canvas - this automatically creates a new block.
- Drag a step into an existing block to add it to that block.
You can rename a block by clicking its label and entering a new name. Use colours to visually group sections of your project.
Deleting blocks
To delete a block:
- Right-click on the block's background and select delete
- Select the block and press
DeleteorBackspaceon your keyboard.
Deleting a block will also remove all steps inside it, unless you move them out first.
Connecting blocks
You can connect a path to an entire block or to a specific step inside a block.
- If you connect to a block, the conversation will run through all its steps in order.
- If you connect to a step inside a block, the conversation will jump to that specific step and continue from there
To create a connection, click the port (circle) on the right side of a step, then drag the path to your target block or step.
Updated 8 months ago
