
Steps and Blocks
This article fully details how steps and blocks work, how to configure them, create paths and connections
What are Steps & Blocks
Steps are the atomic unit in Voiceflow and represent every single action that your Voiceflow agent does, from printing default text to displaying images, calling APIs, running JavaScript, calling ChatGPT or more.
One or more steps can be grouped together into Blocks, containing one or more steps. Blocks have a name and a color, and are useful for grouping conceptual parts of your agent. Blocks can be jumped to using actions.
Paths in your flow can go either to a whole block, or to specific steps inside blocks. All paths come out of the last step in a block (or can be started from a Trigger step), and there may be multiple different conditional paths out of a block.
An Overview on the Basics of Designing on Voiceflow
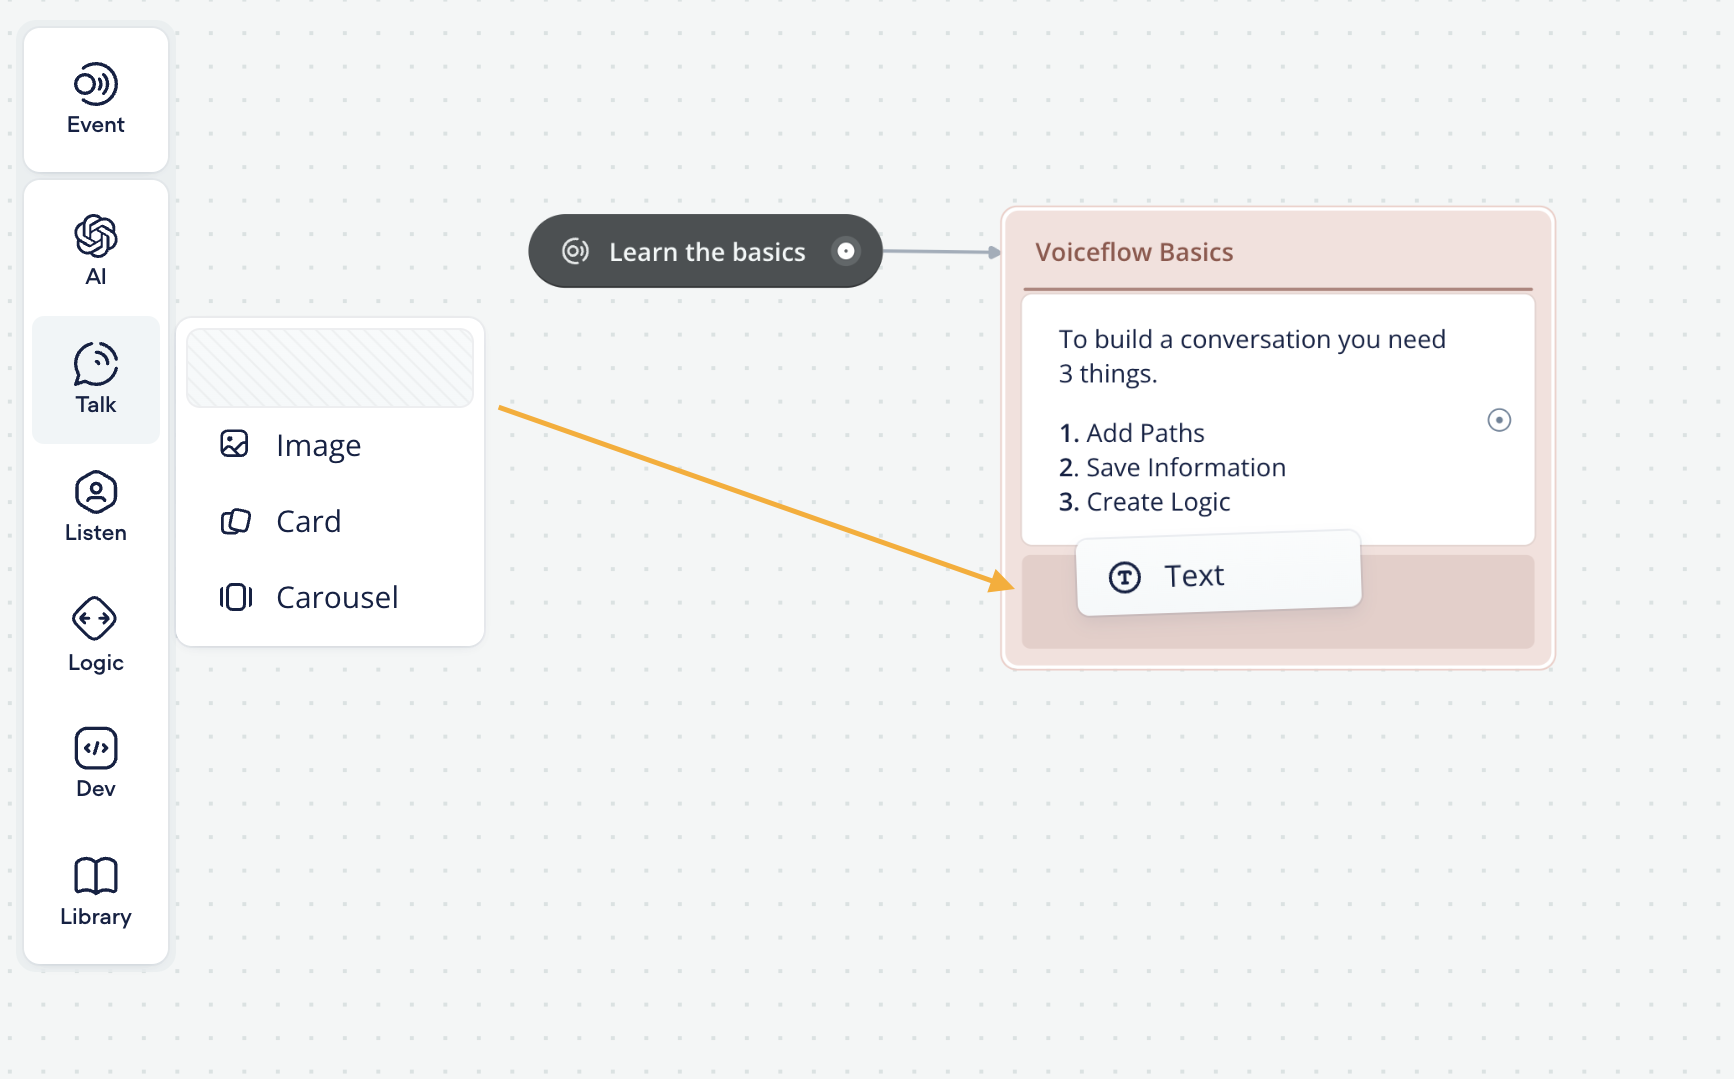
Designing on Voiceflow starts at the step-level, which includes adding, editing and connecting steps/blocks on the canvas and creating paths in your assistant. Steps are your toolkit to build powerful assistants on Voiceflow.
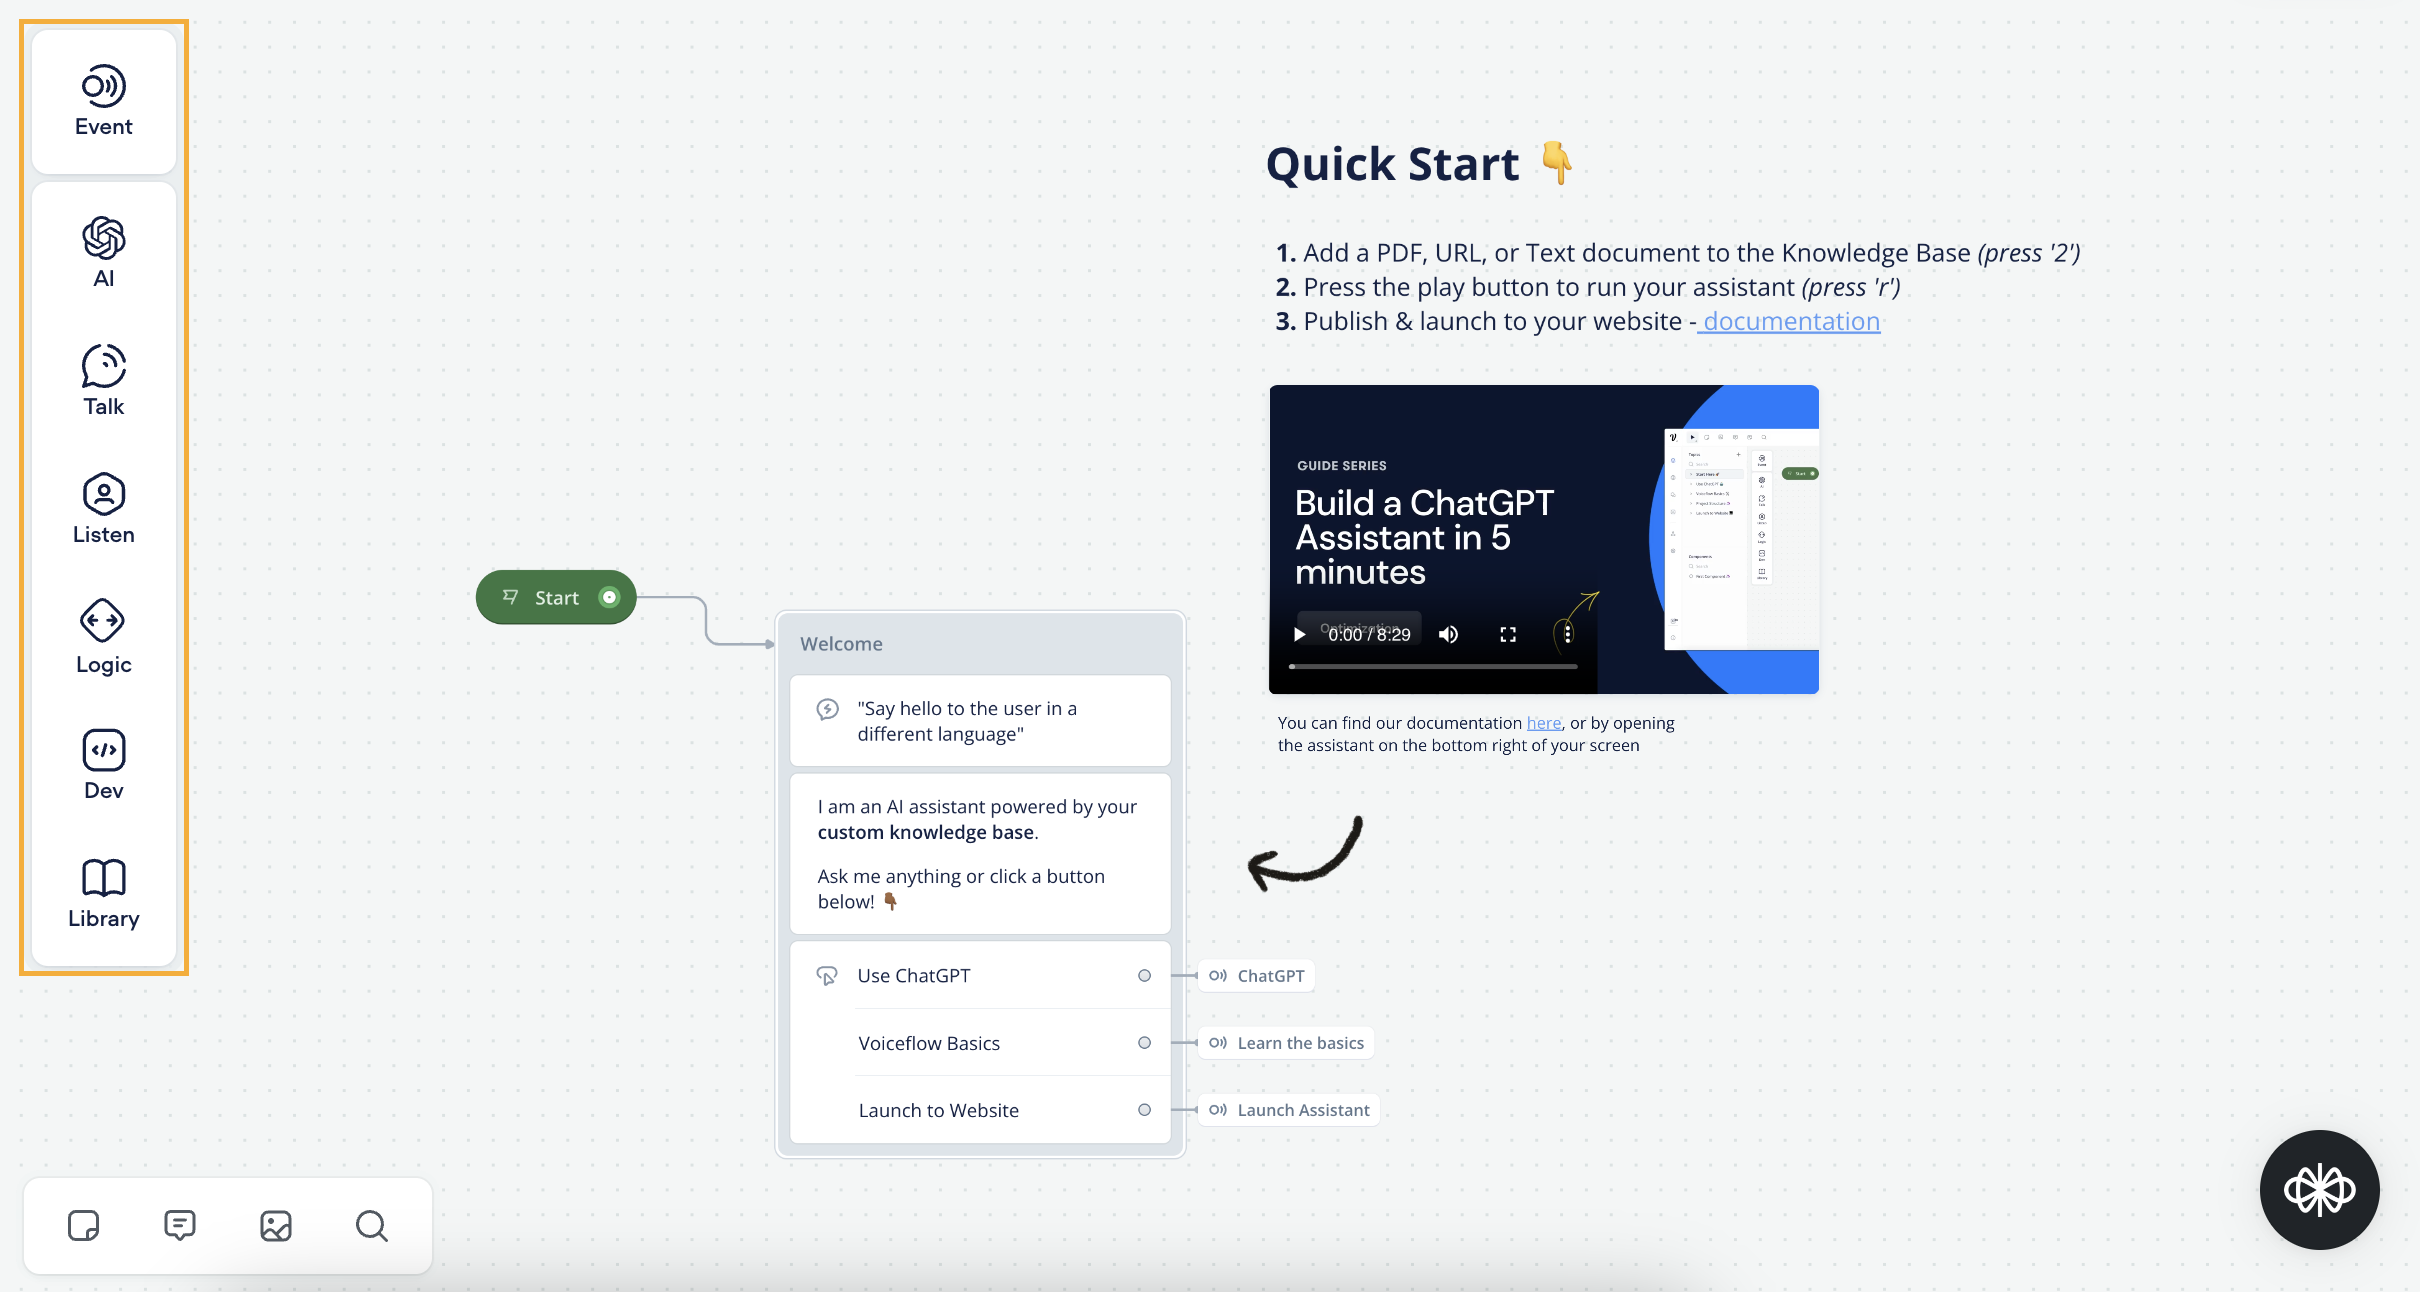
Steps are located in the floating banner and represent different pieces of functionality for building your conversational experience. Steps are categorized under:
- Event: represents a starting point for a conversational flow, usually triggered by an intent
- AI: steps that leverage generative AI
- Talk: allows the conversational assistant to convey information to the user through different mediums
- Listen: includes different types of user inputs
- Logic: controls assistant decision-making between different conversational flows and stores relevant data
- Dev: enables both executable and mocked code snippets for complex development needs
- Library: stores block templates for easily replicable blocks and steps on the canvas
Tip: Sometimes, you will only visually see Talk, Listen and Logic appear in this sidebar, but you can hover over this sidebar and click the down arrowhead symbol (⌄) to have Developer and Library also appear.
When creating an assistant, you will notice that the start step appears by default. This is where your conversation will always start from. This step cannot be deleted, but you can rename and change its color to suit your design workflow & organizational needs.
In a typical conversation flow, an assistant design should alternate between talk and listen steps, while using logic and dev steps as needed to program any complex decision-making and development needs.
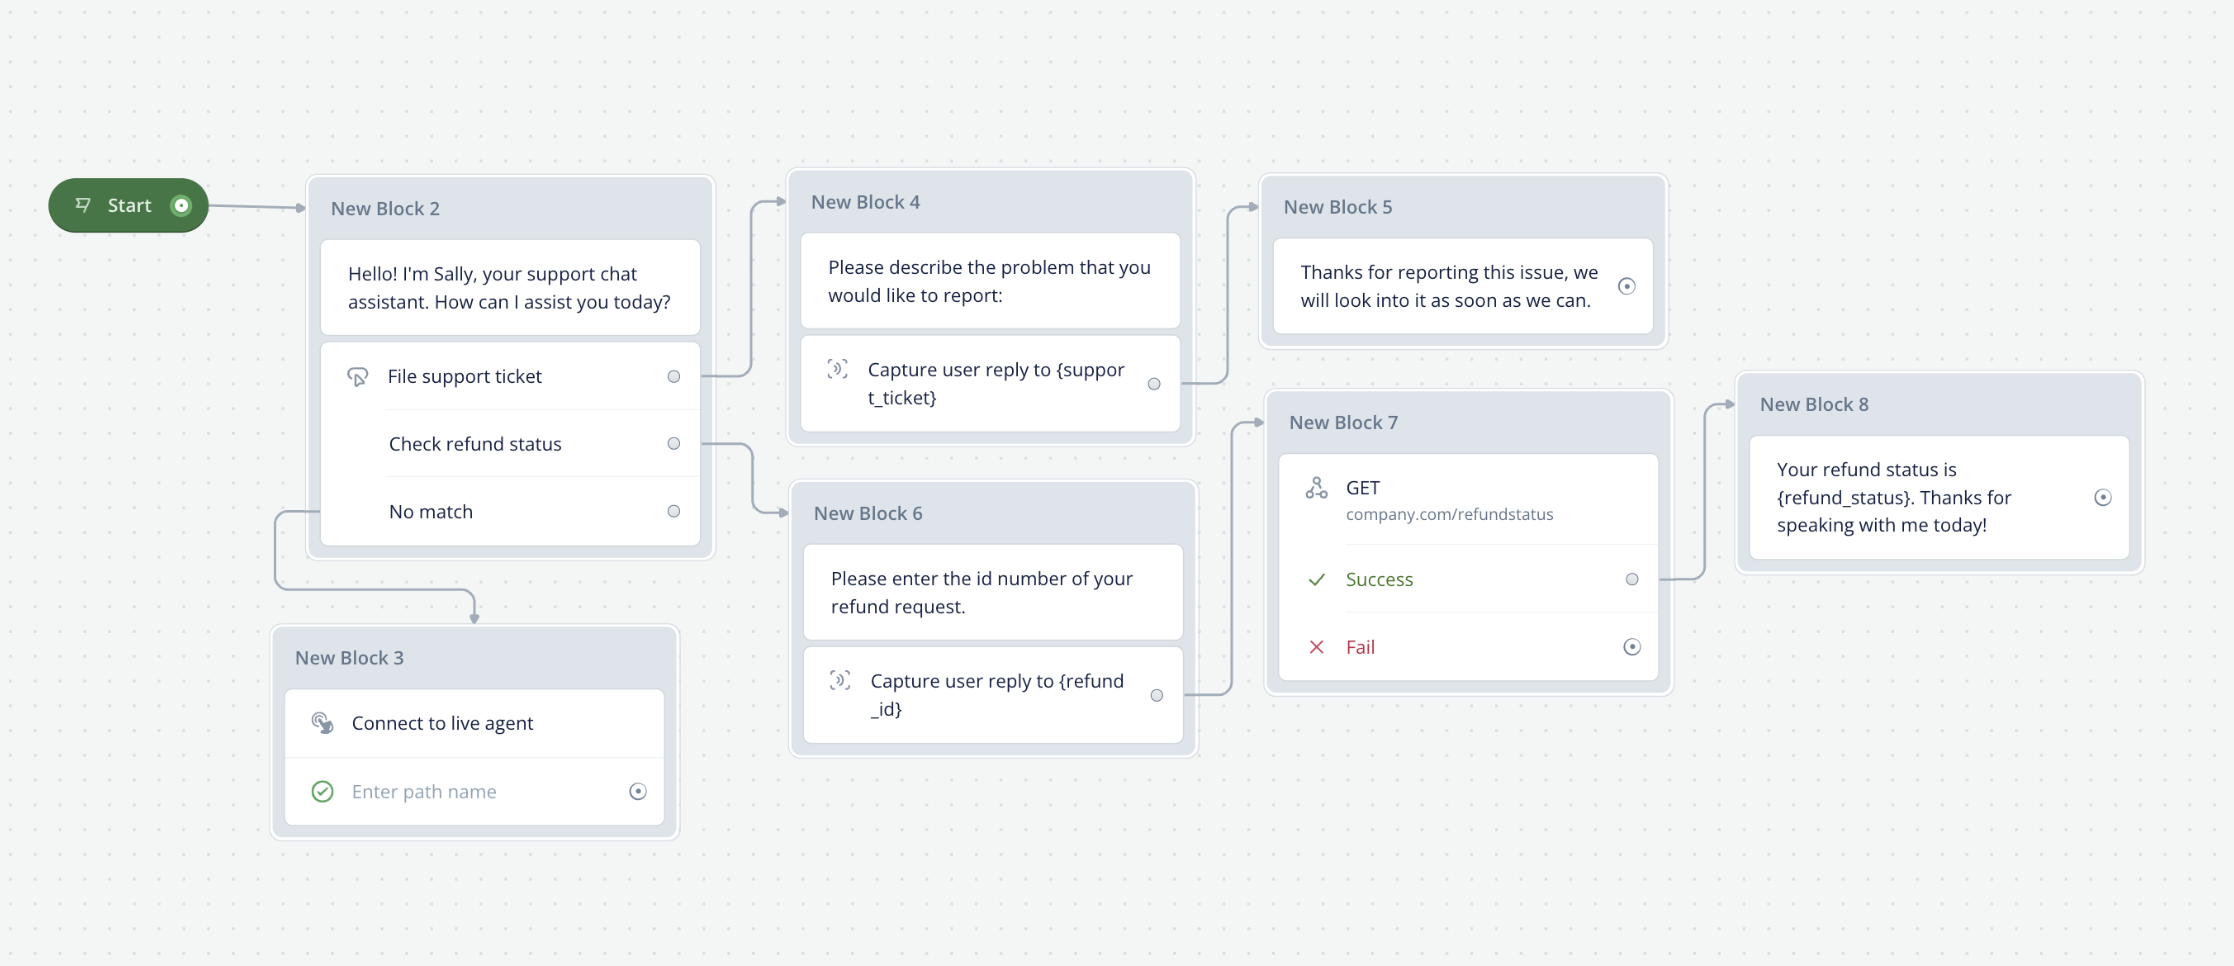
As an example, a support chat assistant might:
- Start with a text step (a form of talk step) greeting the user and offering help: “Hello! I'm Sally, your support chat assistant. How can I assist you today?”
- Follow with a button step (a form of listen step) with two defined buttons, “File support ticket” and “Check refund status”. These buttons represent the defined functions of the support chat assistant, and each function results in a different conversation flow.
- If desired, the buttons step can add a “No Match” path such that if the user types a response that matches none of the defined paths, the user will be routed to a live agent. As routing to a live agent is a complex development need, it can be represented by a custom action as a placeholder step.
- Each function has a separate conversation flow.
- “File support ticket” button path
- It is connected to a text step that asks the user to explain their issue in detail: “Please describe the problem that you would like to report:”.
- A capture step (a form of listen step) is then used to capture the entire user response and apply it to a variable.
- The response is recorded in the transcripts of the assistant and can be accessed later. The assistant can now thank the user for providing feedback: “Thanks for reporting this issue, we will look into it as soon as we can.”
- “Check refund status” button path
- It is connected to a text step that asks the user to provide their refund request identification number: “Please enter the ID number of your refund request.”
- A capture step is then used to capture the entire user response and apply it to a variable.
- To search a database of refund requests to determine the status of one request in particular, you can use an API step to query a database using the user-provided request ID. Alternatively, you can use a custom action as a placeholder step. The refund status is stored in a variable called {refund_status}.
- The assistant then relays the queried refund status (or a placeholder value), and thanks the user for using the assistant: “Your refund status is {refund_status}. Thanks for speaking with me today!”
- “File support ticket” button path
Adding Steps
How do I create blocks? How do I add blocks or steps?
Adding Steps to the Canvas
To add steps to the Canvas, drag and drop steps out from the left side menu and drop them on the canvas.
Once you've added your first step, you can also connect your Start chip from its end port/node.
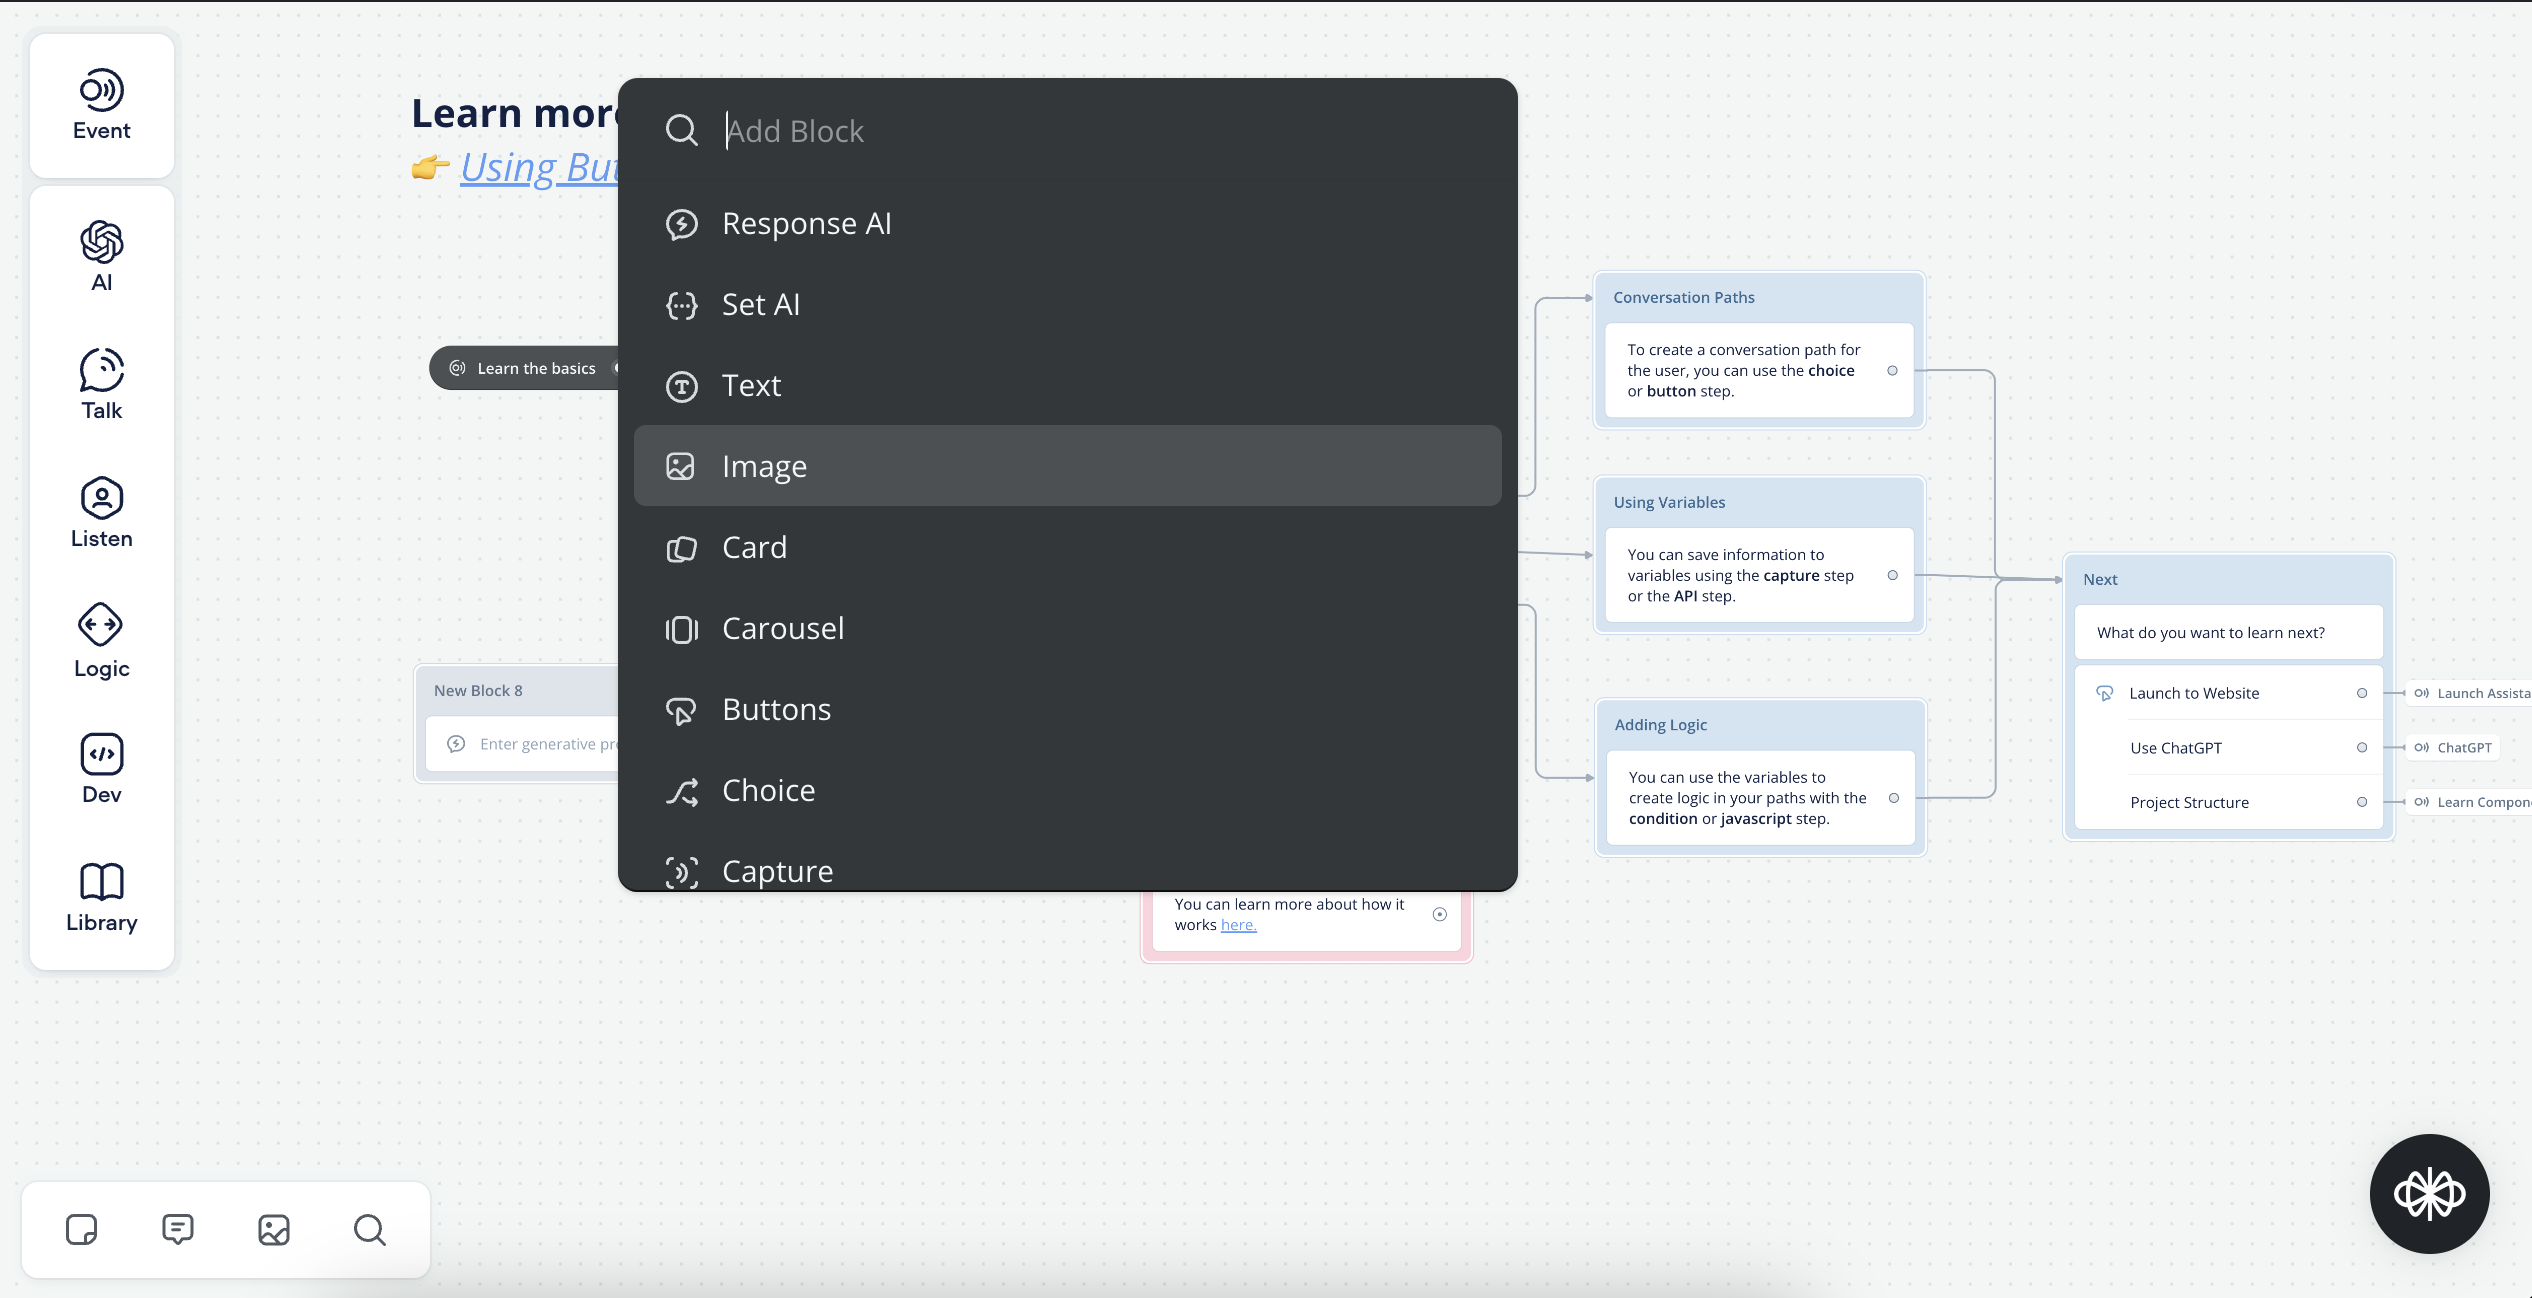
Tip: Add Steps quickly by search (press ⬆️ Shift + ␣ Space and start typing).
Dropping a step on its own to the canvas will create a block, or you can drop the step directly into an existing block.
Removing or Deleting Steps
How do I delete blocks? How do I remove steps?
Removing Steps
To remove steps, you can select the step with the right-click menu and choose the delete option, or similarly with the keyboard shortcut Delete/Backspace.
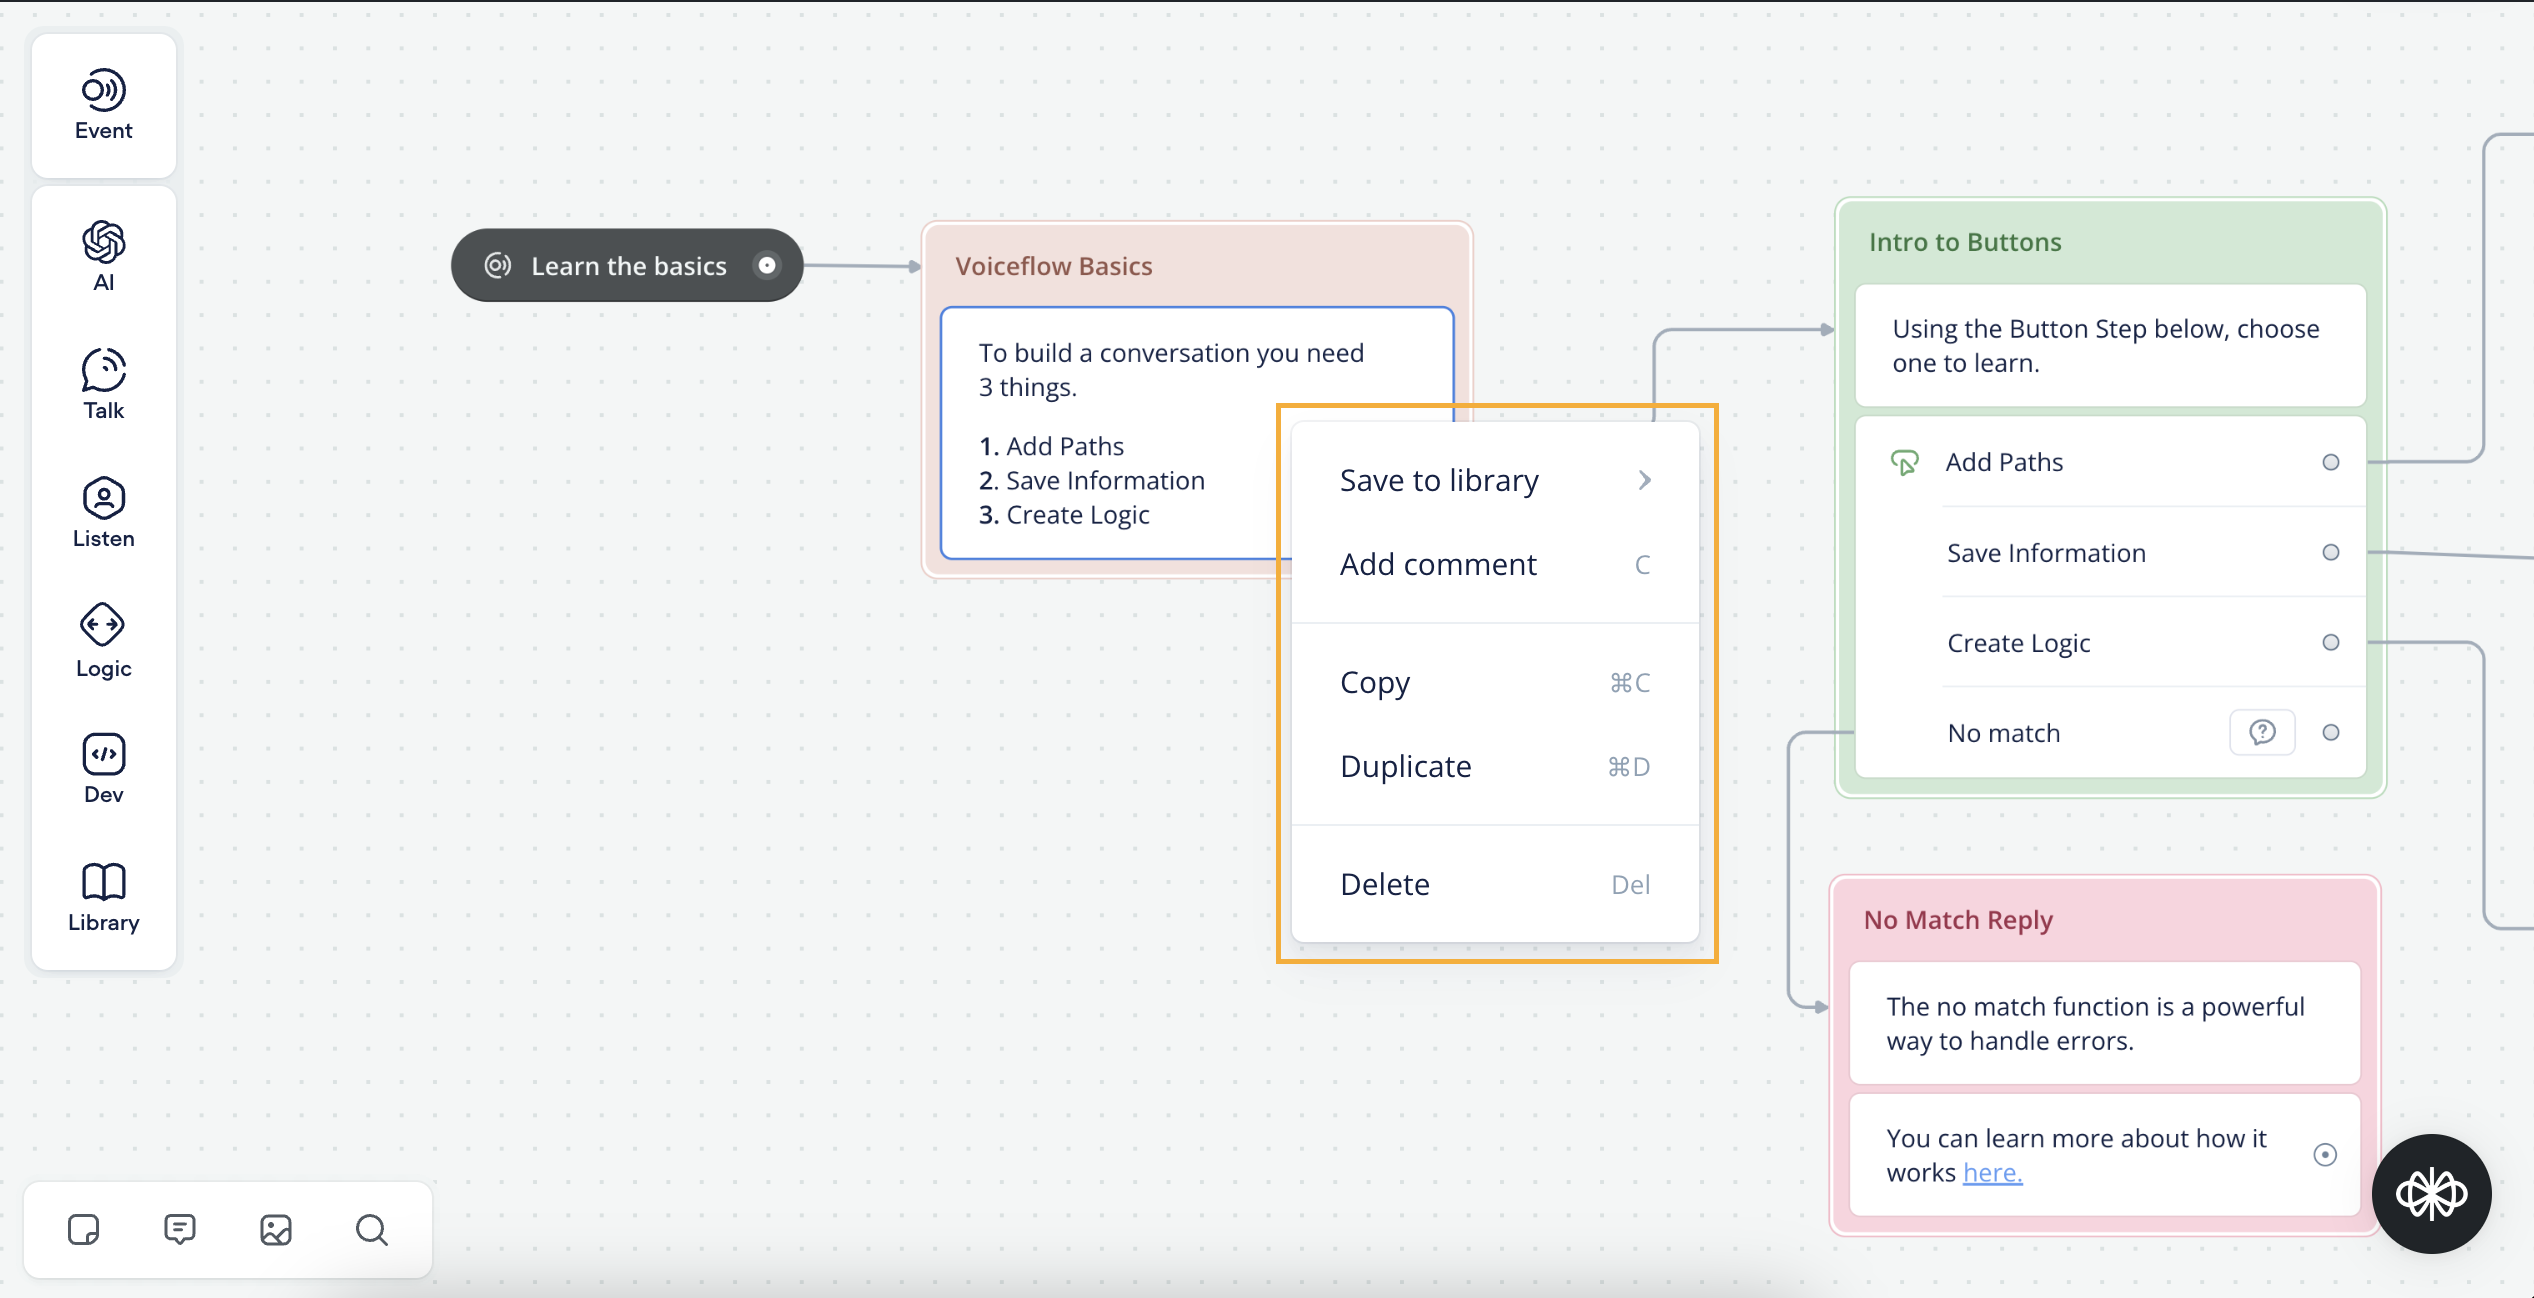
As with the steps, you can select the block with the right-click menu and select the delete option.
You can select blocks (with multiple nested steps) or individual nested steps, and alter, edit, delete & remove accordingly. You can also multi-select a collection of steps/blocks and delete accordingly.
Alternatively, you can delete the step from within the editor.
Editing and Configuring Blocks
How to edit blocks? How to configure blocks?
Step Content Editor & Block Configurations
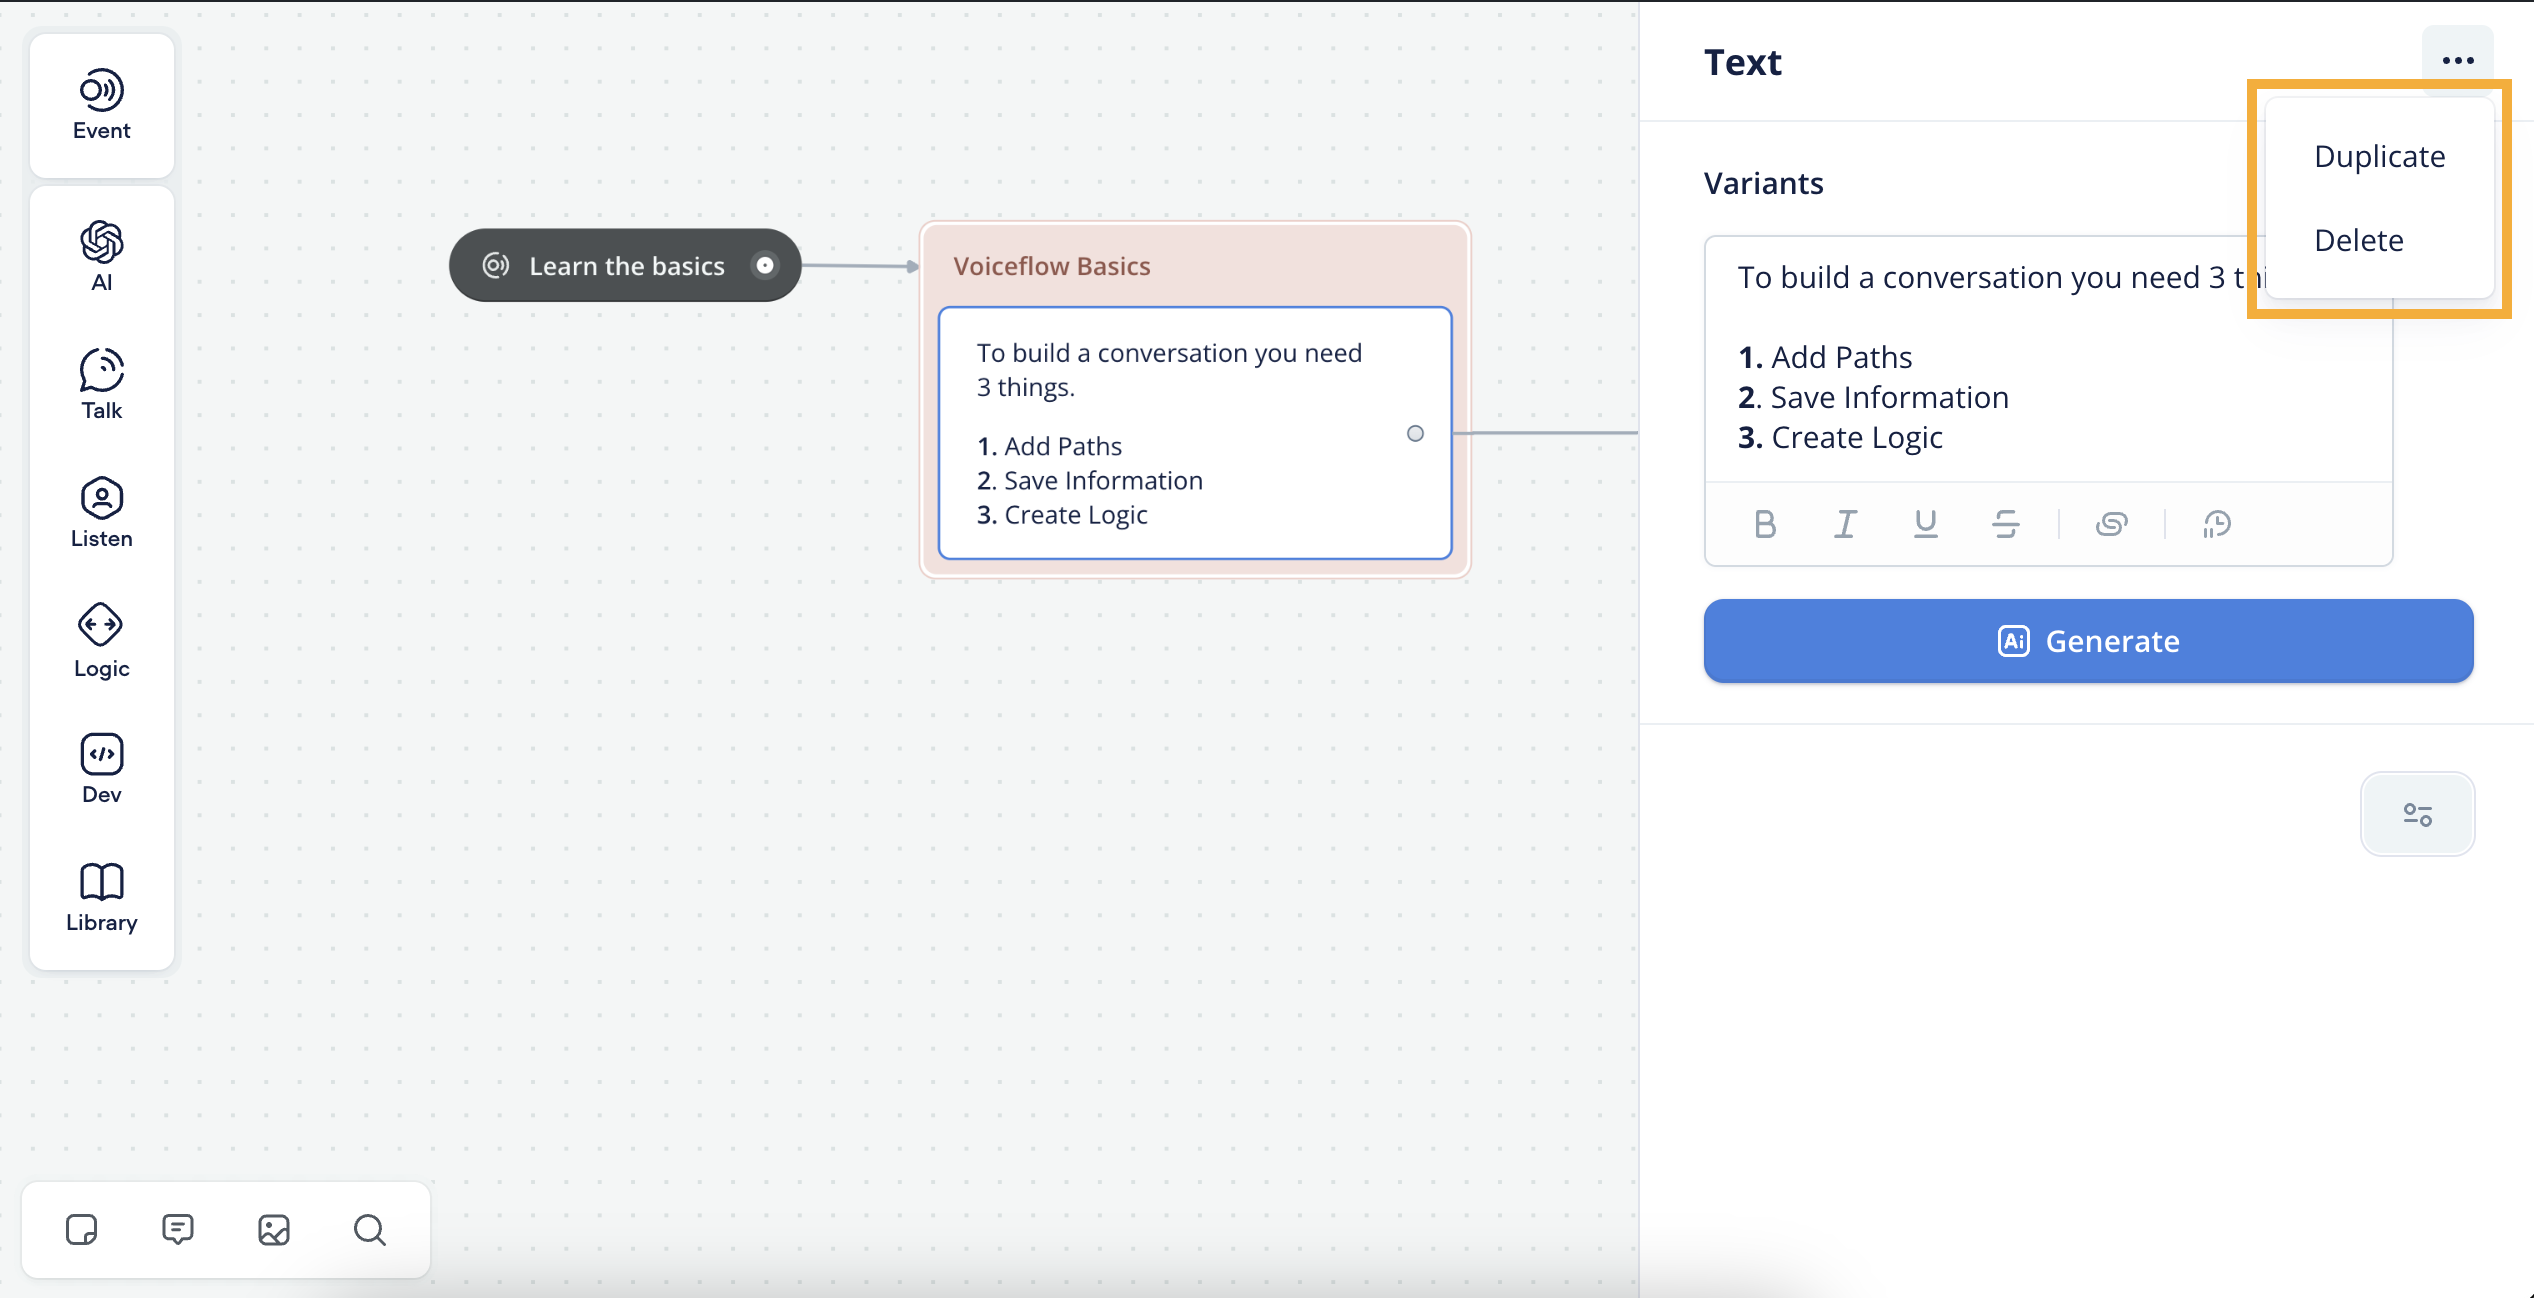
Every step's content can be edited by clicking on it, which will open the step editor on the right-hand side of the screen.

You can also jump to edit another step's contents simply by clicking on it similar to the process above, which will open the editor for that respective block/step's contents.
To close the editor, click away at any blank space away from the editor back on the canvas.
Creating Paths and Connections
Add Paths, Lines, Create Conversations and Block Connections/Connectors
To draw a path from a step to the next step or block, click on the circular port on the right side of the step you want to extend the path from. Then, drag and drop the path to the step or block you would like to connect.
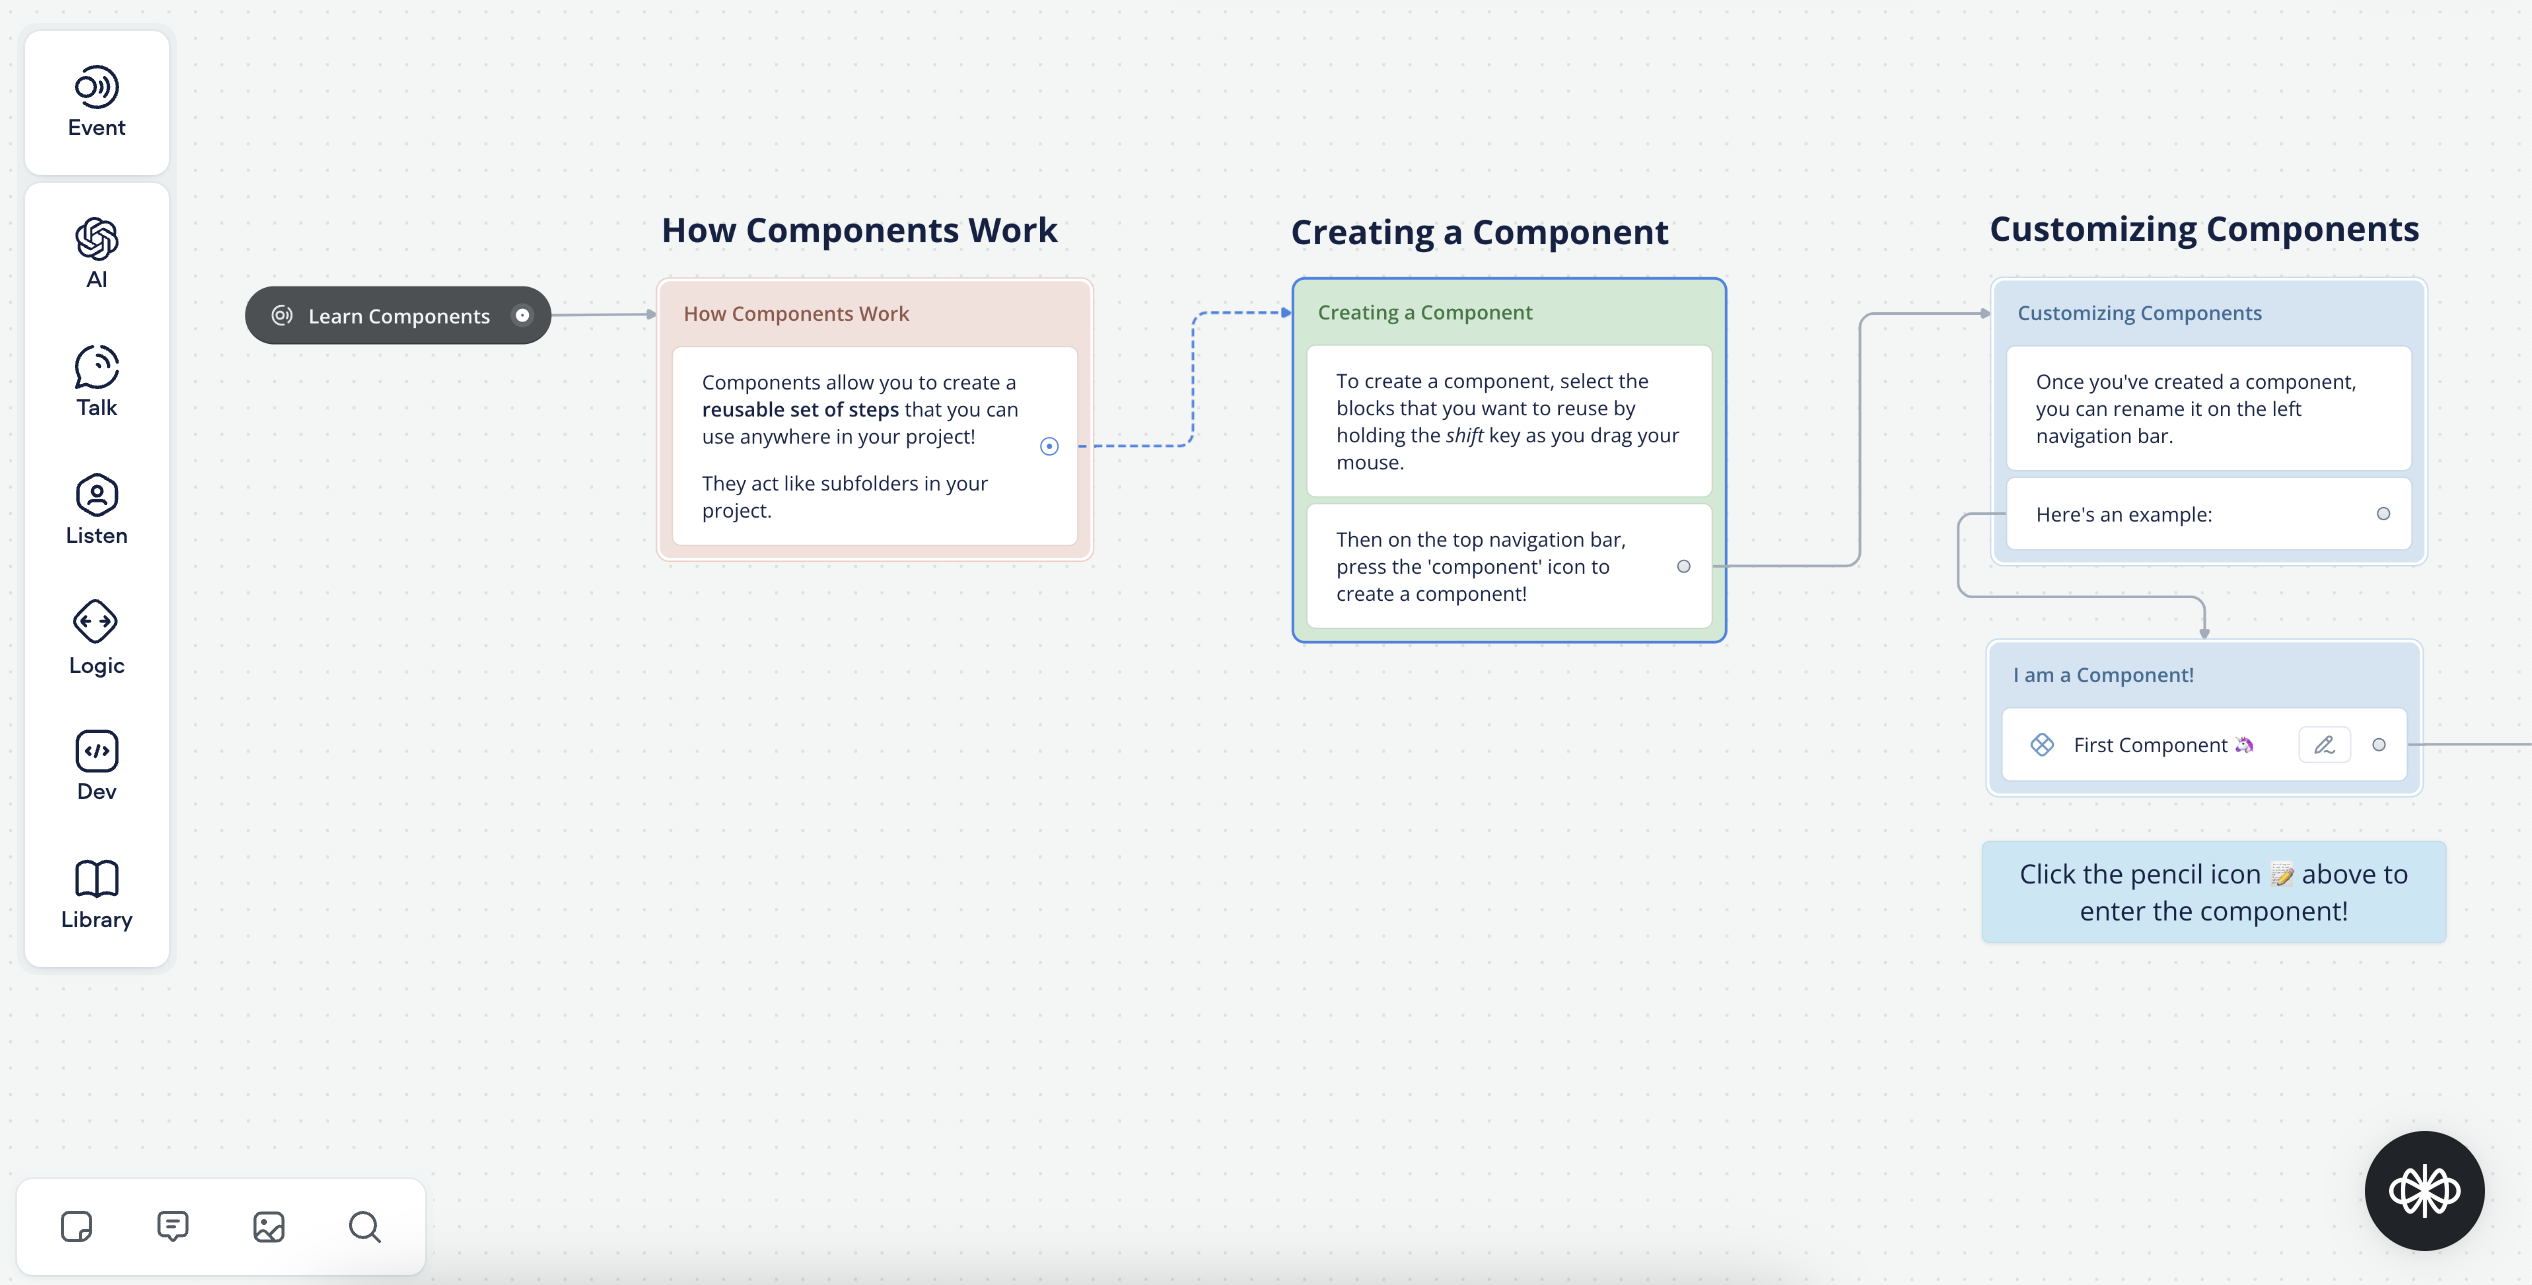
You can connect a path to a block, which will cause the conversation to run sequentially through all the steps within that block. You can also connect a path directly to a step within the block, which will cause the conversation to jump directly to that step within the overall block, and then continue sequentially.
As you are building advanced conversations, note that some paths cannot be created/connected because the step you are attempting to connect does not allow for a path input.
An example of the above point is the Trigger Step, which does not allow for paths to be connected to it, only from it. This means if you have an intent step as the first step within a block, then you cannot connect a path to that block (only the steps within it). The first step in the block does not allow for paths to be connected to it.
Updated 3 days ago