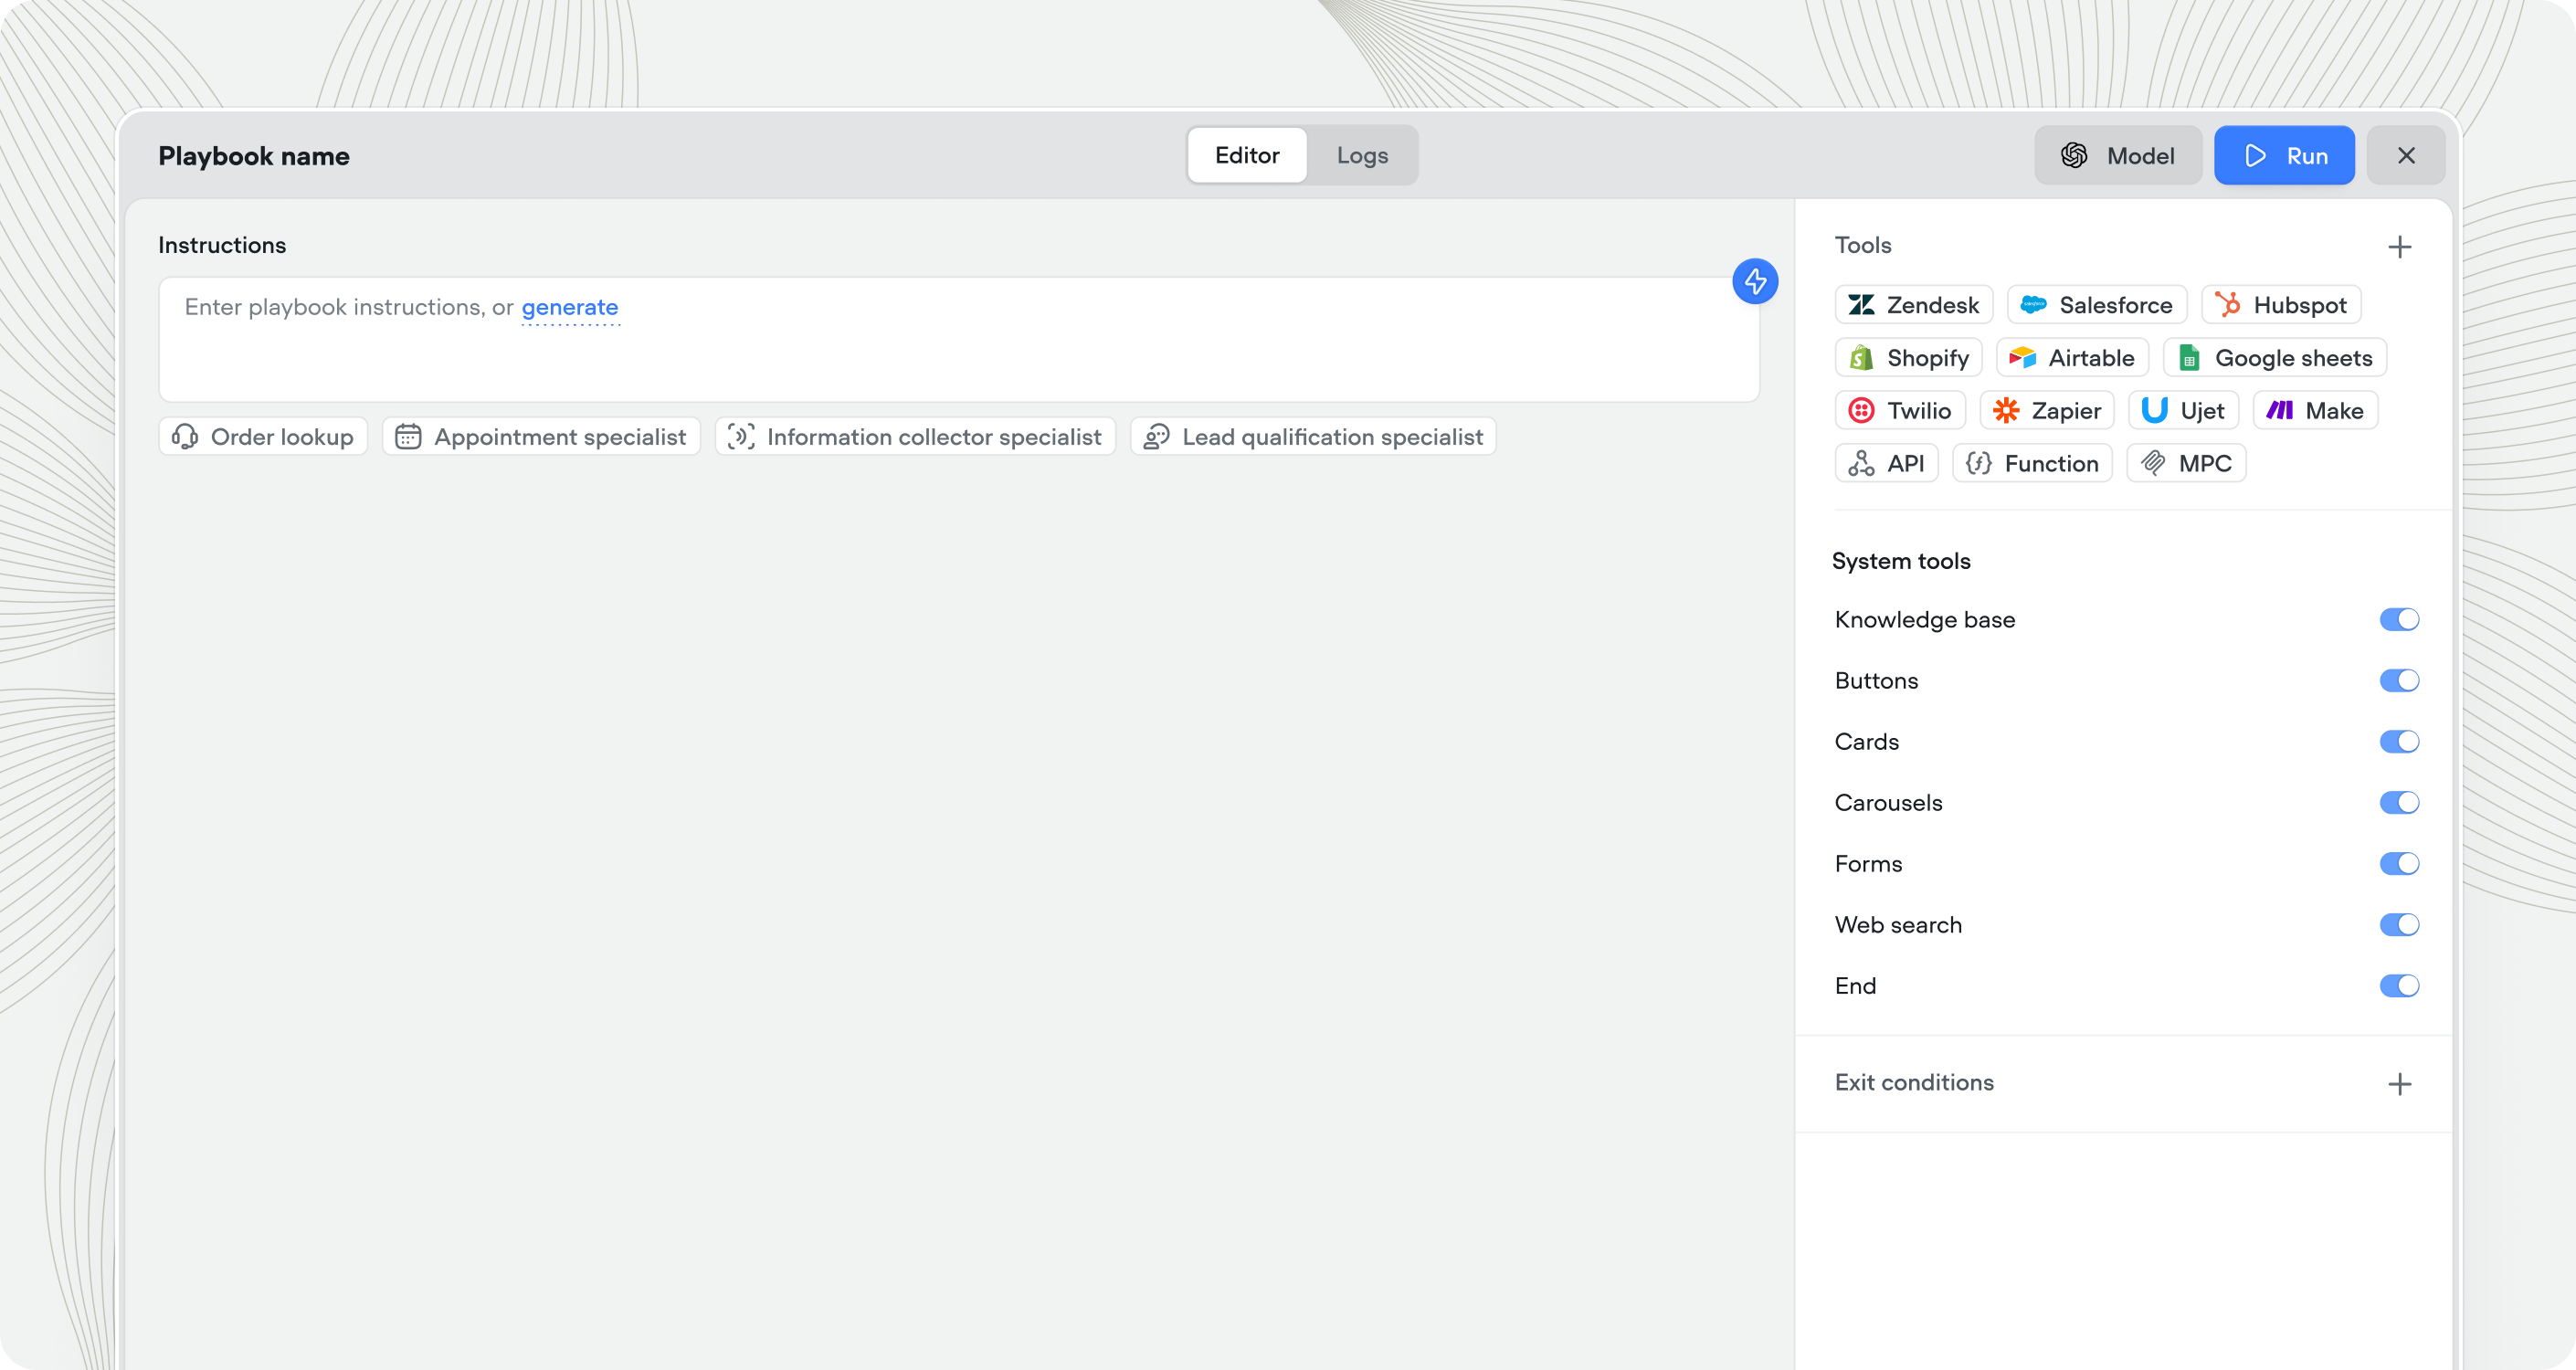
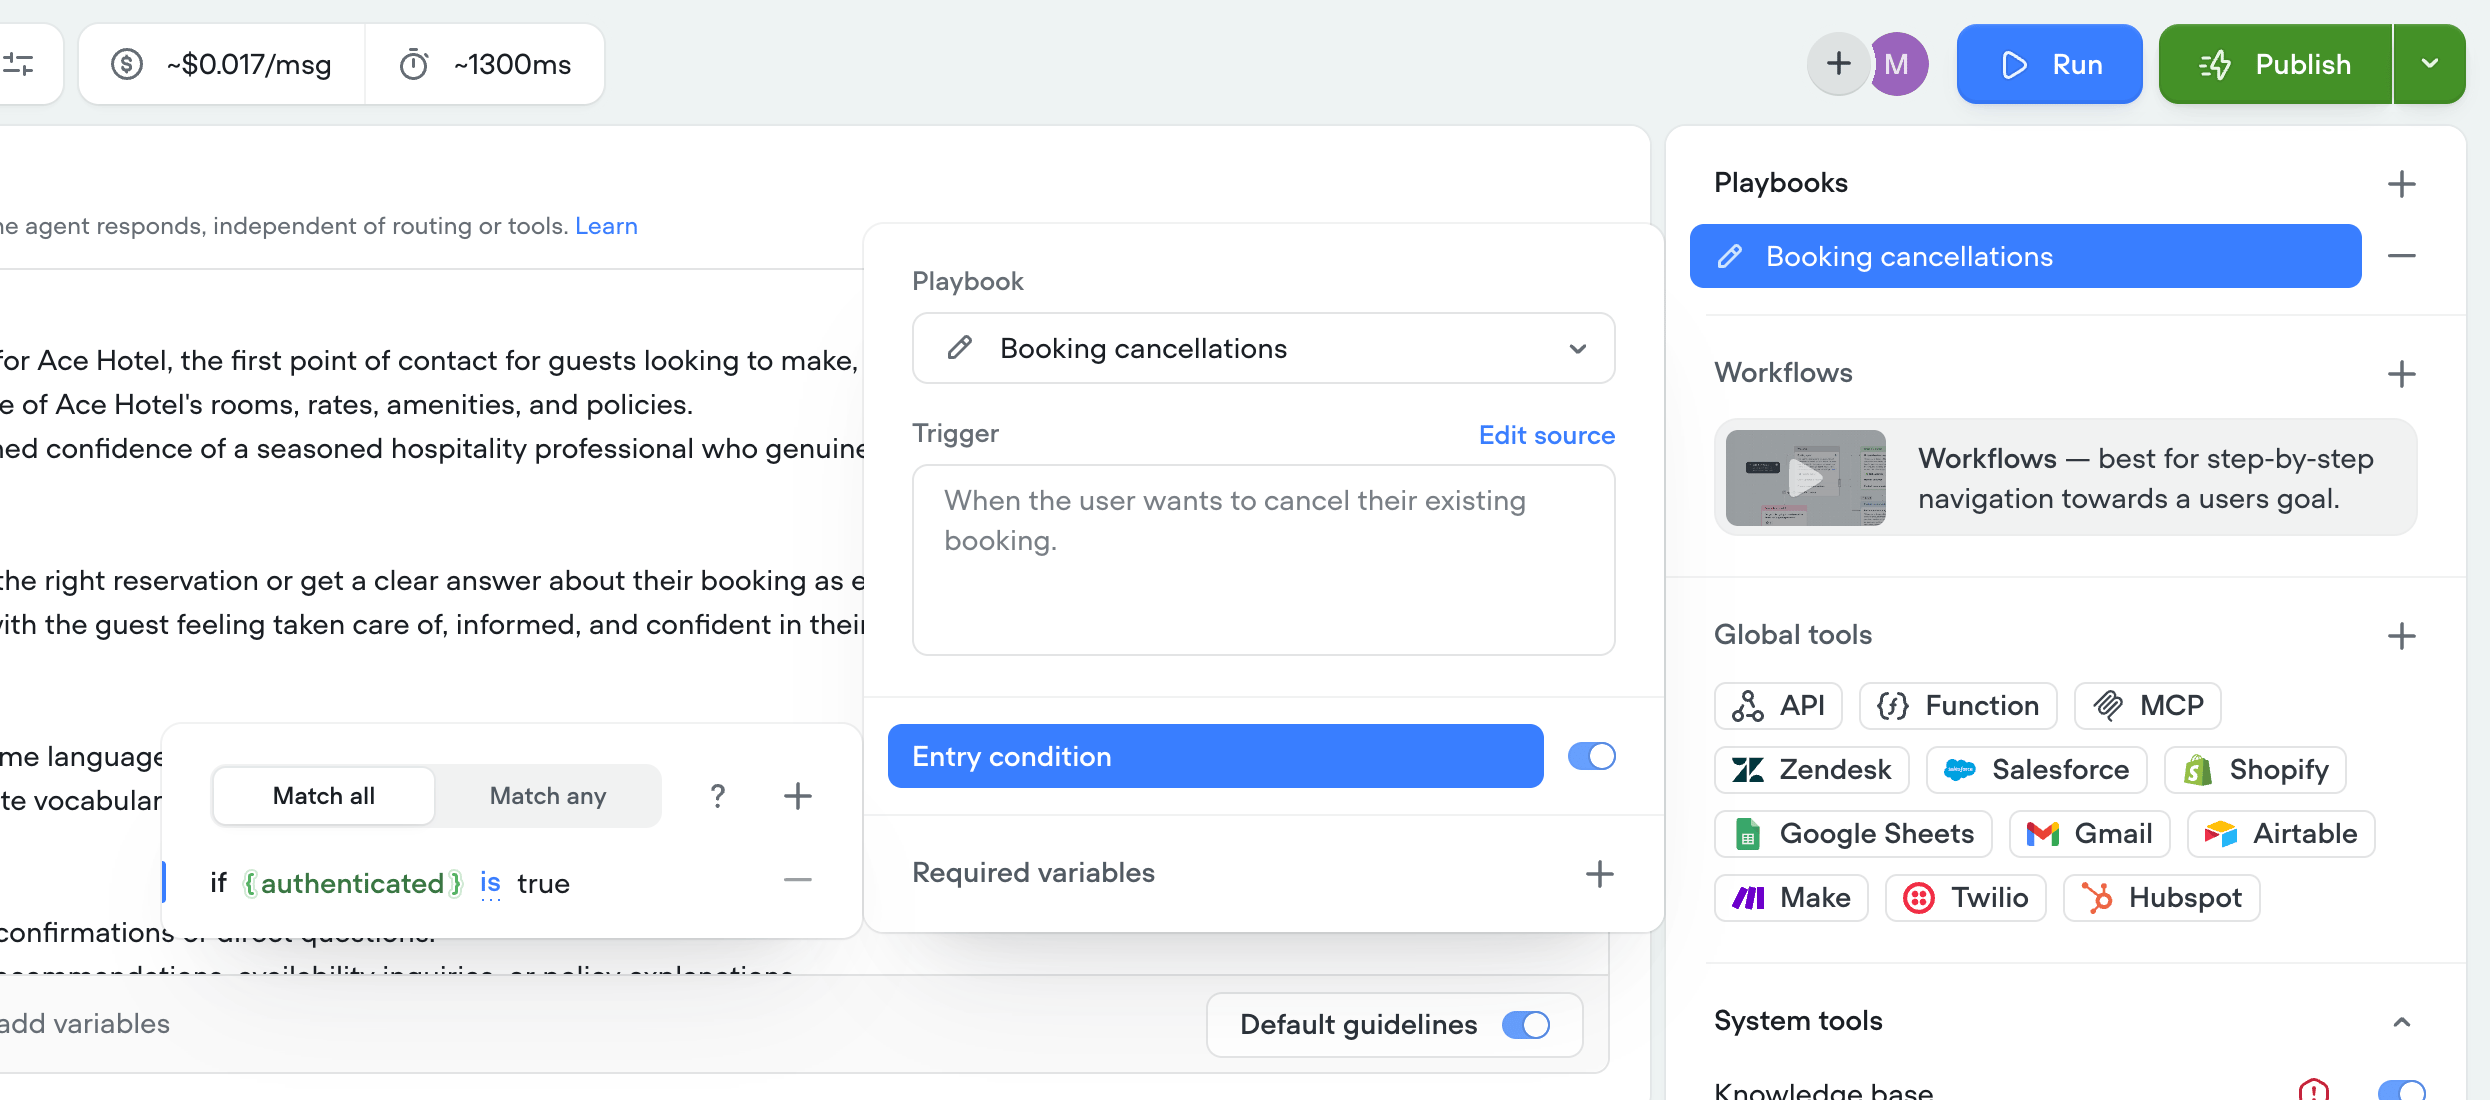
Tools
Playbooks can use tools to take action during a conversation: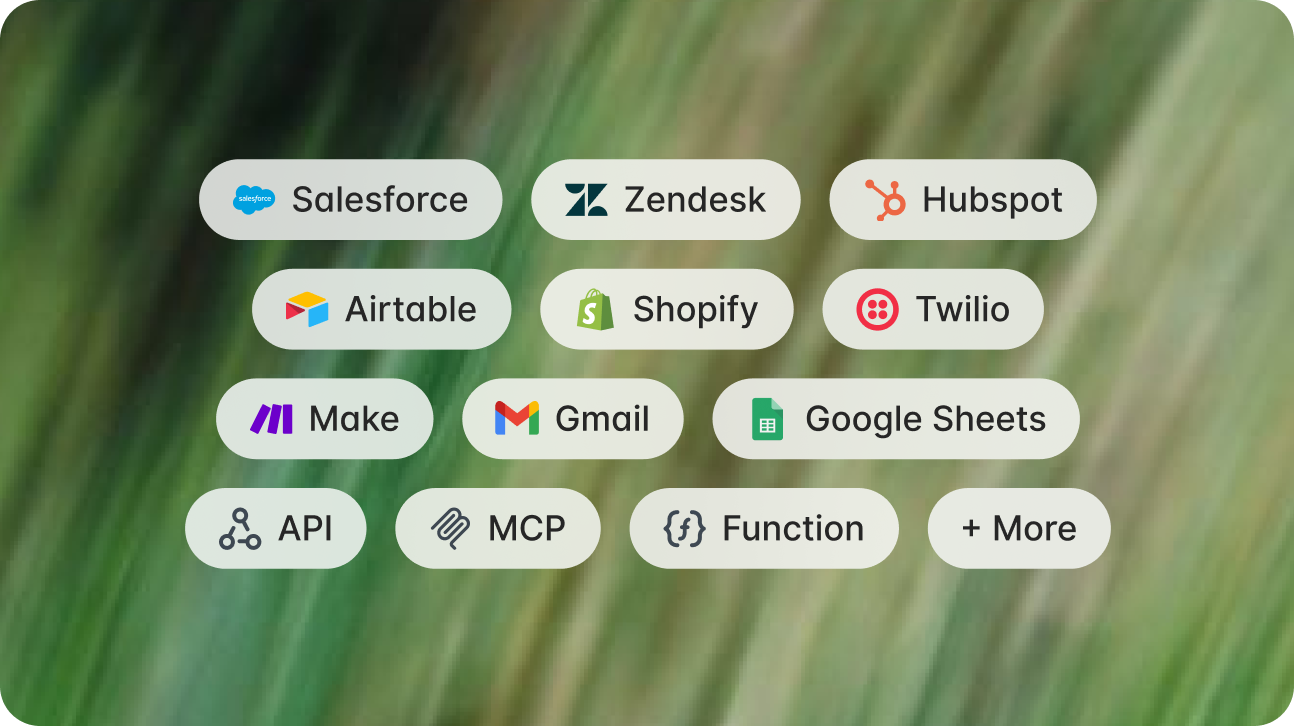
- Integrations — pre-built connectors to tools your team already uses, like Zendesk, Salesforce, Shopify, HubSpot, Gmail, and more.
- API tool — connect to any REST API with a custom request. Use this for internal systems or any service without a pre-built integration.
- MCP tool — connect to any MCP server and expose its tools directly to the playbook.
- Function tool — run custom JavaScript logic mid-conversation, useful for data transformation, calculations, or lightweight processing without an external call.
- System tools — call the knowledge base, forward calls, end the conversation, display buttons, cards or carousels, search the web.
Creating playbooks
Add or create a playbook
From the Agent tab, click + in the right editor. Select an existing playbook or create a new one.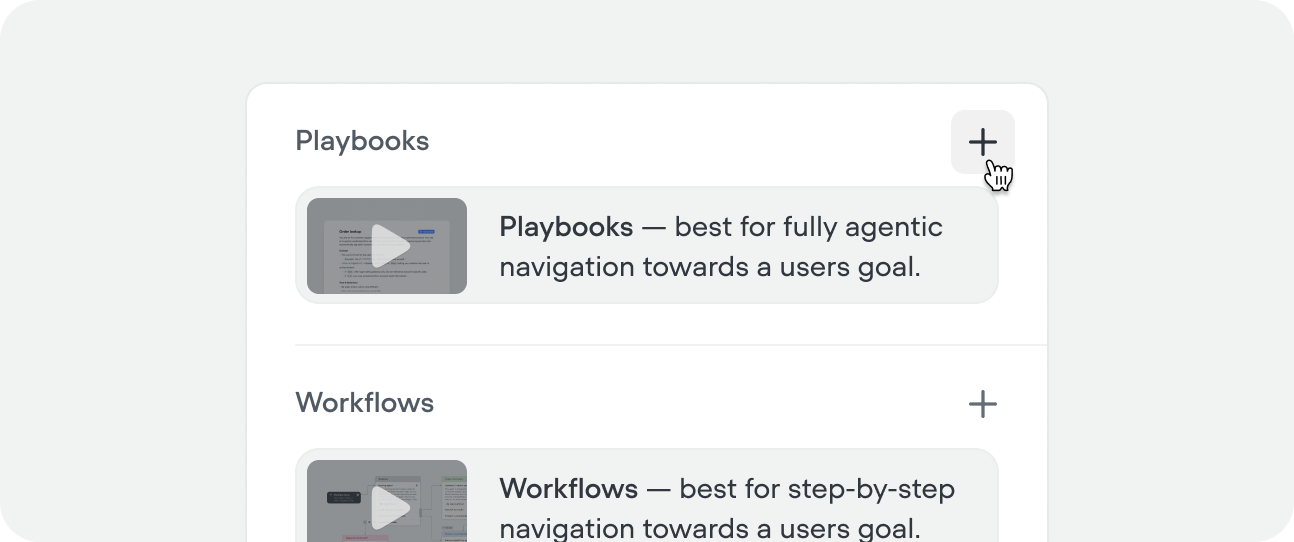
You can also create playbooks from within a workflow using the playbook step, or from the playbook CMS tab.
Name your playbook and add a trigger
Give your playbook a clear name and trigger. The trigger should cover both what the playbook does and when the agent should route into it — this is what other playbooks, workflows, and the top-level agent read when deciding whether to call it. 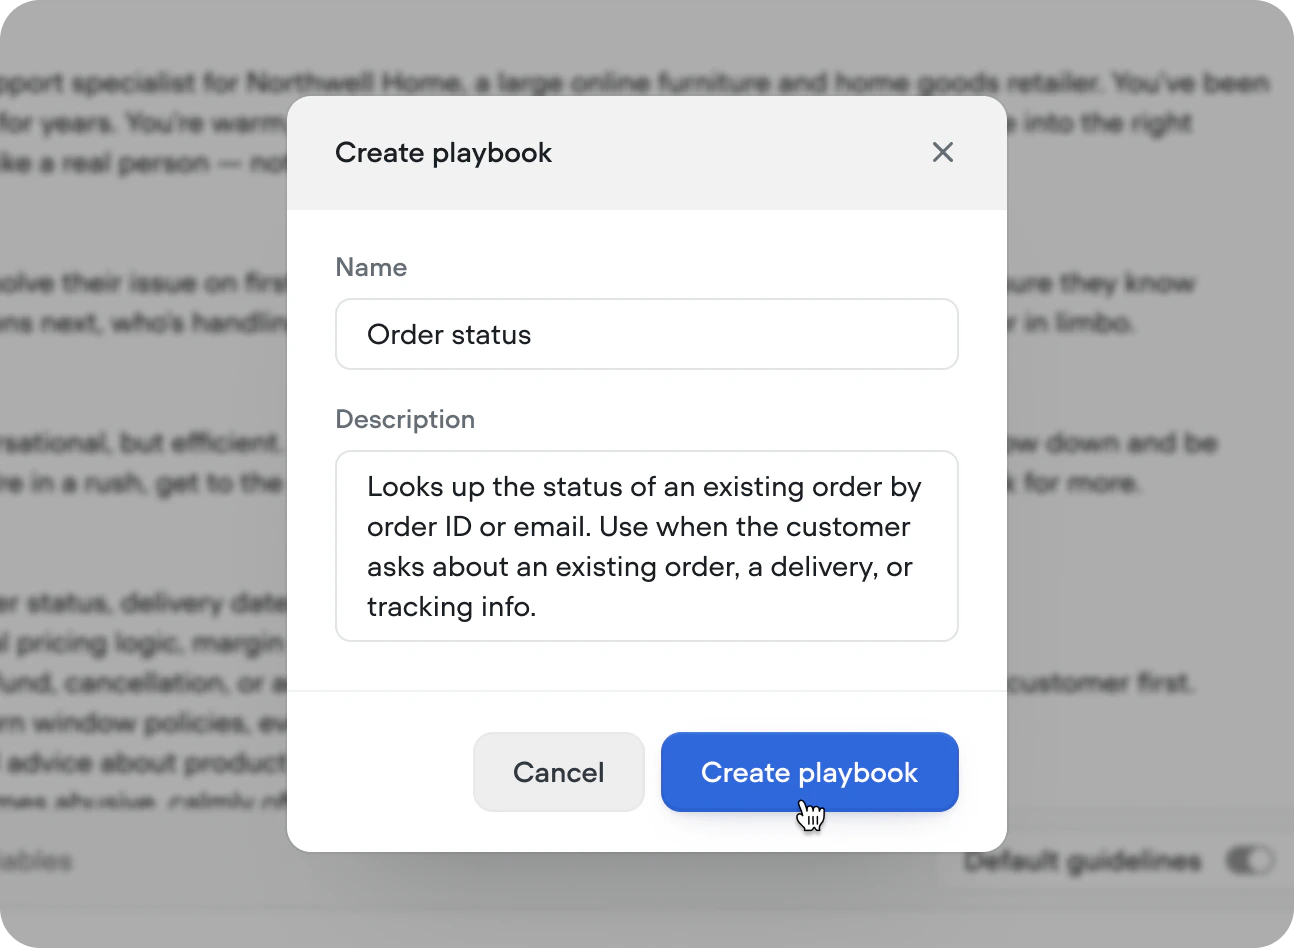
Write playbook instructions
You’ll be taken to the playbook editor to write or generate instructions. Playbooks added from the agent tab are automatically attached to your agent. Click × in the top right (or ‘esc’ on keyboard) to return to the agent tab at any time.
Add tools
Use the Tools panel on the right to add any integrations, APIs, MCPs, functions or system tools your playbook needs to achieve its goal.
Run your playbook
From the agent tab, press ‘Run’ in the top right, or use the shortcut Shift + R then initiate the playbook by typing or speaking a message.
Iterate
If your playbook isn’t performing the way you expect, start by improving the instructions — they’re almost always the culprit. From there, make sure your tools have clear names and triggers so the playbook knows when and how to use them. Changing the model should be a last resort, but can prove helpful given the goal at hand.
Writing good instructions
Instructions are the core of every playbook. They tell the agent what to do, and when to use its tools. Write in plain language — markdown formatting is supported. The quality of your instructions directly affects the quality of your agent. Vague instructions produce inconsistent behavior. Specific instructions produce reliable, predictable agents. Instead of:Model settings
Click Model in the top right corner of the playbook editor to configure:- AI model — which model powers this playbook (e.g. Claude Sonnet 4.6)
- Temperature — lower for consistency, higher for variation
- Max tokens — maximum response length
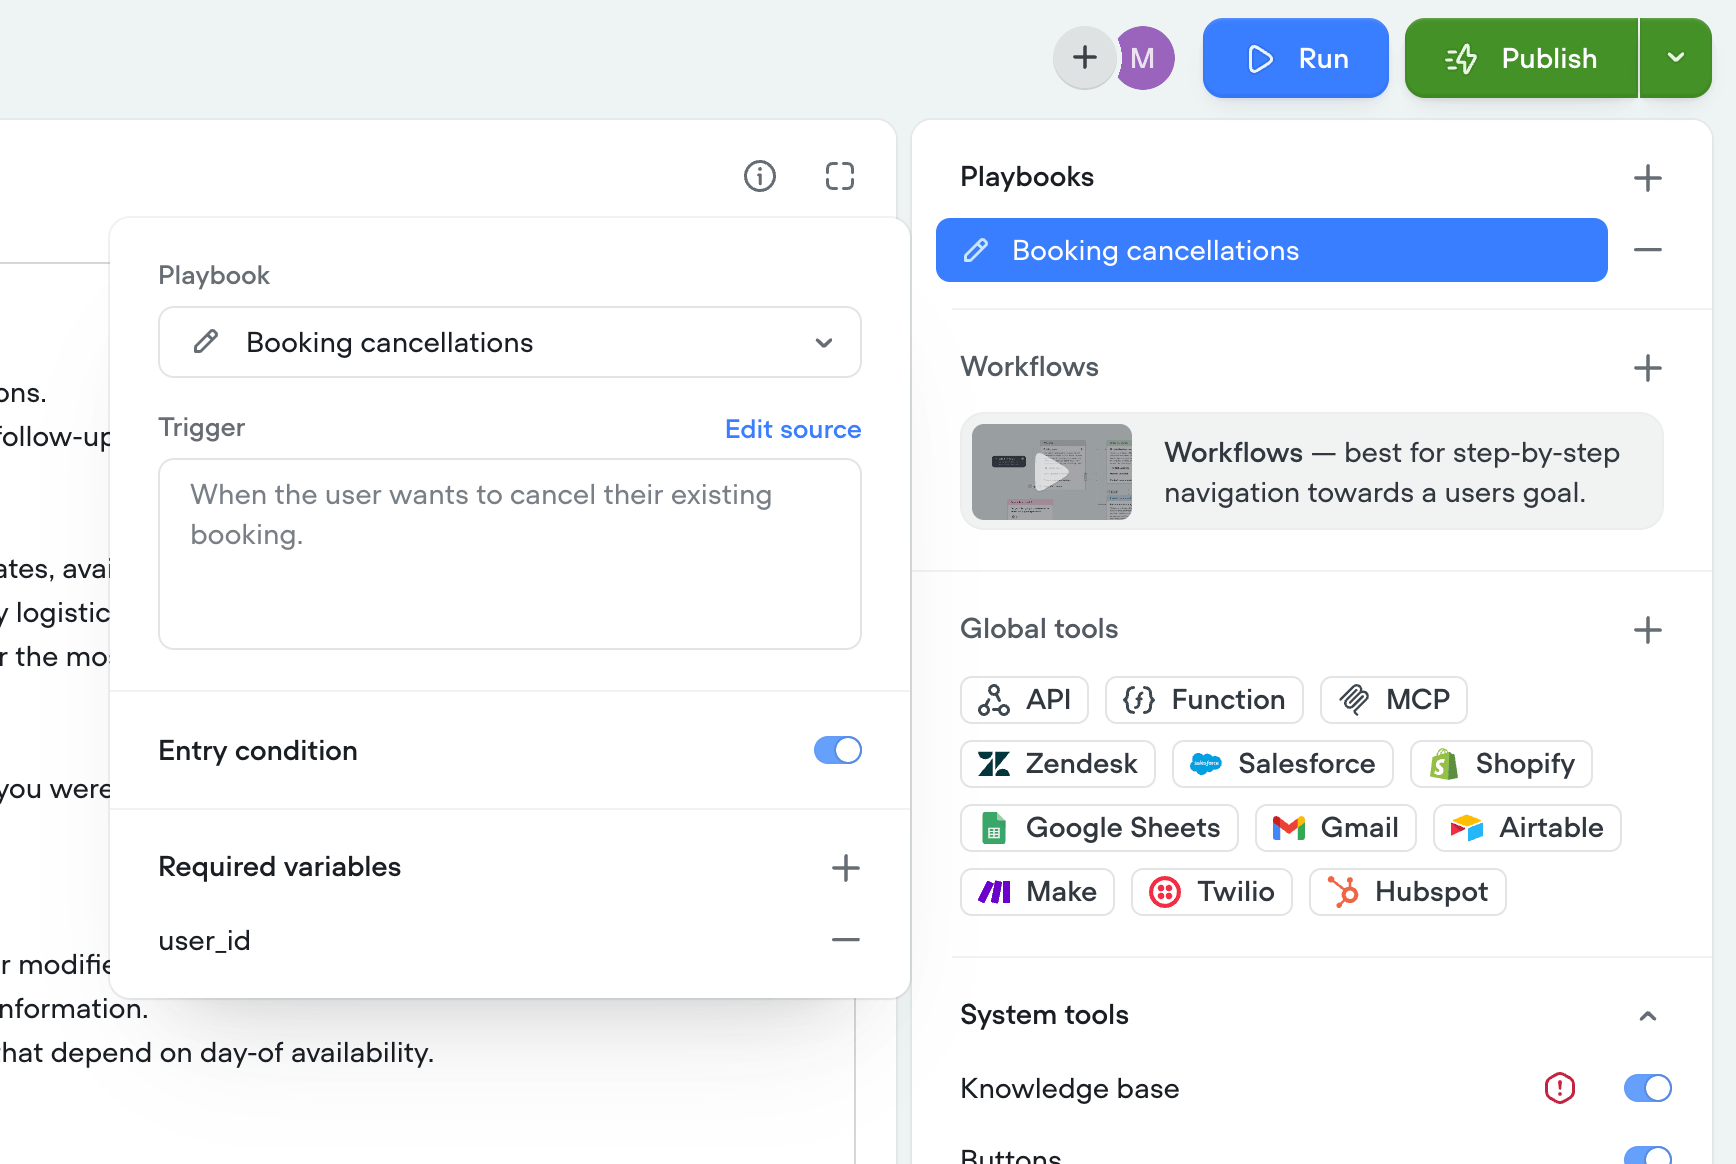
Entry conditions and required variables
Entry conditions and required variables can only be applied when a playbook is routed to directly by the agent. They’re not available when the playbook is called via a playbook step inside a workflow.
Entry conditions
Entry conditions are deterministic checks that must evaluate to true before the playbook can be routed to. If the checks don’t pass, the playbook stays unavailable for routing. For example, you might only make a checkout playbook reachable once the{cart_total} variable is greater than zero, or gate an account management playbook behind {is_authenticated} being true.
Required variables
You can also require that specific variables have a value before the agent can route in. Until every required variable is filled, the playbook stays unavailable. For example, you could require the{account_id} variable to be set before the agent can hand off to an account management playbook, so it never starts without the information it needs.
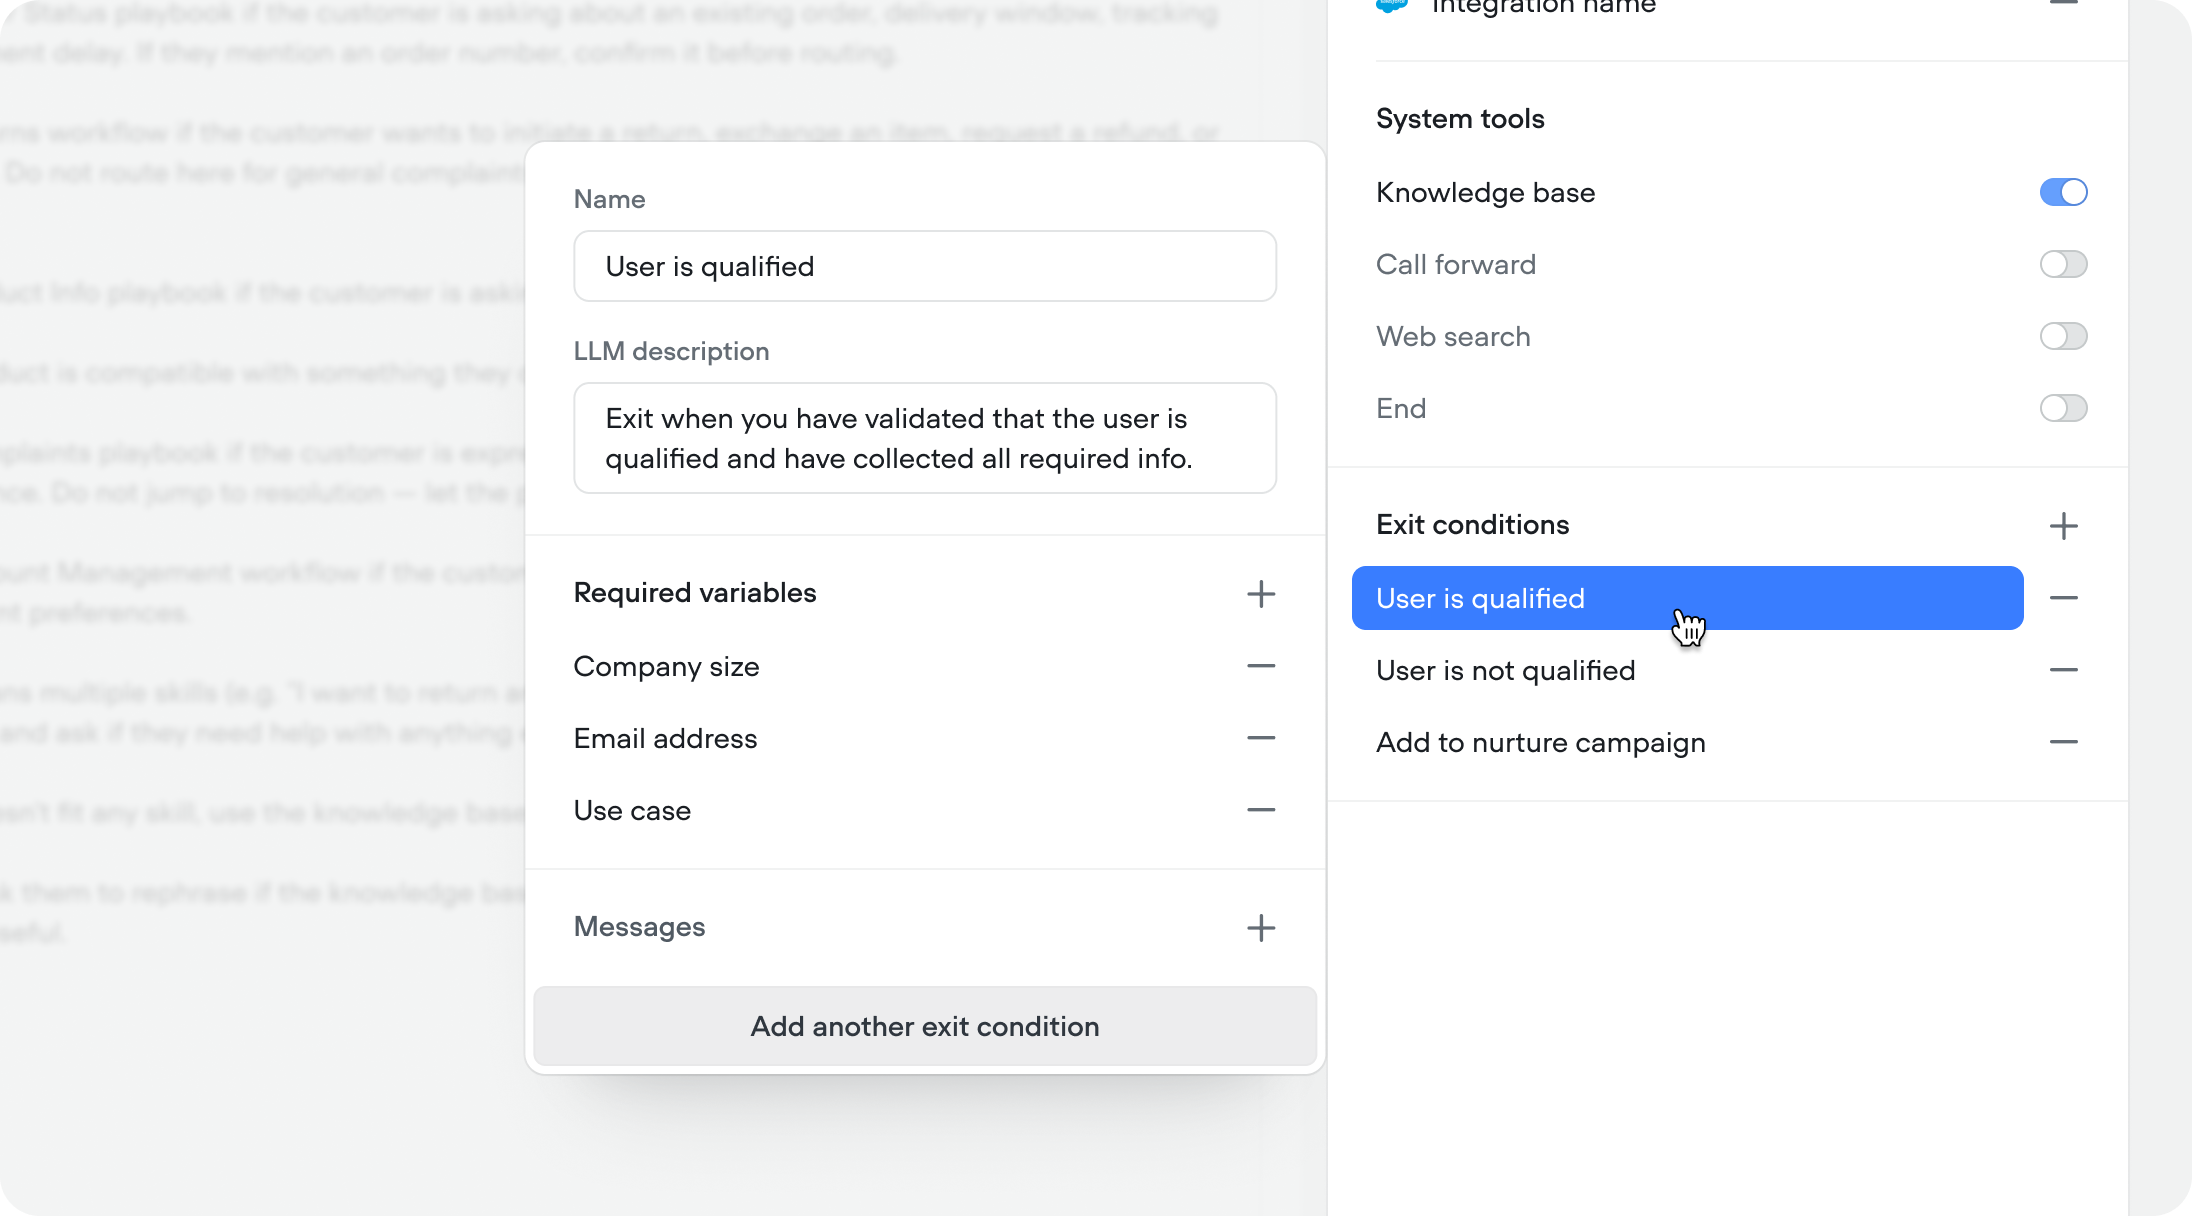
Exit conditions
Exit conditions only apply when a playbook is used via a playbook step inside a workflow. When triggered directly by the agent, exit conditions are ignored as routing is handled by the agent.
{company_size}, {use_case}, and {email}. The agent will keep the conversation going until all three are collected, then exit.