

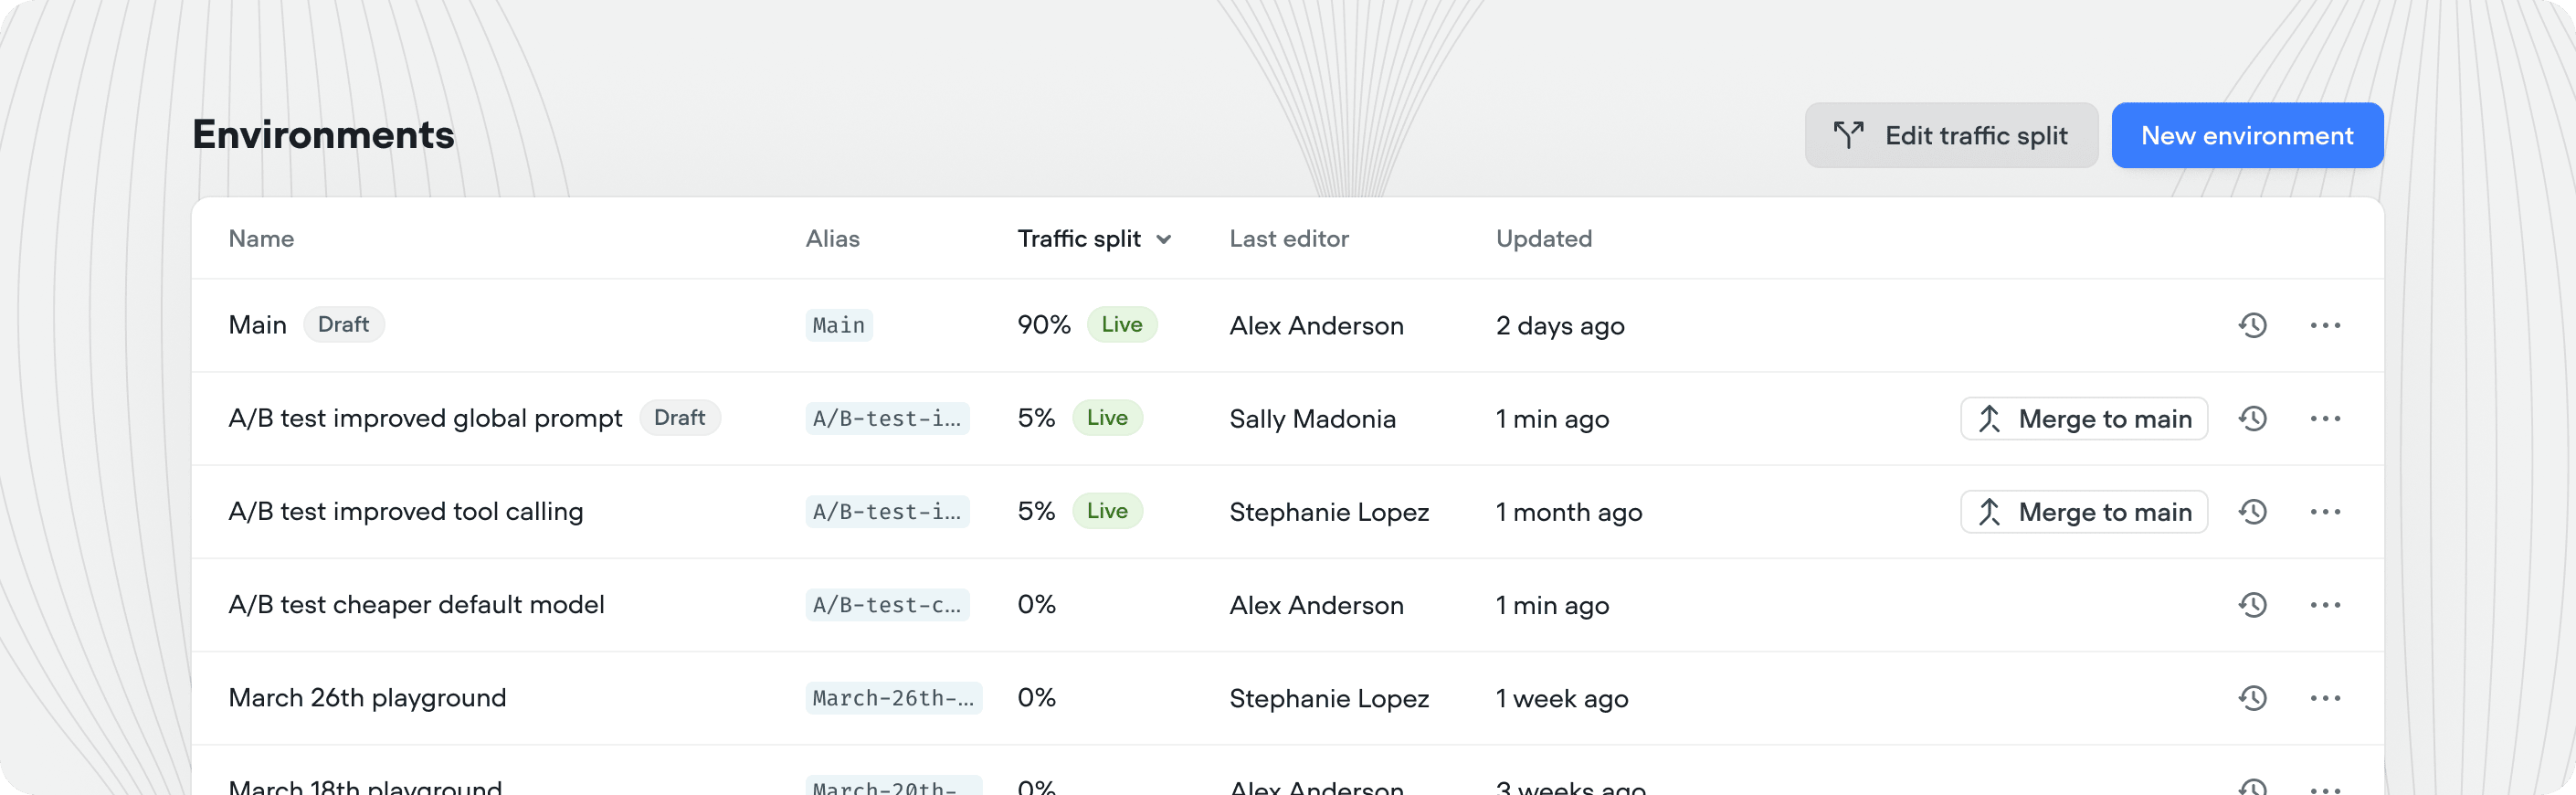
Main, which is what your users connect to by default.
Key concepts
Best practices
Use the following workflow for any meaningful change to your agent.Main keeps serving users throughout, and you can roll back at any step.
1
Clone Main
Create a new environment cloned from
Main and name it after the change(s) you’re making.2
Iterate
Work on the new environment and save ⇧⌘S or publish versions as you go.
3
Route a small percentage of live traffic
Once you’re happy with the changes, open edit traffic split and send a small percentage of live traffic to the new environment.
4
View results (A/B test)
Compare this environment to
Main using your KPIs in Analytics, Evaluations and Transcripts.5
Merge and clean up
If this environments proves to be performing better than Main, merge the environment to
Main. Delete the environment on merge to keep your project clean.6
Repeat
Repeat this process to continually improve your agent over time.
Each project supports up to 10 environments, including Main. If you’re close to the limit, merge or delete the ones you no longer need.
Managing environments
You can manage a project’s environments from Settings → Environments when editing a project. Or click the environment name in the left menu under the project name and press ‘view all’.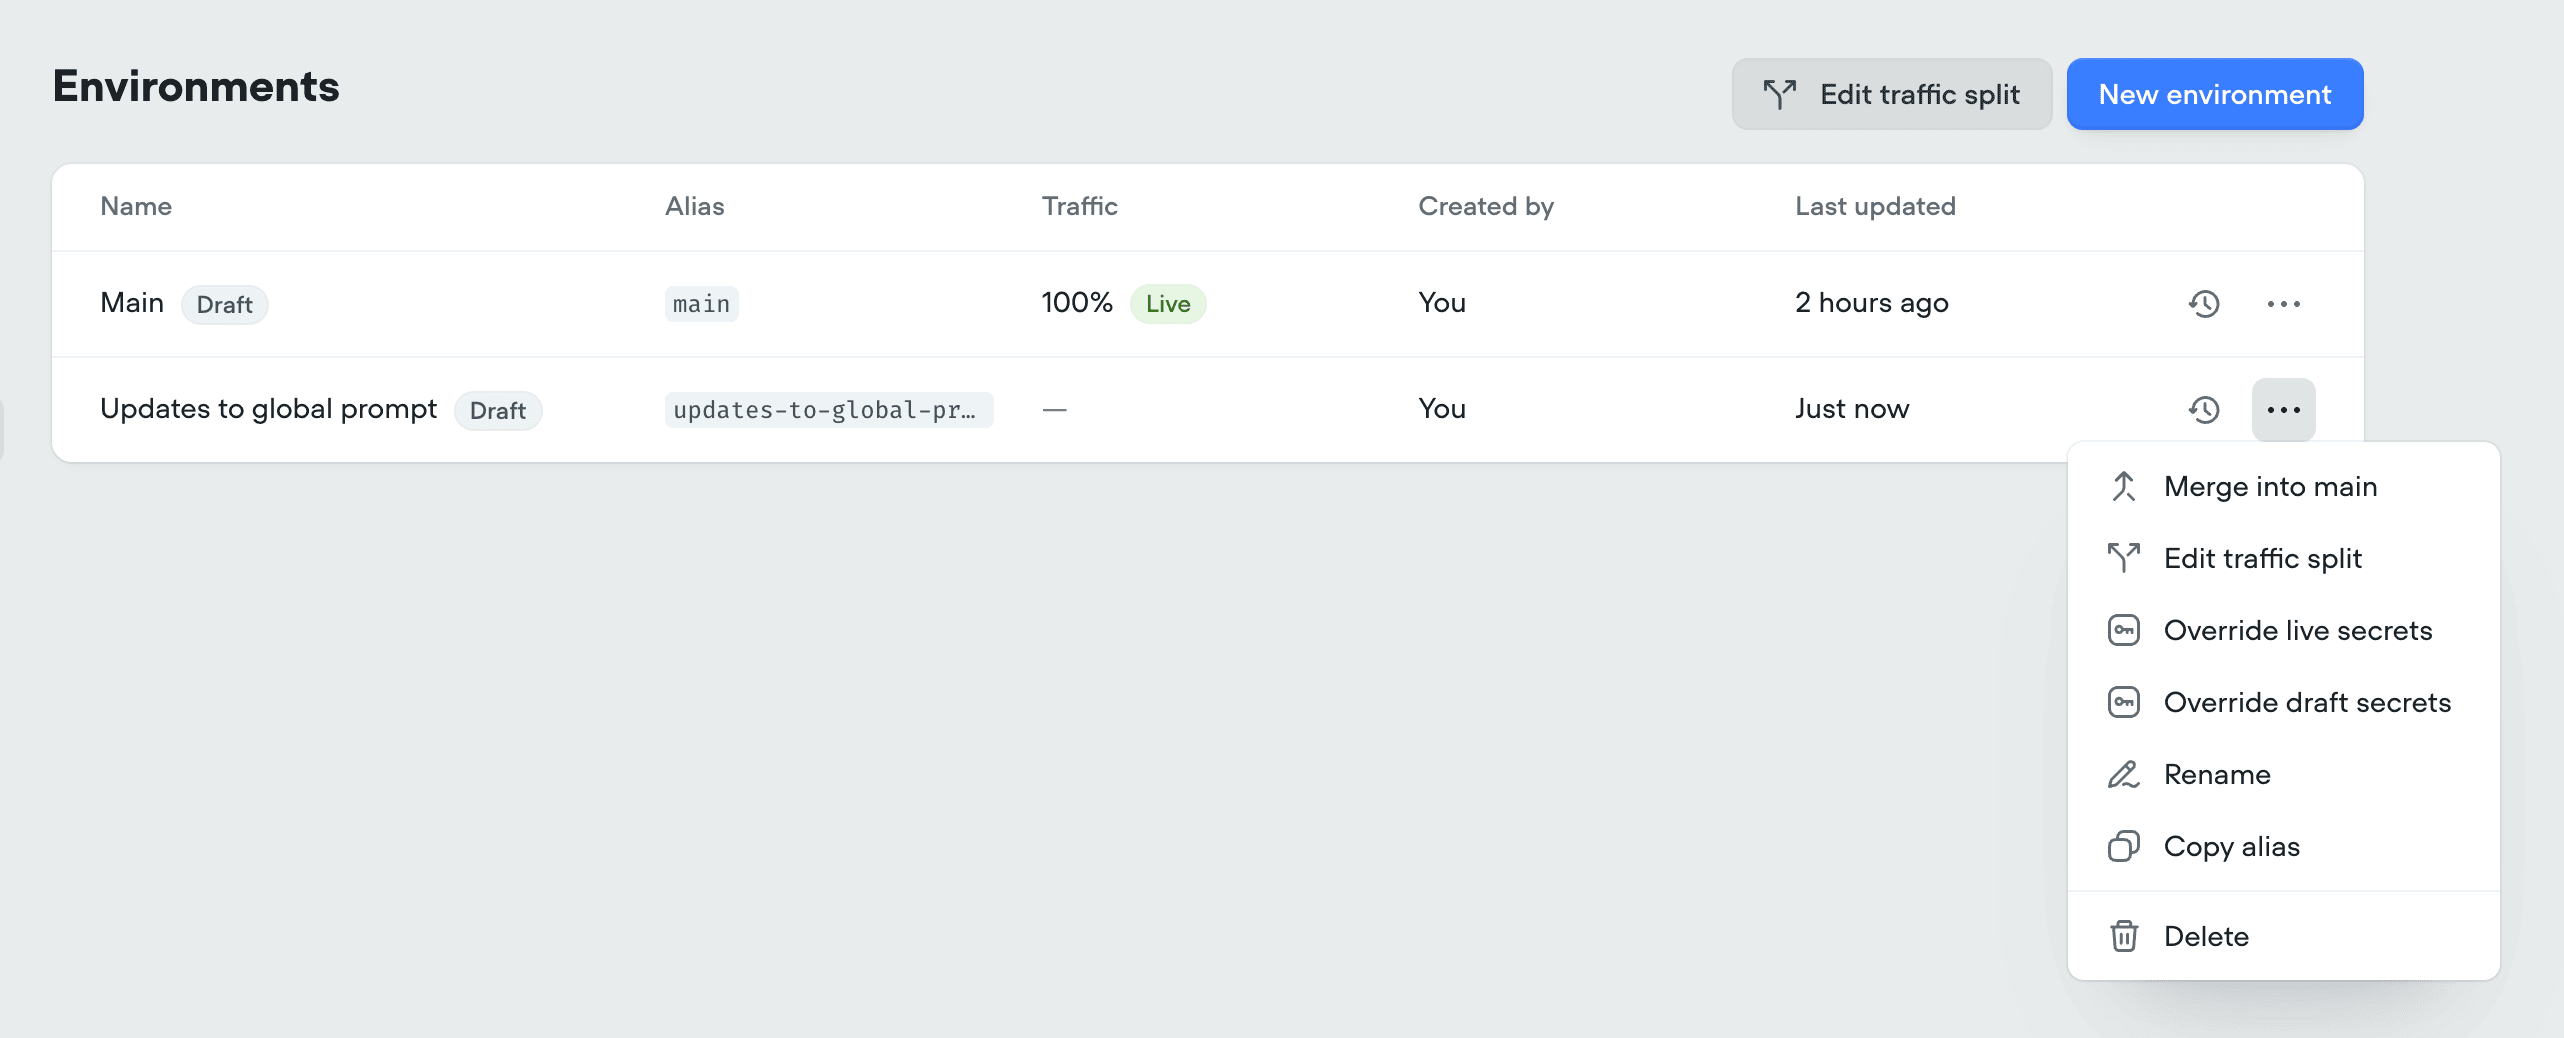
Creating an environment
Click New environment in the top right. Give the environment a name, pick an environment to Clone from, and click Create.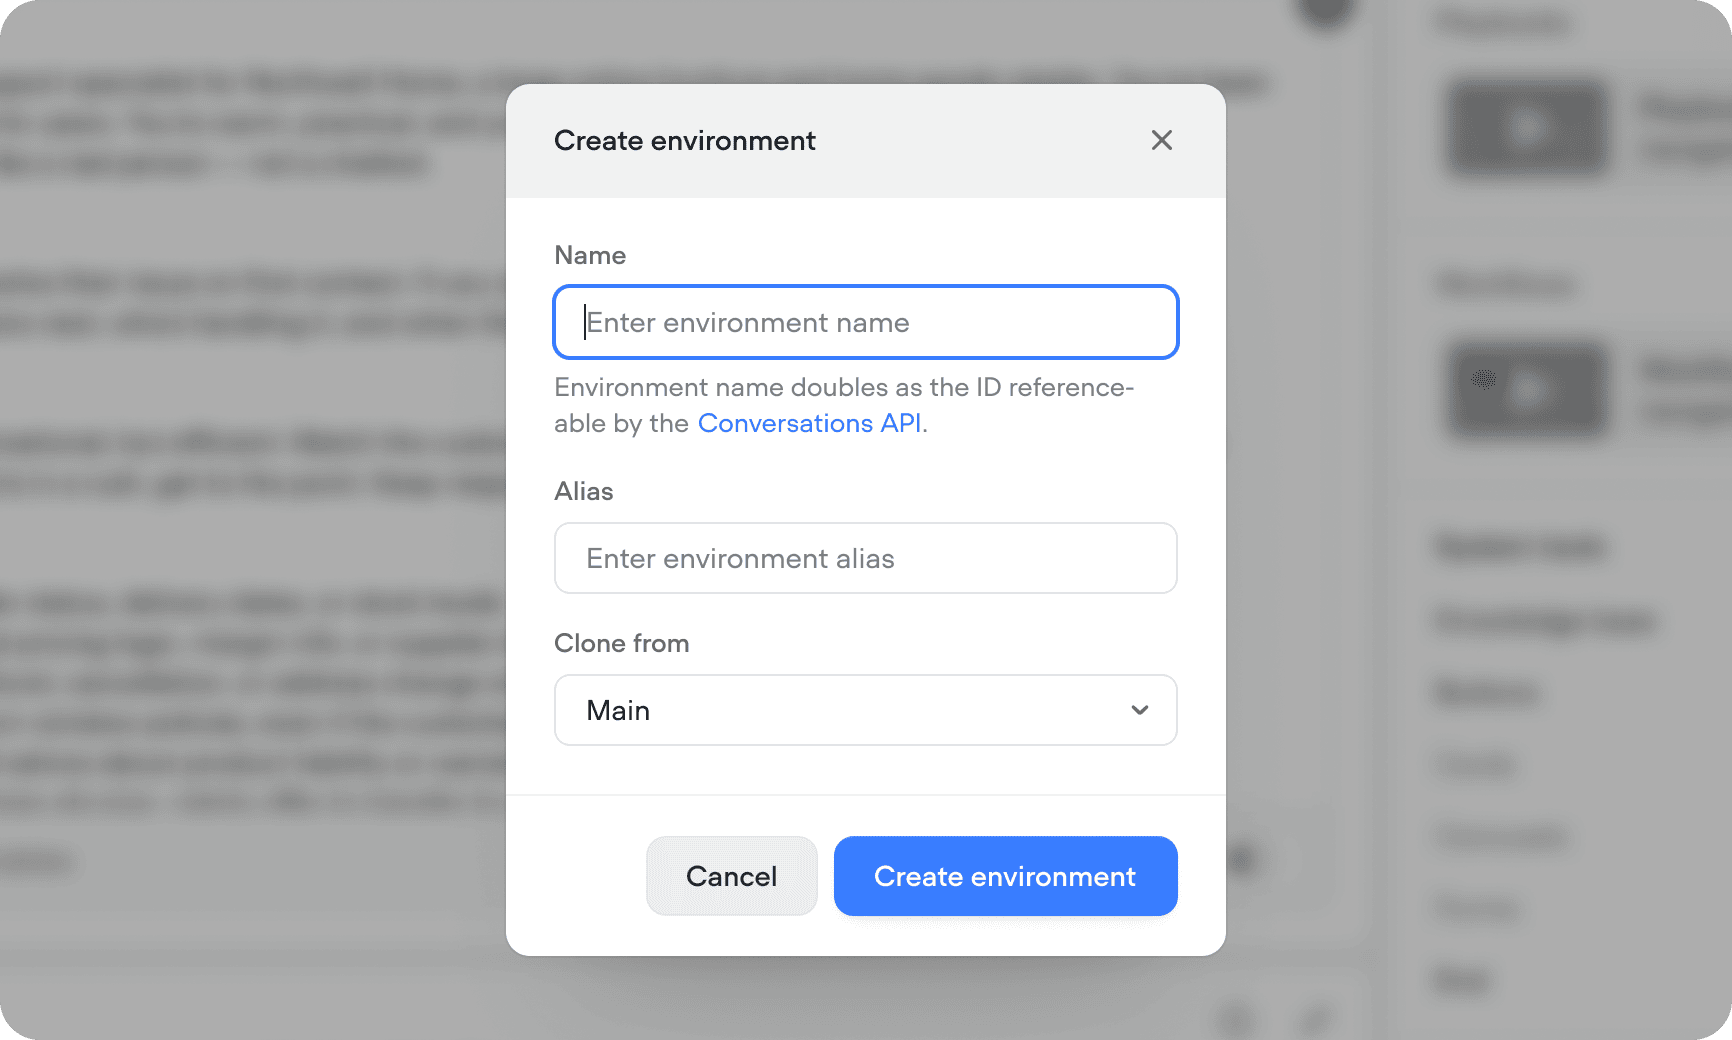
Switching between environments
Use the environment switcher at the top of the sidebar of any page inside your project to switch between environments. You can edit any environment, including ones your users are currently interacting with. Edits only affect the draft version until you publish your environment.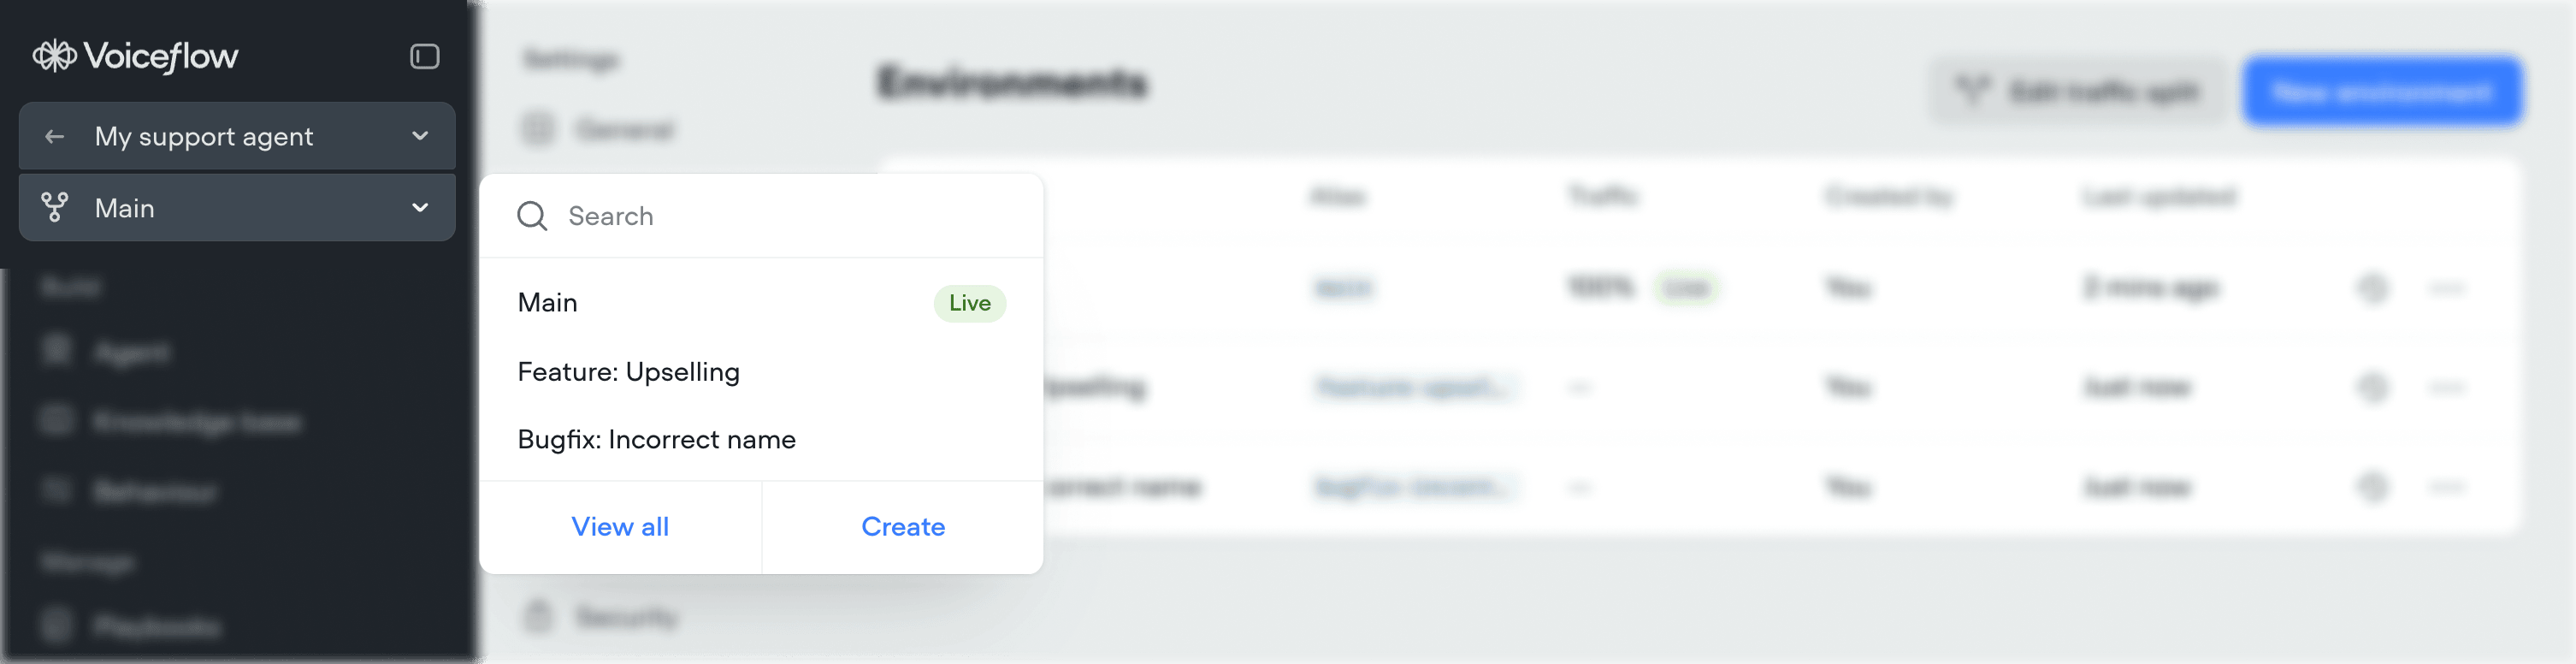
Cloning to new environment
Press the dropdown arrow next to the publish button, and select Clone environment to clone the current draft version to a new environment.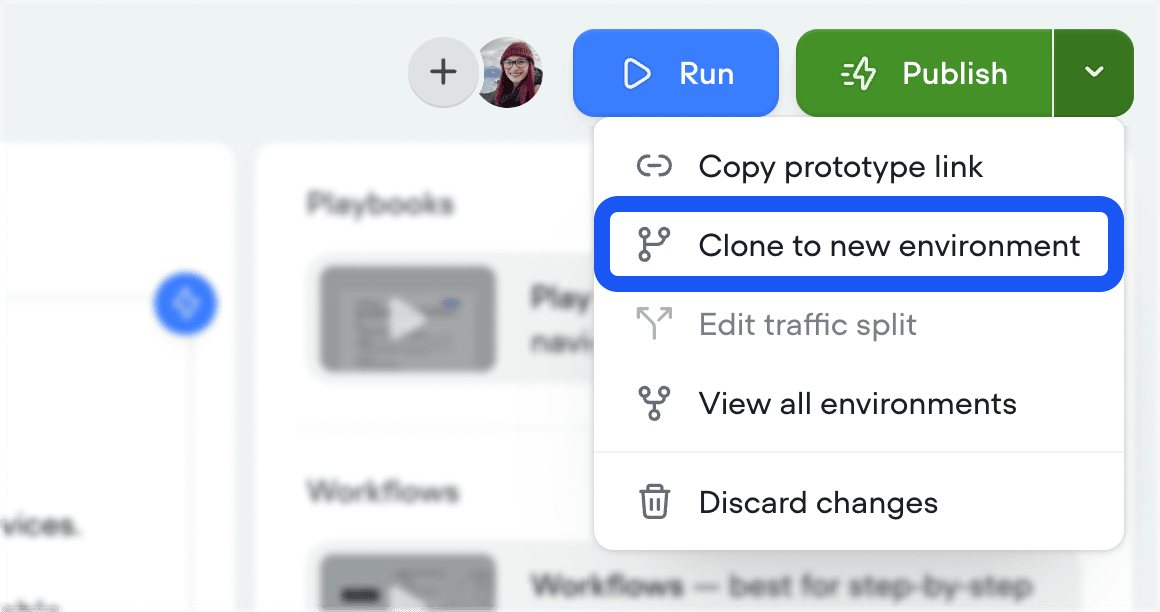
Discarding changes
Press the dropdown arrow next to the publish button, and select Discard changes to open a diff view where you can confirm the selection.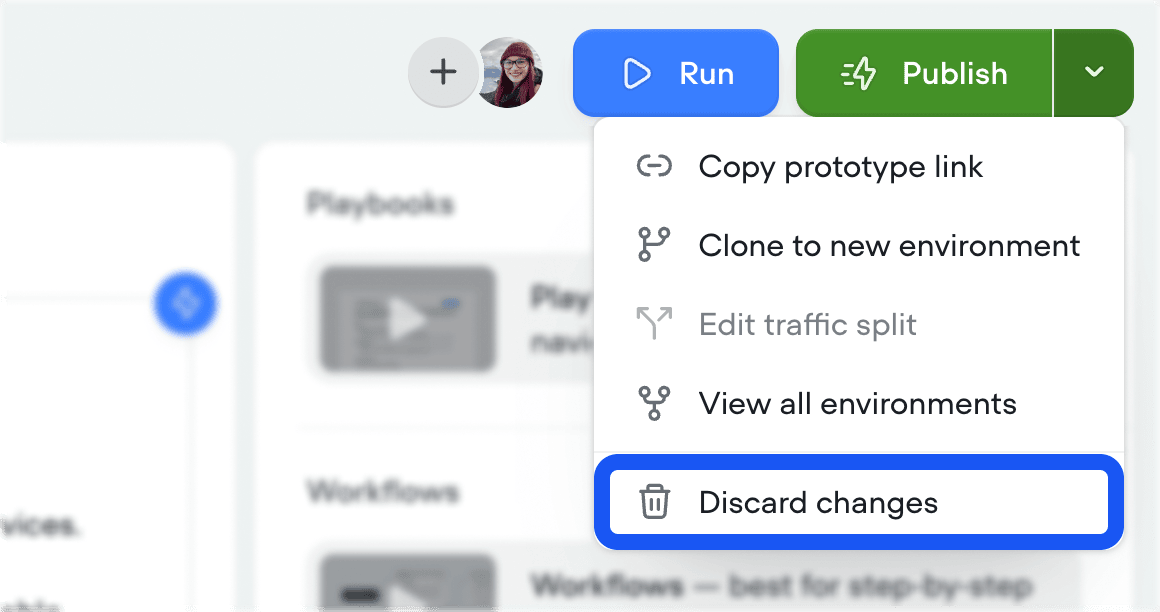
Environment protection
Protecting an environment restricts who can change what your users see. On a protected environment, only workspace admins and owners can publish or merge. Everyone else keeps full access to build, edit, and test. They just can’t make their changes live there. Protection is off by default and set per environment. Turn it on from the ••• menu on the environment’s row in Settings → Environments.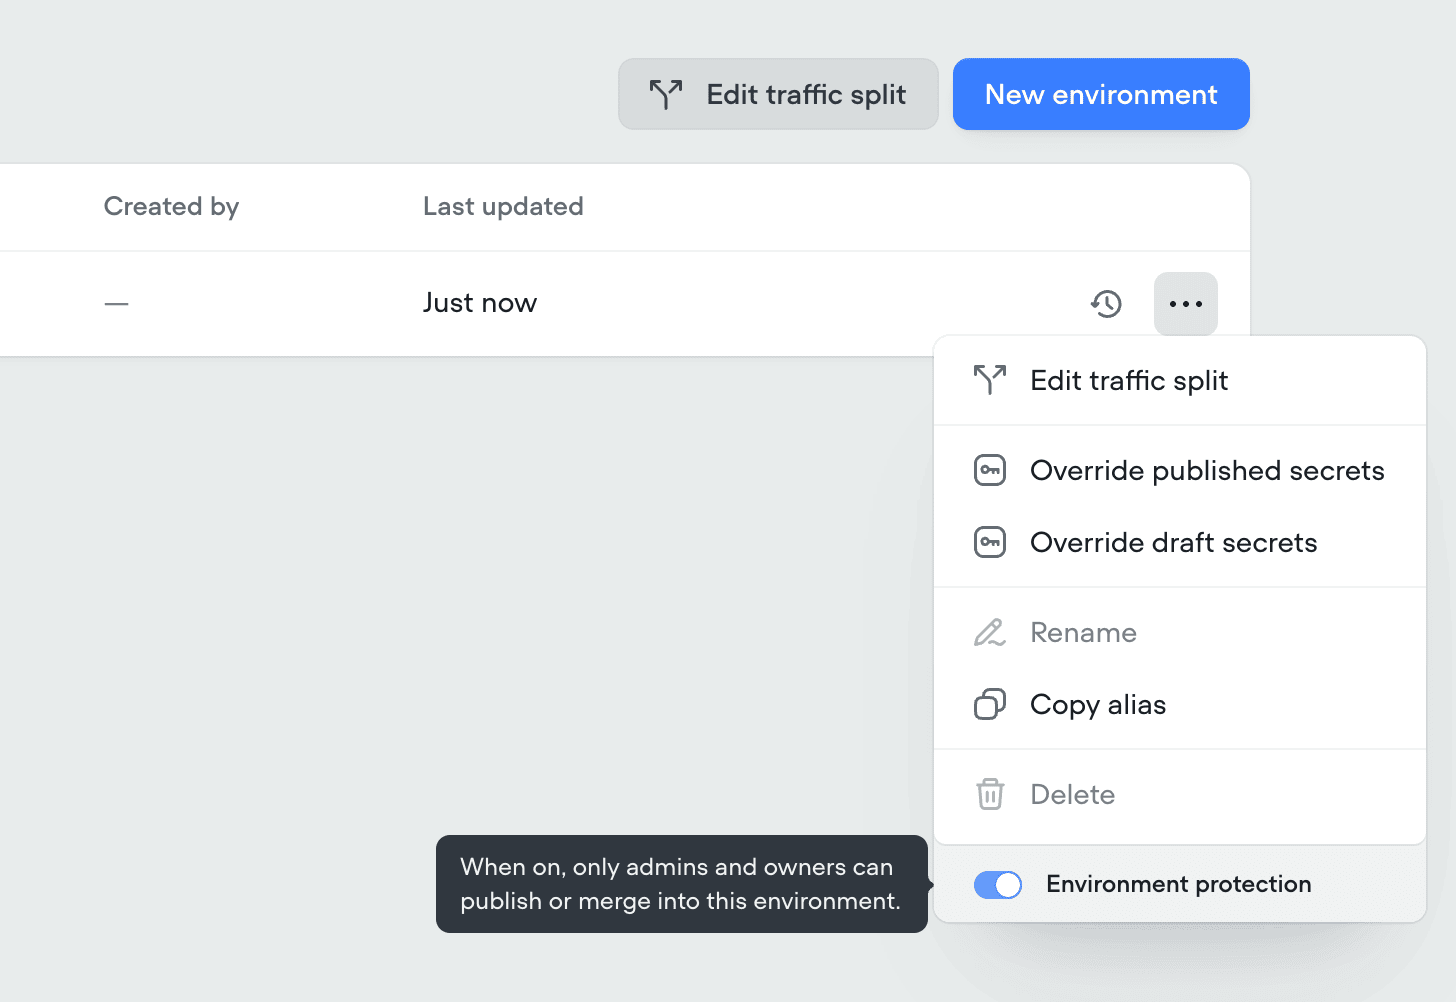
Main, and on any other environment carrying live traffic.
Aliases
Every environment has a short, URL-safe alias used in API calls, the chat widget, and any other programmatic reference.Main’s alias is main. Aliases don’t change when you rename an environment, so integrations keep working.
Copy an environment’s alias from the Alias column in Settings → Environments.
Legacy projects
Projects created before environments launched use three fixed environments (Development, Staging, and Production) with aliasesdevelopment, staging, and production. These keep working until you opt into migration.
After migrating, update integrations that use the legacy aliases, including the chat widget snippet. If you’re making use of the start session API endpoint, you’ll also need to update this to point to the main environment, rather than production.