development, staging , and production environments with a flexible, branchable model. Every project now starts with a single environment called main, and you can create more whenever you want to test a change in isolation, compare two versions of your agent against each other, or roll out a new version gradually.
Existing projects keep working the way they always have, with the original development, staging and production environments, until you opt in to migrate. Once you migrate a project, the legacy development, staging, and production aliases stop working, so you’ll need to update any integration that points at them. Most projects take a couple of minutes to update.
Update the chat widget
If you’ve embedded the chat widget on your website, replace your snippet with the new default below (don’t forget to fill in your project’s ID). The new snippet doesn’t includeversionID, which means the widget routes each new session according to the traffic split configured in Settings → Environments. For most projects, this is exactly what you want: it automatically respects A/B tests and gradual rollouts.
versionID to that environment’s alias. See our chat widget API documentation for more information.
Update your Conversations API calls
If you’re calling the Conversations API directly, update any request that passesenvironment: 'production' by choose one of these options:
- Updating it to use
environment: 'main'instead. - Using the traffic split feature by migrating to the new start session and interact endpoints. This is a more intensive process than switching the environment to
main, but will give you the ability to A/B test changes prior to release.
'staging' or 'development', choose whichever option fits best:
- Point them at
'main'to keep using the same default. - Point them at a new environment you create for staging or development work.
Migrate your project
Once your integrations are ready, open Settings → General in your project and scroll to the Danger zone section. Click Migrate next to Migrate to environments to switch your project over.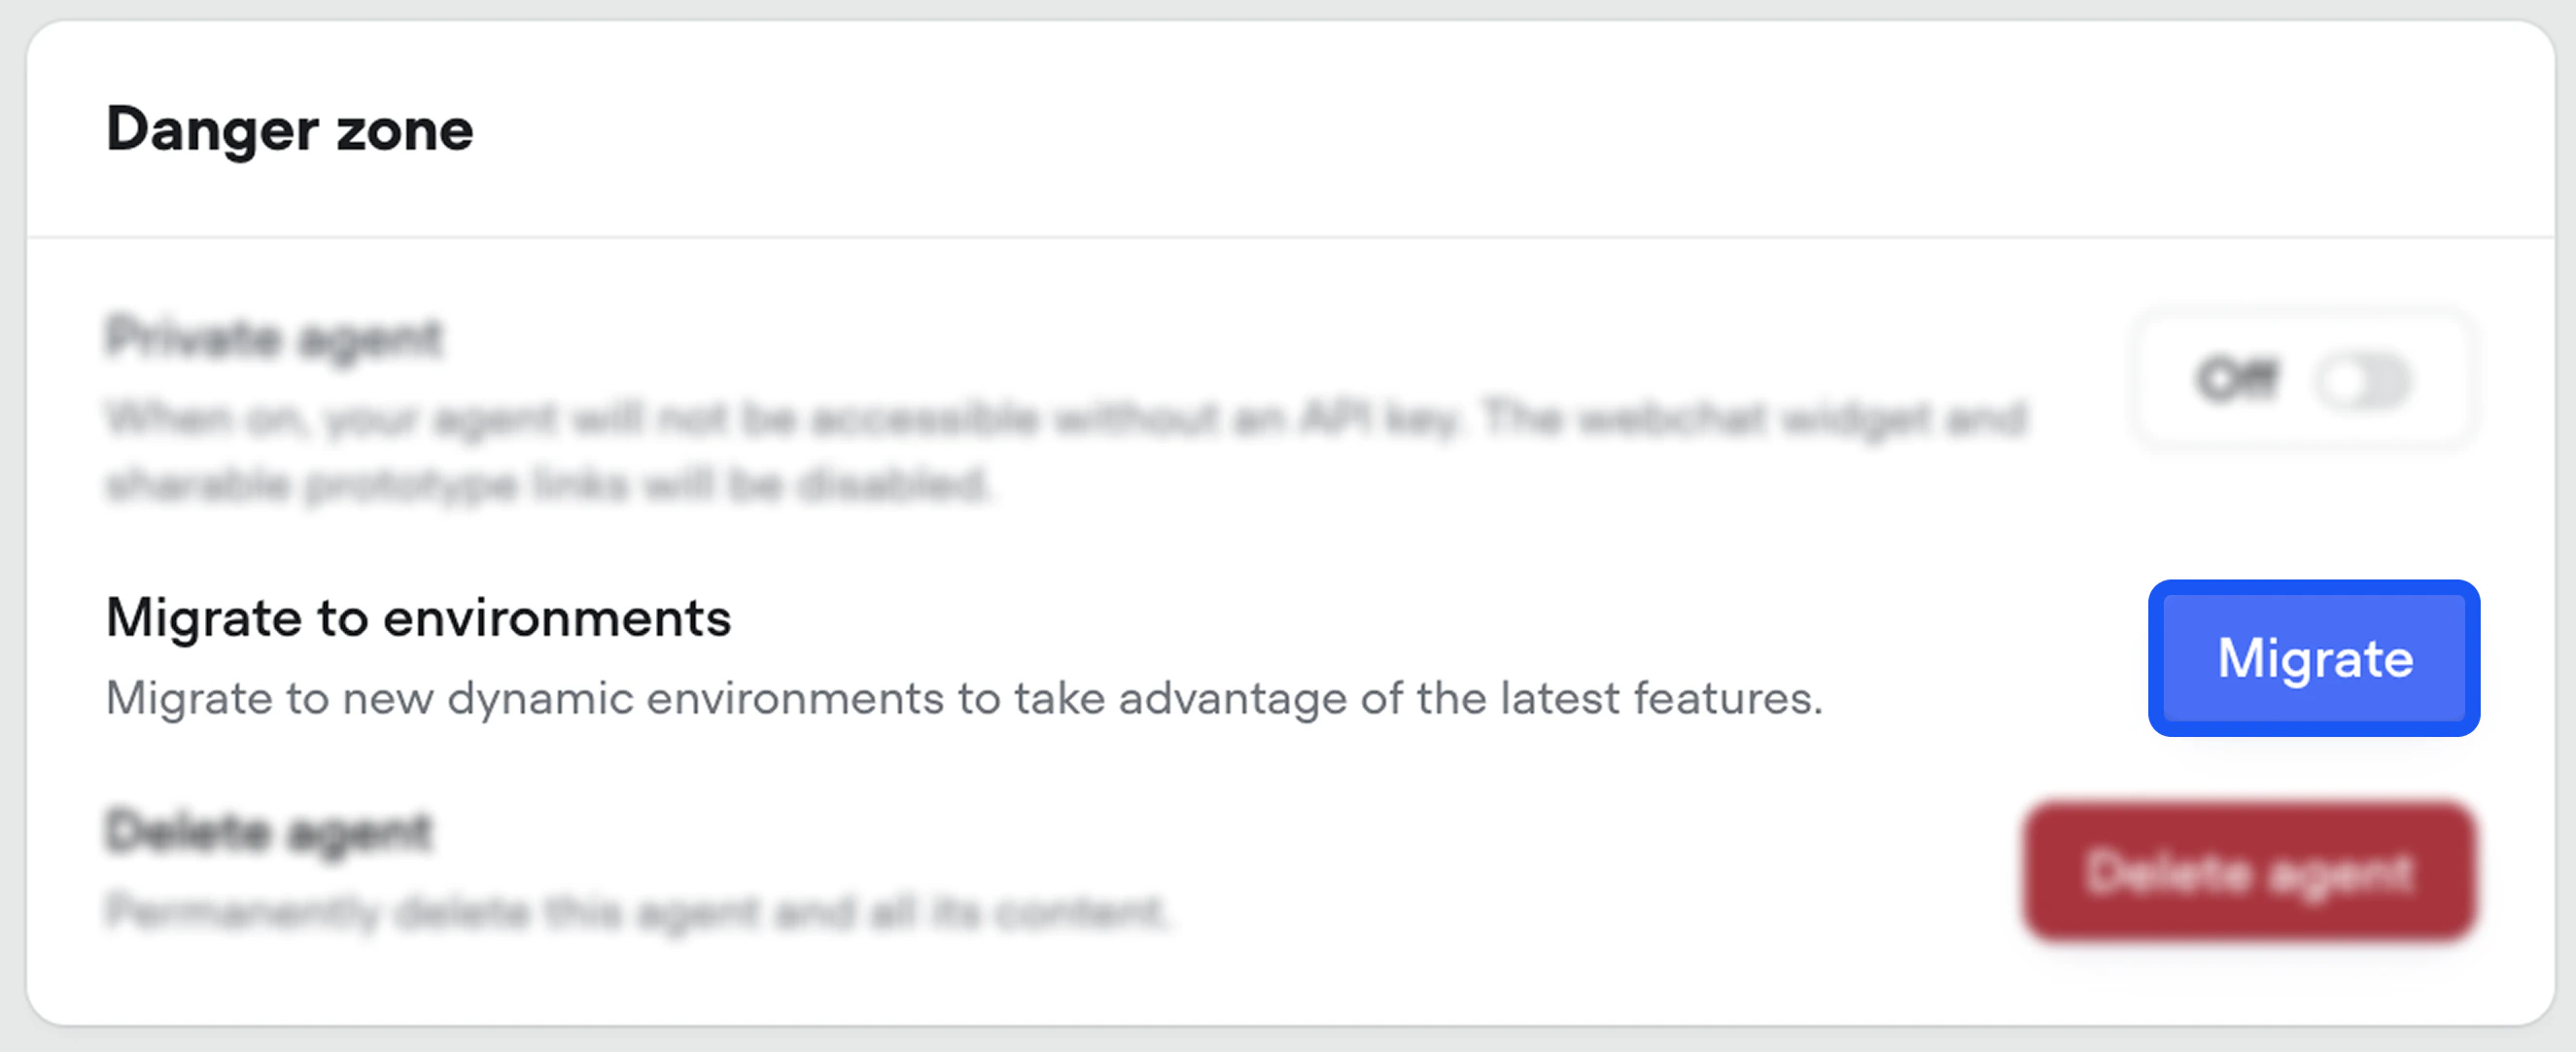
After you migrate
Your agent keeps serving users frommain by default. Now you can:
- Iterate without disturbing live traffic by cloning
maininto a new environment and editing freely. - Split traffic across environments to A/B test a change against
mainon real conversations. - Compare versions side by side and revert, clone, or merge from any point in history.